I still remember the first time I stumbled upon a guide to chalk paint for furniture – it was like a treasure trove of creative possibilities. I had just started restoring old furniture in my dad’s garage, and I was frustrated with the lack of character in the typical paint jobs. But then, I discovered the magic of chalk paint, and it was like a whole new world opened up. I could finally give those old pieces the unique, vintage vibe I was looking for. The best part? It was incredibly easy to work with, and the results were always unpredictably amazing.
In this article, I’ll share my hands-on experience with a guide to chalk paint for furniture, and give you the lowdown on how to achieve that perfect, distressed look. You’ll learn how to prepare your furniture, choose the right colors, and apply the paint like a pro. I’ll also share some of my favorite tips and tricks for adding that extra layer of character to your pieces. Whether you’re a seasoned DIY enthusiast or just starting out, this guide will walk you through every step of the process, and show you how to turn your old furniture into one-of-a-kind masterpieces. So, let’s get started, and turn that old furniture into something truly special!
Table of Contents
- Guide Overview: What You'll Need
- Step-by-Step Instructions
- A Guide to Chalk Paint for Furniture
- 5 Essential Tips to Unlock the Full Potential of Chalk Paint for Furniture
- Key Takeaways for a Killer Chalk Paint Makeover
- The Magic of Chalk Paint
- Wrapping Up Your Chalk Paint Journey
- Frequently Asked Questions
Guide Overview: What You'll Need
Total Time: 2 hours 30 minutes
Estimated Cost: $50 – $100
Difficulty Level: Intermediate
Tools Required
- Paintbrush various sizes
- Roller and extension pole for large surfaces
- Sandpaper for light sanding
- Drop cloth for protecting floors and surfaces
- Cleaning cloth for wiping away dust and debris
Supplies & Materials
- Chalk paint choose your desired color
- Clear wax for protective coating
- Dark wax optional for distressing and antiquing
- Paint tray for holding and transporting paint
- Water for thinning paint if necessary
Step-by-Step Instructions
- 1. First, gather your materials, because we’re about to get this chalk paint party started! You’ll need your piece of furniture, a variety of chalk paints, a set of paintbrushes, and some decorative items like stencils or transfers. Don’t forget to put on your favorite playlist, as we’re going to make this a fun and creative process.
- 2. Next, prepare your workspace by covering the floor and any surrounding areas with drop cloths or old sheets. We don’t want any accidental paint spills to ruin our vibe. Now, take a step back and admire your nearly blank canvas – that old furniture is about to get a serious makeover.
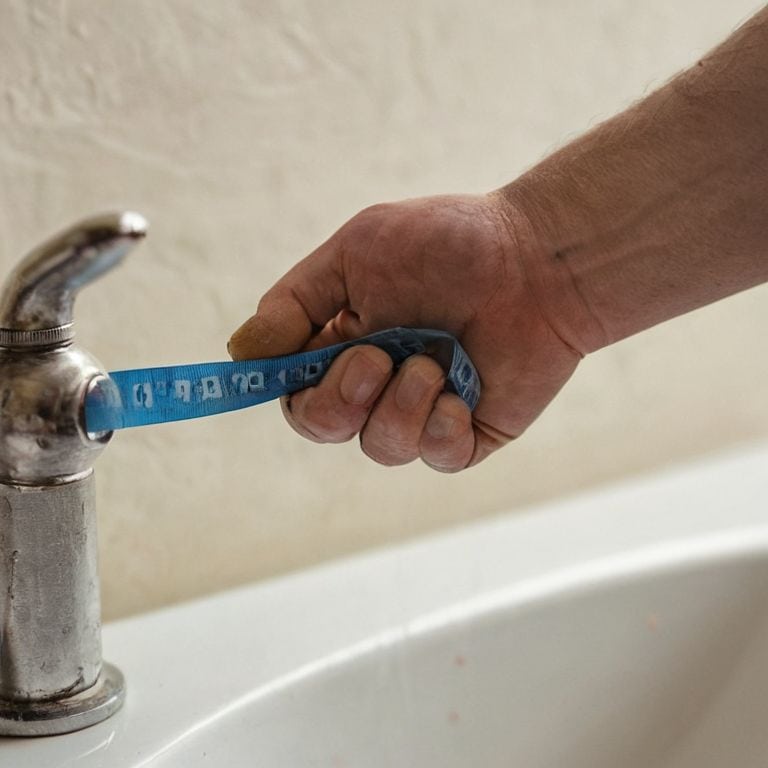
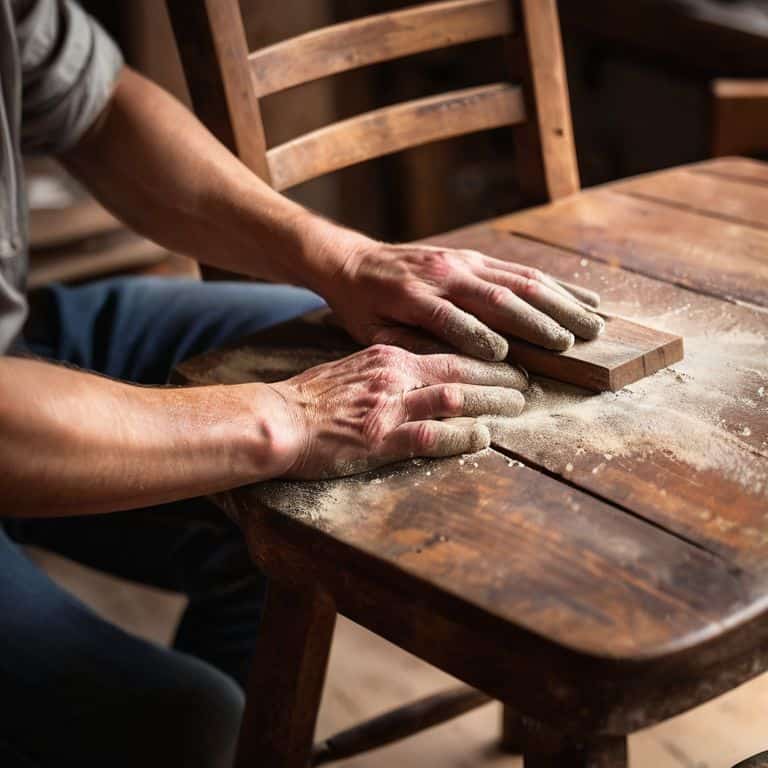
- 3. Now it’s time to clean and sand your furniture piece. This step is crucial in ensuring the paint adheres evenly and looks amazing in the end. Use a gentle cleaner and a soft brush to wipe away any dirt or grime, then follow up with a light sanding to smooth out the surface.
- 4. With your furniture all cleaned and sanded, it’s time to choose your colors. Don’t be afraid to get bold and creative with your color choices – after all, that’s what chalk paint is all about! Consider the room where the furniture will go and pick colors that complement the space. You can also use this opportunity to add some personal touches.
- 5. Once you’ve selected your colors, it’s time to start painting. Begin with a base coat and work your way up, allowing each layer to dry completely before adding the next. Don’t worry if it gets a little messy – that’s all part of the fun! Use your paintbrushes to add texture and depth to your design.
- 6. As you’re painting, remember that happy accidents can lead to some amazing results. Don’t be too hard on yourself if things don’t turn out exactly as planned – it’s all about embracing the unexpected. Take a step back, evaluate your work, and see where you can add some extra flair.
- 7. After you’ve finished painting, it’s time to add some finishing touches. Use your stencils or transfers to add decorative patterns or designs, and consider applying a clear wax or sealant to protect your masterpiece. Stand back and admire your handiwork – you’ve just given your old furniture a brand new life.
- 8. Finally, install and enjoy your newly painted furniture. Place it in its new home, add any decorative items you like, and bask in the glow of a job well done. Take plenty of photos to share with friends and family, and don’t be afraid to show off your creation – after all, you’ve earned it!
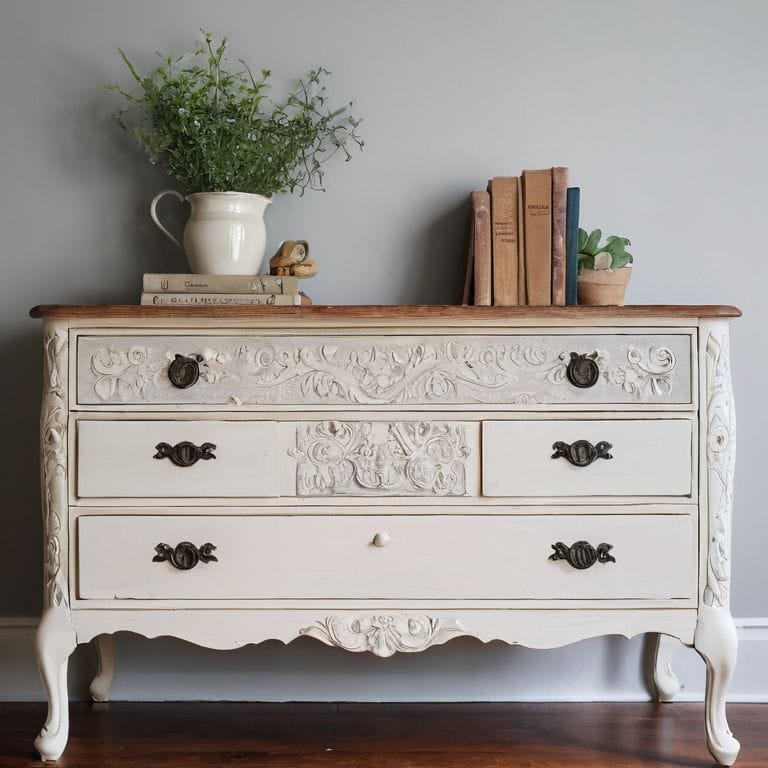
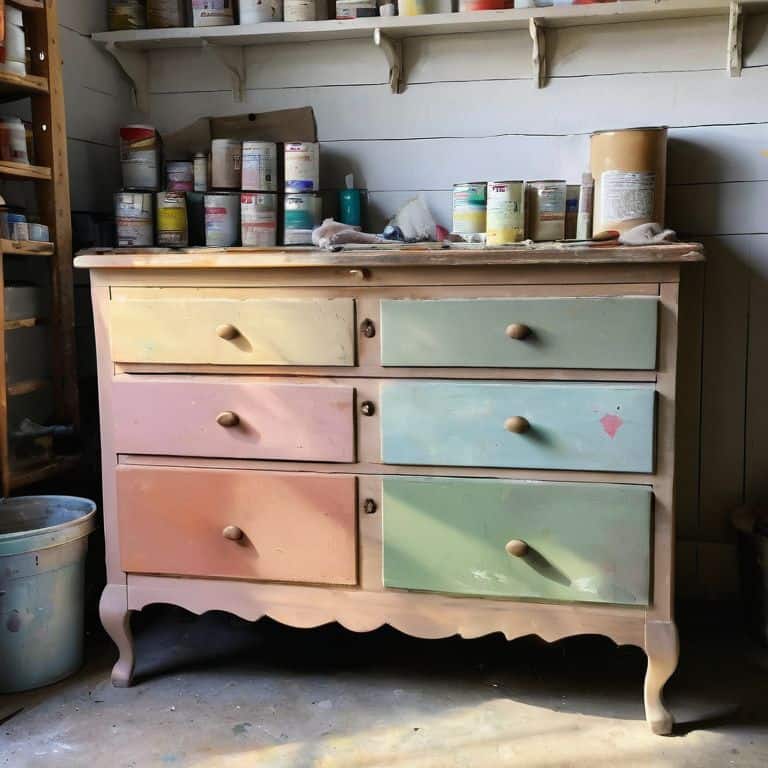
A Guide to Chalk Paint for Furniture
As we dive deeper into the world of chalk paint, it’s essential to consider furniture preparation. This step is often overlooked, but it’s crucial for achieving a smooth, even finish. Take the time to sand down any rough edges or surfaces, and make sure your piece is clean and dry before applying the paint. I like to think of this step as the foundation of a great project – it may not be the most exciting part, but it’s what makes the rest of the process come together seamlessly.
When it comes to applying the chalk paint, choosing the right brush can make all the difference. I recommend using a high-quality, natural-bristle brush to get a smooth, textured finish. And don’t be afraid to experiment with distressing techniques – a little bit of sanding or scraping can add a lot of character to your piece. Remember, the beauty of chalk paint lies in its imperfections, so don’t be too hard on yourself if things get a little messy.
As you’re working on your project, keep in mind that sealing with wax is an important step to protect your finish and make it last. It’s a simple process that can add a lot of durability to your piece, and it’s a great way to enhance the color and texture of the paint. With a little practice and patience, you’ll be creating unique, one-of-a-kind pieces that showcase your personal style and flair.
Chalk Paint vs Latex Whats Best
When it comes to giving your furniture a fresh new look, you’ve got two popular options: chalk paint and latex. I’ve worked with both, and let me tell you, they’ve got some key differences. Chalk paint is all about ease and versatility – it’s a breeze to apply, and you can distress it for a unique, vintage vibe. Latex, on the other hand, is more durable and provides a super-smooth finish. So, what’s best for your project? If you’re going for a rustic, one-of-a-kind look, chalk paint might be the way to go. But if you need something that’ll withstand heavy use, latex could be your better bet.
I’ve found that chalk paint is perfect for pieces that need a little character, while latex is better suited for furniture that’ll be getting a lot of wear and tear. Ultimately, the choice between chalk paint and latex comes down to your personal style and the specific needs of your project.
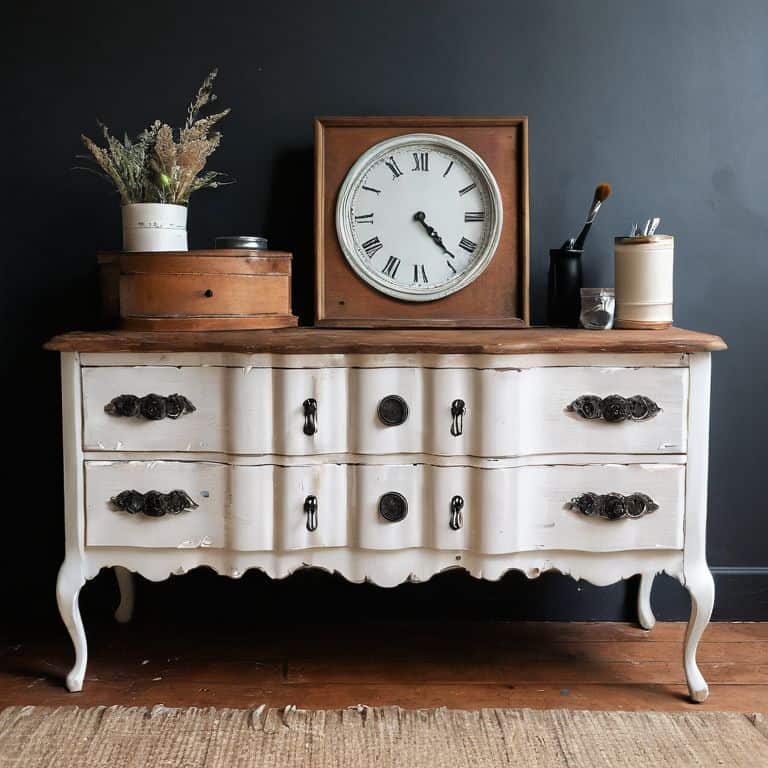
Mastering Distressing Techniques
Now that we’ve got our chalk paint on, let’s talk about adding some character to our piece – I’m obsessed with the extra charm that comes from distressing. This is where the magic happens, and our furniture starts to look like it’s been around for decades. I like to use a combination of sandpaper and steel wool to gently wear away the paint and expose the underlying material. It’s all about creating a sense of history and texture – don’t be afraid to get a little aggressive and make some mistakes, that’s where the real beauty lies.
Remember, distressing is all about restraint – you can always take more paint off, but it’s harder to put it back on. Start with small, subtle scratches and build up to more dramatic effects. And don’t forget to listen to some good tunes while you’re at it – it’s all part of the fun!
5 Essential Tips to Unlock the Full Potential of Chalk Paint for Furniture
- Prep like a pro: Always clean and lightly sand your furniture before applying chalk paint to ensure a smooth, even finish
- Choose your colors wisely: Consider the natural lighting in the room, the color of the walls, and the style you’re aiming for when selecting your chalk paint hues
- Don’t be afraid to get a little messy: Experiment with different brushing techniques and layering styles to achieve unique, one-of-a-kind effects
- Seal the deal: Apply a clear wax or varnish to protect your chalk paint finish and make it easier to clean and maintain
- Embrace the unpredictability: Remember, chalk paint is all about character and charm, so don’t stress if things don’t turn out exactly as planned – it’s all part of the fun!
Key Takeaways for a Killer Chalk Paint Makeover
Always remember, prep is key – cleaning and lightly sanding your furniture before painting can make all the difference in the final result
Don’t be afraid to experiment with different distressing techniques to give your piece a unique, one-of-a-kind look
When deciding between chalk paint and latex, consider the level of durability you need and the style you’re aiming for – chalk paint is perfect for a vintage, matte finish, while latex provides a more modern, glossy look
The Magic of Chalk Paint
I firmly believe that a fresh coat of chalk paint is like a second chance for old furniture – it’s not just a makeover, it’s a rebirth, and with every brush stroke, you’re not just covering up the past, you’re writing a new story.
Franklyn "Frank" Bishop
Wrapping Up Your Chalk Paint Journey
As we’ve explored in this guide to chalk paint for furniture, the process of transforming your old pieces into unique, one-of-a-kind masterpieces is all about experimentation and having fun. We’ve covered the basics of chalk paint application, delved into the art of distressing techniques to give your furniture that perfect vintage look, and even discussed the differences between chalk paint and latex to help you decide which is best for your project. Whether you’re a seasoned DIY enthusiast or just starting out, the key to success lies in embracing the journey, not being afraid to make mistakes, and enjoying the process of creation.
So, as you put down your brush and step back to admire your handiwork, remember that the true beauty of DIY projects like these lies not just in the end result, but in the journey of self-expression and the sense of pride and accomplishment that comes with creating something with your own hands. Keep pushing the boundaries of what’s possible, and most importantly, keep making – the world needs more of your unique creations!
Frequently Asked Questions
What are some common mistakes to avoid when applying chalk paint to furniture?
Whoa, don’t worry, we’ve all been there! Common mistakes to avoid when applying chalk paint include uneven coverage, insufficient prep work, and not sealing the finish. Also, be careful not to overload the brush, and make sure to work in thin layers – trust me, it’s a game-changer!
How do I achieve a smooth, even finish with chalk paint?
To get that silky smooth finish, I swear by thinning my chalk paint with a little water – it’s all about finding the right consistency. Then, I use a high-quality brush or a foam roller to apply it. And here’s the secret sauce: light, even coats, and don’t be afraid to sand between them for a glass-like finish!
Can I use chalk paint on surfaces other than wood, such as metal or plastic?
Absolutely, you can get creative with chalk paint beyond wood! I’ve had success using it on metal and plastic surfaces, like old machinery or vintage toys. Just make sure to clean and prep the surface first, and consider a primer for better adhesion. The results can be totally unique and awesome!