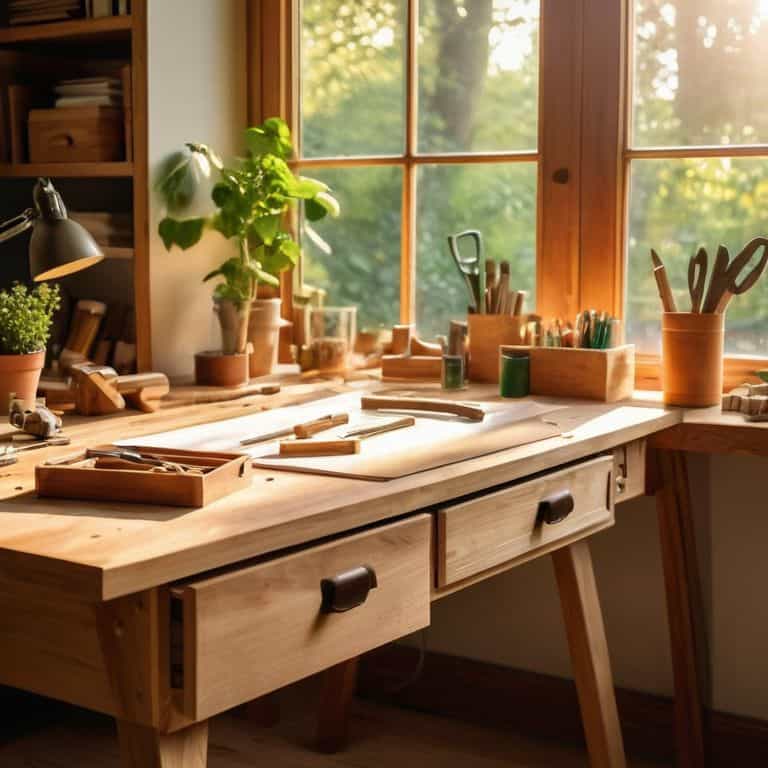
I still remember the first time I tried to build my own computer desk – it was a disaster. I had all the right tools, but my lack of experience led to a wobbly, unsteady mess. It was a hard lesson to learn, but it taught me that how to build a simple computer desk isn’t about following a complicated blueprint, it’s about keeping it simple and having fun. That’s why I’m excited to share my journey with you, and help you avoid the mistakes I made along the way.
In this article, I’ll give you the lowdown on how to build a simple computer desk that’s both functional and stylish. I’ll share my favorite tips and tricks for working with wood, and show you how to bring your vision to life without breaking the bank. You’ll learn how to choose the right materials, measure twice and cut once, and assemble your desk with ease. By the end of this guide, you’ll be ready to start building your own custom computer desk, and join the ranks of the DIY proud. So, let’s get started and turn your workspace into a productivity powerhouse!
Table of Contents
Guide Overview: What You'll Need
Total Time: 4 hours 30 minutes
Estimated Cost: $75 – $150
Difficulty Level: Intermediate
Tools Required
- Circular Saw (for cutting lumber)
- Drill Press (for precise drilling)
- Hand Saw (for fine tuning cuts)
- Sander (for smoothing wood surfaces)
- Tape Measure (for accurate measurements)
- Level (for ensuring evenness)
- Clamp (for holding pieces together)
- Safety Glasses (for protecting your eyes)
Supplies & Materials
- 2-in x 4-in lumber (for the frame)
- 3/4-in plywood (for the desktop)
- Wood Screws (for assembling the frame)
- Wood Glue (for reinforcing joints)
- Sandpaper (for smoothing out surfaces)
- Paint or Stain (for finishing the desk)
- Polyurethane (for protecting the finish)
- Casters (for the legs, optional)
Step-by-Step Instructions
- 1. First, let’s get started by gathering our materials, which include 2 x 4 lumber for the frame, 3/4 inch plywood for the desktop, and some 2 x 2 lumber for the shelves. Make sure you have all the necessary power tools, like a circular saw and a drill press, and don’t forget the safety gear – we’re gonna be making some serious sawdust.
- 2. Next, we need to cut the frame pieces to the right size. Use your circular saw to cut four pieces of 2 x 4 lumber to the same length – these will be the legs of our desk. Then, cut two more pieces to the same width as the desktop – these will be the side frames. Remember, measure twice, cut once, we don’t want any mistakes here.
- 3. Now it’s time to assemble the frame. Use your drill press to make some pilot holes, and then screw the side frames to the legs using some 2 1/2 inch wood screws. Make sure it’s all square and level, we don’t want our desk to be wobbly. Use some clamps to hold everything in place while you screw it together.
- 4. With the frame assembled, it’s time to attach the desktop. Cut your 3/4 inch plywood to the right size, and then use some 1 1/4 inch wood screws to attach it to the frame. Make sure it’s all flush and even, we don’t want any bumps or edges. Use some wood glue to fill in any gaps, and then let it dry for a bit.
- 5. Next, we’re going to add some shelves to our desk. Cut your 2 x 2 lumber to the right size, and then use your drill press to make some pilot holes. Screw the shelves to the frame using some 1 1/4 inch wood screws, and make sure they’re all level and evenly spaced. We don’t want our shelves to be wonky, that would be a real bummer.
- 6. Now it’s time to add some finishing touches to our desk. Sand down all the edges and surfaces to make them smooth, and then apply some stain or paint to protect the wood and make it look really cool. Let it dry for a bit, and then apply a second coat if you need to.
- 7. Finally, it’s time to put it all together and enjoy our new computer desk. Place your computer and other gear on the desktop, and then add any decorations or accessories you like. Stand back and admire your handiwork – you’ve just built a killer computer desk with your own two hands. Pat yourself on the back, and then get ready to show it off to all your friends.
Build Your Dream Desk
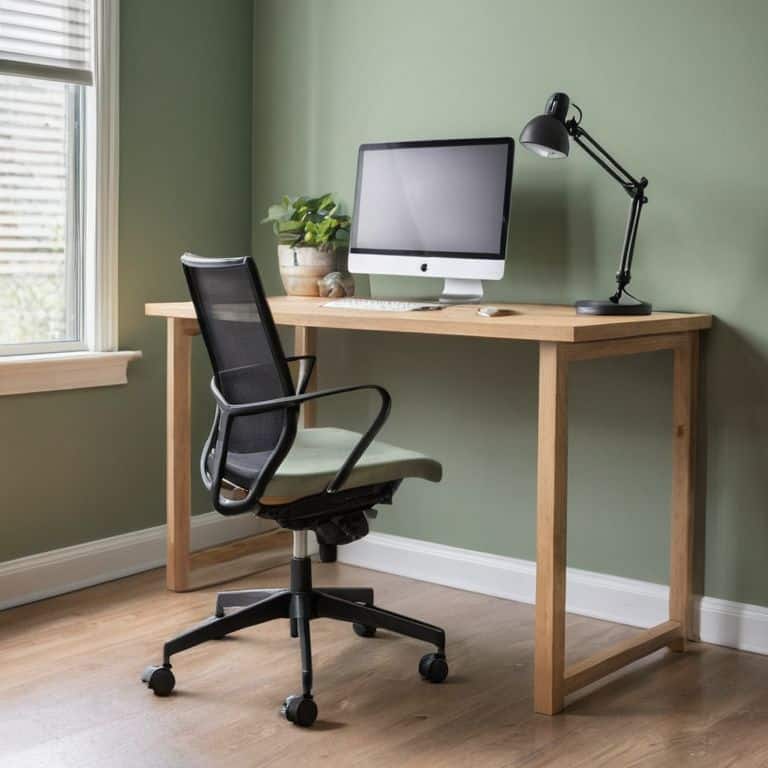
Now that we’ve got the basics covered, it’s time to get creative and think about what makes your dream desk truly special. Maybe you’re looking for diy desk plans for small spaces, or perhaps you want to incorporate some ergonomic desk design tips to make your workspace more comfortable. Whatever your vision, remember that the beauty of building your own desk lies in its customizability.
As you start to bring your design to life, consider the materials you’re using and how they can impact the overall aesthetic. Budget friendly desk materials can be just as stylish as their pricey counterparts, and with a little ingenuity, you can create a one-of-a-kind piece that reflects your personality. Don’t be afraid to experiment and try new things – it’s all part of the fun of building something with your own hands.
When it comes to the finishing touches, think about what will make your desk truly functional and enjoyable to use. Maybe you’re a gamer looking to add some gaming desk accessories, or perhaps you’re a remote worker seeking space saving desk ideas for home office setups. Whatever your needs, remember to have fun and be patient – the end result will be worth it, and you’ll have the satisfaction of knowing you built it yourself using simple desk building tools.
Budget Friendly Materials Inside
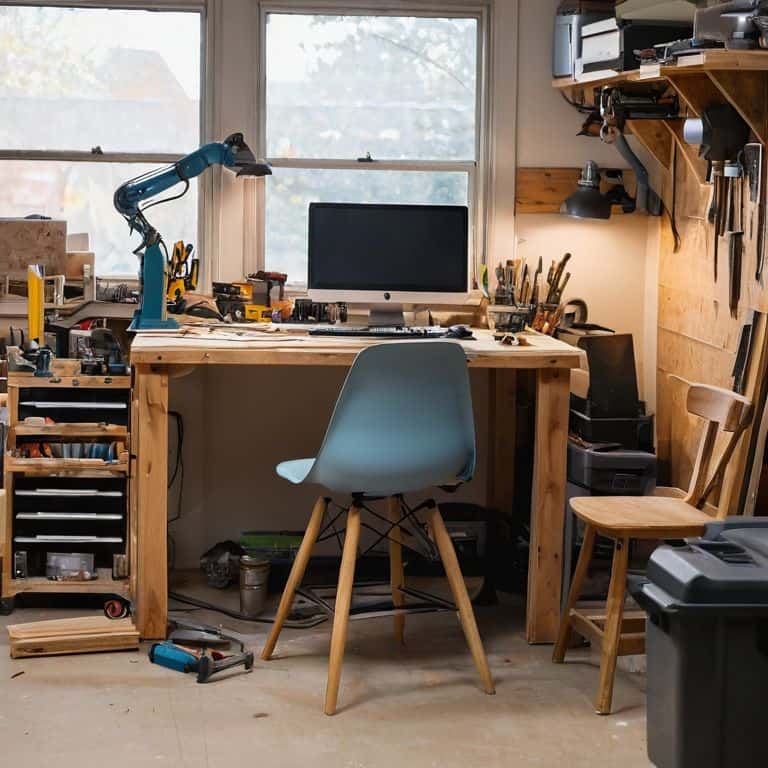
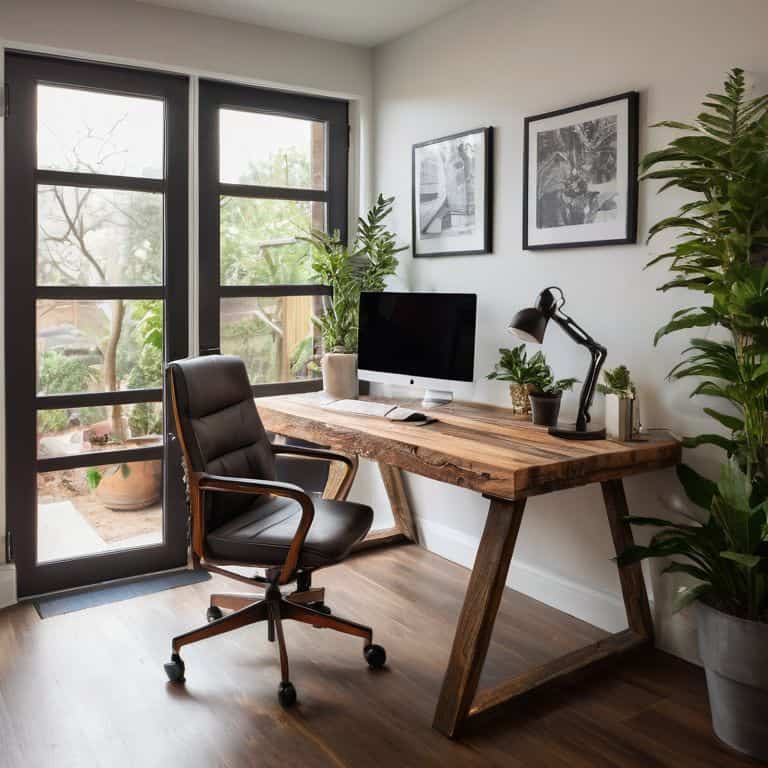
Now that we’ve explored some amazing DIY desk plans for small spaces, let’s talk about the fun part – getting creative with budget-friendly materials. I’m all about repurposing and upcycling, and your computer desk is the perfect project to get experimental with. Think reclaimed wood, old pallets, or even refurbished metal frames. Not only will you be saving some cash, but you’ll also be giving your desk a unique, one-of-a-kind vibe.
I’ve built desks using everything from vintage doors to wooden crates, and the result is always something truly special. Plus, it’s a great way to reduce waste and get your creative juices flowing. So don’t be afraid to think outside the box (or desk, in this case!) and see what kind of budget-friendly materials you can scrounge up to make your dream desk a reality.
Diy Desk Plans for Small Spaces
Now that we’ve got the basics covered, let’s talk about DIY desk plans for small spaces. I’ve worked with tiny apartments and cramped home offices, and I’ve learned that the right desk can be a game-changer. For smaller areas, consider a wall-mounted or foldable desk to save floor space. You can also get creative with corner desks or desks with built-in storage to keep your workspace clutter-free.
I’ve experimented with plenty of compact desk designs in my own workshop, and I’m excited to share some of my favorites with you. From sleek, modern designs to rustic, space-saving solutions, we’ll explore the best DIY desk plans for small spaces. Whether you’re a student, freelancer, or remote worker, I’ve got you covered with inspiring ideas to maximize your miniature workspace.
Hammering Out the Details: 5 Tips to Build Your Simple Computer Desk
- Measure Twice, Cut Once: Double-check your dimensions to ensure a perfect fit for your space and needs
- Choose Your Materials Wisely: Select woods and finishes that fit your style and budget, and don’t be afraid to get creative with repurposed materials
- Plan for Cable Management: Consider adding grommets, cable ties, or a cable management system to keep your workspace organized and clutter-free
- Add Some Personality: Incorporate unique features like a built-in USB hub, a slide-out keyboard tray, or a fun design element to make your desk truly one-of-a-kind
- Sand, Stain, and Seal: Don’t skip the finishing touches – a smooth, protected surface will make your desk look professional and last for years to come
Key Takeaways for Your Dream Computer Desk
Remember, the most important part of building your simple computer desk is to have fun and not be afraid to make mistakes – they’re an essential part of the learning process!
With a little creativity, you can turn a small, cluttered space into a productive workstation using DIY desk plans tailored for compact areas, and budget-friendly materials that won’t break the bank
Whether you’re a seasoned maker or a beginner, building your own computer desk is a rewarding project that lets you express your personality and create a space that inspires you to work, play, and maybe even start your next DIY adventure
The Joy of Creation
Building a simple computer desk isn’t just about hammering nails into wood, it’s about crafting a space that sparks creativity and fuels your passions – and that’s something every maker should experience!
Franklyn "Frank" Bishop
You Did It! Now Go Forth and Build
We’ve covered a lot of ground in this tutorial, from the initial steps of gathering materials to the final touches of assembling your very own simple computer desk. I hope you’ve had as much fun as I have guiding you through this process, and that you’re proud of the amazing work you’ve done. Whether you opted for a space-saving design from our DIY desk plans for small spaces or chose to get creative with budget-friendly materials, the sense of accomplishment you’re feeling right now is totally deserved.
As you sit down at your new desk, remember that building something with your own hands is not just about the end result – it’s about the journey, the lessons learned, and the fun you had along the way. Don’t be afraid to make mistakes or try new things; that’s where the magic happens. Keep on building, stay curious, and always remember: every project is an opportunity to create something truly awesome. Now, go forth and fill that desk with your favorite gadgets, decorations, and most importantly, your next DIY project!
Frequently Asked Questions
What are the essential tools I need to get started on building a simple computer desk?
Alright, let’s get started! To build that simple computer desk, you’ll need the essentials: a circular saw, drill press, sandpaper, and a trusty tape measure. Don’t forget a square and some clamps to keep everything in place. Now, let’s fire up those power tools and get creative!
How do I ensure my DIY computer desk is sturdy and durable for long-term use?
Sturdiness is key, my friend! To ensure your DIY desk is rock-solid, focus on using heavy-duty materials, like solid wood or metal, and don’t skimp on the screws and brackets. I also like to add some extra reinforcement, like corner brackets or a lower shelf, to keep things stable and durable for the long haul.
Can I customize the design and size of my computer desk to fit my specific workspace or decor?
Absolutely, my friend! The beauty of building your own desk is that you can tailor it to your unique space and style. Want a corner desk, a standing desk, or a desk with built-in storage? The possibilities are endless! Grab a pencil and paper, and let’s sketch out a design that fits your vibe and workspace like a glove.