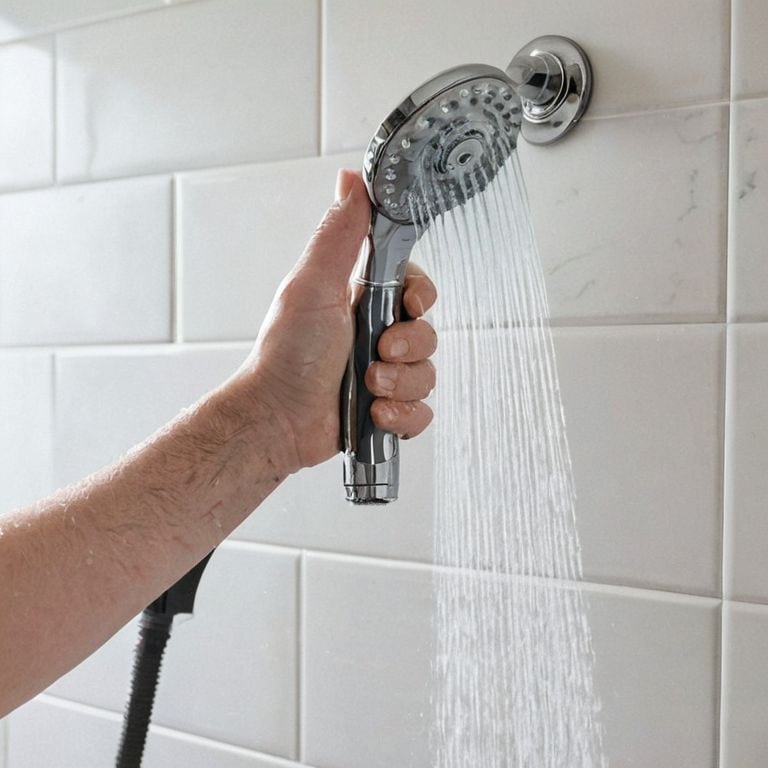
I still remember the first time I tried to replace a shower head – it was a disaster. I mean, who thinks it’s a good idea to wrestle with a rusty old pipe at 8 am on a Sunday? But, as it turns out, a guide to replacing a shower head doesn’t have to be a daunting task. In fact, it’s one of the simplest DIY projects you can tackle, and it can make a huge difference in your daily routine. I’ve learned that with the right tools and a bit of patience, you can swap out that old shower head in no time.
So, what can you expect from this article? I’ll walk you through the entire process, from preparing your tools to troubleshooting common issues. You’ll get honest, no-nonsense advice on how to choose the right replacement shower head, and how to install it without losing your mind. My goal is to make this process fun and accessible, so you can enjoy the satisfaction of a job well done. By the end of this guide, you’ll be a pro at replacing shower heads, and you’ll wonder why you ever thought it was a difficult task in the first place.
Table of Contents
- Guide Overview: What You'll Need
- Step-by-Step Instructions
- A Guide to Replacing a Shower Head
- 5 Essential Tips for a Smooth Shower Head Swap
- Key Takeaways for a Successful Shower Head Swap
- The Joy of DIY Shower Head Replacement
- Wrapping Up Your Shower Head Replacement Project
- Frequently Asked Questions
Guide Overview: What You'll Need
Total Time: 30 minutes to 1 hour
Estimated Cost: $10 – $30
Difficulty Level: Easy
Tools Required
- Adjustable Wrench for removing old shower head
- Teflon Tape for threading new shower head
- Needle-Nose Pliers for reaching small areas
Supplies & Materials
- New Shower Head with compatible thread type
- Plumber’s Teflon Tape for sealing threads
- Shower Head Mounting Nut if not included with new shower head
Step-by-Step Instructions
- 1. First, let’s get started by gathering our tools and materials, which should include a new shower head, a wrench or pliers, and some Teflon tape. I like to lay everything out on my workbench, just to make sure I’ve got all my ducks in a row before we dive in.
- 2. Next, we need to shut off the water supply to the shower. This is usually done by locating the shut-off valves and turning them clockwise. Don’t worry if you’re not sure where they are – it’s an easy mistake to make, and we can always refer to our trusty plumbing diagram if needed.
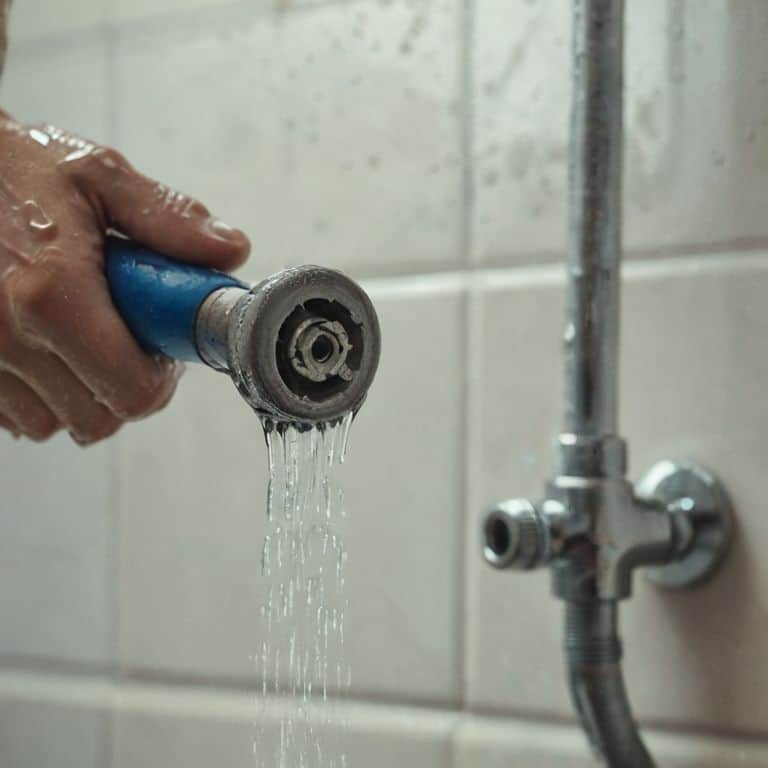
- 3. Now that the water’s off, let’s remove the old shower head. This typically involves using our wrench or pliers to loosen the nut that holds it in place. Be careful not to strip the threads, but don’t worry if it takes a bit of elbow grease – we’re making progress, and that’s what counts.
- 4. With the old shower head removed, let’s take a moment to inspect the threads and make sure they’re not damaged. If they are, we might need to use a thread repair kit to get everything back in working order. But for now, let’s just focus on getting our new shower head ready to go.
- 5. To do that, we’ll need to apply some Teflon tape to the threads. This will help create a watertight seal and prevent any leaks down the line. I like to use a few wraps of tape, just to be safe – it’s always better to err on the side of caution when it comes to preventing water damage.
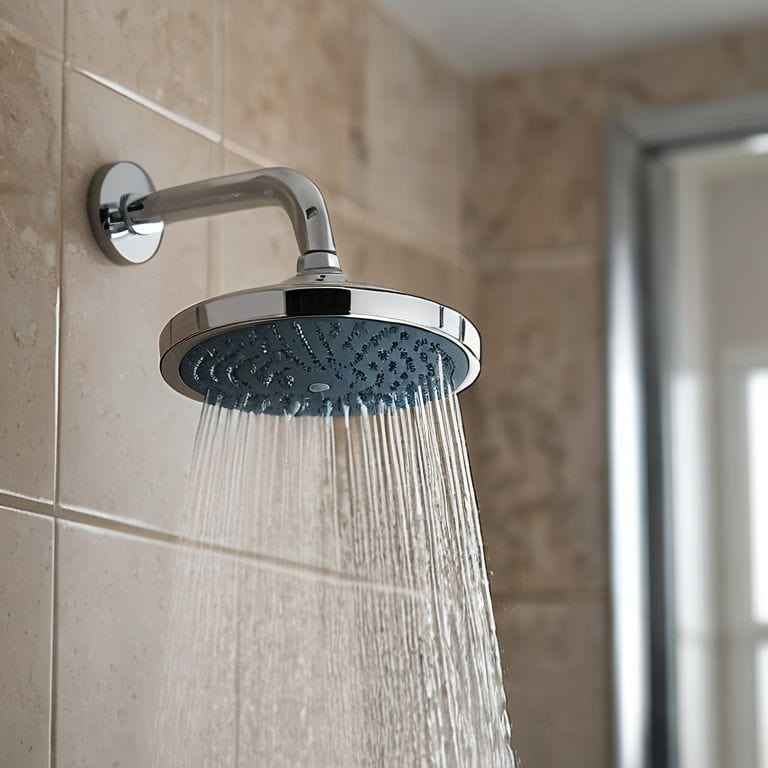
- 6. Now it’s time to install our new shower head. Simply thread it onto the shower arm, and use our wrench or pliers to tighten it up. Don’t overtighten, though – we don’t want to risk stripping the threads or damaging the shower head.
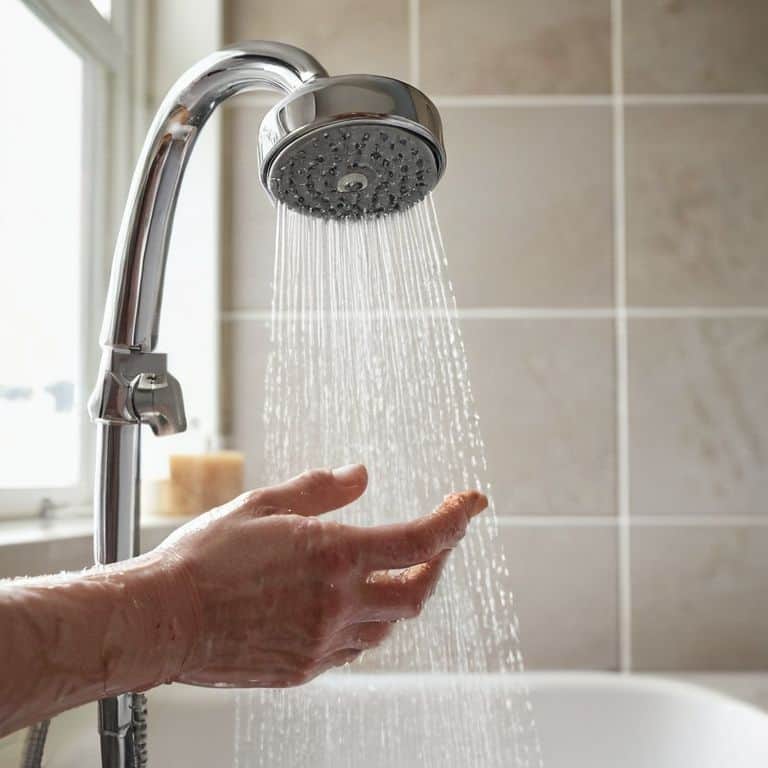
- 7. Finally, let’s turn the water back on and test our handiwork. Run the shower for a few minutes to make sure there are no leaks, and that the water’s flowing smoothly. If everything checks out, we’re good to go – and we can stand back and admire our handy work.
A Guide to Replacing a Shower Head
As we dive into the world of shower head replacement, it’s essential to consider the low flow shower head installation. This type of shower head can help reduce water consumption while maintaining a satisfying shower experience. When choosing a new shower head, look for one that’s designed to work well with your water pressure. The best shower head for water pressure will depend on your specific plumbing setup, so be sure to research and read reviews before making a purchase.
One of the most significant advantages of replacing your shower head is the opportunity to add a shower head filter. These filters can help remove impurities and minerals from the water, leaving your skin and hair feeling softer and cleaner. Additionally, a new shower head can help alleviate common shower head problems like low water pressure or uneven spray patterns. To make the replacement process smoother, consider investing in shower head removal tools, which can help you remove the old shower head without damaging the pipes.
When it comes to diy shower head replacement tips, one of the most important things to remember is to turn off the water supply before starting the project. This may seem obvious, but it’s a crucial step to avoid any messy accidents or water damage. By following these tips and choosing the right shower head for your needs, you can enjoy a more satisfying and water-efficient shower experience.
Diy Shower Head Replacement Made Easy
Now that we’ve got the basics covered, let’s talk about what makes DIY shower head replacement a breeze. For me, it’s all about having the right mindset – and a few trusty tools, of course! I like to think of it as a fun little project to tackle on a Sunday afternoon, with some good tunes playing in the background. With a bit of patience and some basic DIY skills, you’ll be enjoying a refreshing, high-pressure shower in no time.
I’ve found that the key to a successful DIY shower head replacement is to take your time and don’t be afraid to get a little creative. If something doesn’t quite fit, or you strip a thread (hey, it happens to the best of us!), just roll with it and find a workaround. That’s all part of the fun, right?
Low Flow Shower Head Installation Tips
Now that we’ve got the basics covered, let’s dive into some tips for installing a low flow shower head. I’ve worked with these eco-friendly options before, and I’ve learned a thing or two about getting the most out of them. First, make sure you’ve got the right threading – you don’t want any leaks or water waste, right? Also, consider the water pressure in your home, as low flow shower heads work best with lower pressure systems.
When installing, take your time and thread it on slowly, making sure not to cross-thread the connection. A little Teflon tape can go a long way in ensuring a watertight seal. With these tips, you’ll be enjoying a refreshing, water-efficient shower in no time!
5 Essential Tips for a Smooth Shower Head Swap
- Choose the Right Shower Head: Don’t just grab any old shower head – think about the kind of shower experience you want, from gentle rainfall to intense massage
- Turn Off the Water Supply: Don’t get soaked! Locate that shut-off valve and turn it clockwise to stop the water flow before you start tinkering
- Clean Out the Old Threads: Use some Teflon tape and a wire brush to get rid of any mineral buildup or old gunk on the shower arm threads – it’ll make the new shower head install a breeze
- Hand-Tighten First: Before you bust out the wrench, hand-tighten the new shower head to get it started – you don’t want to strip those threads, buddy
- Test It Out: Turn the water back on and check for leaks – if everything’s good to go, give yourself a high-five and enjoy your shiny new shower head!
Key Takeaways for a Successful Shower Head Swap
Always turn off the water supply before starting the replacement process to avoid any messy surprises
Choose a shower head that fits your needs, whether it’s a low-flow model for water conservation or a high-pressure one for a spa-like experience
Don’t be too hard on yourself if things don’t go exactly as planned – a few ‘happy accidents’ can lead to a more personalized and satisfying DIY experience
The Joy of DIY Shower Head Replacement
Replacing a shower head isn’t just about fixing a leak or upgrading to a fancy new model – it’s about taking control of your daily routine and making a small but meaningful improvement to your life, one DIY project at a time.
Franklyn "Frank" Bishop
Wrapping Up Your Shower Head Replacement Project
You’ve made it through the guide, and by now, you should be enjoying your brand new shower head. Let’s do a quick recap: we started with the basics of preparing your tools and space, then dove into the step-by-step process of removing the old shower head and installing the new one. We also covered some valuable tips for a low flow shower head installation and how to make the entire process of DIY shower head replacement as smooth as possible. Remember, the key to a successful DIY project is to take your time, be patient, and not be afraid to make a few happy accidents along the way.
As you stand under the refreshing water flowing from your newly installed shower head, take a moment to appreciate the sense of accomplishment that comes with creating something with your own hands. Don’t stop here – keep pushing your DIY boundaries, and who knows, you might just find yourself restoring vintage tools or building your own custom planters in no time. The world of DIY is full of endless possibilities, and I’m excited to see what you’ll create next. Keep on making, and let’s get our hands dirty again soon!
Frequently Asked Questions
What are the most common mistakes to avoid when replacing a shower head?
Don’t overtighten, buddy – that’s the biggest mistake. You’ll strip the threads and be in for a world of trouble. Also, forgetting to turn off the water supply can lead to a messy flood. And, please, don’t skip the Teflon tape – it’s a game-changer for leaks.
How do I know which type of shower head is compatible with my existing plumbing?
Ah, great question, buddy! To find a compatible shower head, check your existing one’s thread type – it’s usually 1/2″ NPT or 3/4″ NPT. You can also look for the manufacturer’s specs or measure the threads yourself. Don’t worry, it’s easier than you think, and I’ve got a video on my channel showing you how to do it!
Are there any additional tools or materials I'll need to purchase to complete the replacement process?
Don’t worry, buddy, you likely have most of the tools already! You’ll need a wrench or pliers, Teflon tape, and possibly a shower head removal tool. If you’re feelin’ fancy, grab some pipe dope for extra security. Other than that, just your new shower head and you’re golden!