I still remember the first time I had to patch a hole in drywall – it was a frustrating experience, to say the least. I was working on a DIY project in my dad’s garage, and I ended up with a gaping hole in the wall. My dad, being the handy guy he is, showed me that it’s not as daunting as it seems. He told me that the key to a successful repair is not to be intimidated by the process, and that’s exactly what I want to pass on to you. If you’re wondering how to patch a hole in drywall, you’re in the right place.
In this article, I’ll share my personal experience and tips on how to make the process as smooth as possible. I’ll walk you through the steps, from preparing the area to applying the final coat of paint. You’ll learn how to choose the right materials, avoid common mistakes, and achieve a seamless finish. My goal is to make you feel confident and empowered to tackle this project on your own, so you can enjoy the satisfaction of a job well done. By the end of this guide, you’ll be equipped with the knowledge and skills to patch a hole in drywall like a pro, and you’ll be ready to take on your next DIY adventure.
Table of Contents
Guide Overview: What You'll Need
Total Time: 1 hour 30 minutes
Estimated Cost: $20 – $40
Difficulty Level: Easy
Tools Required
- Utility Knife (with extra blades)
- Screwdriver (flathead and Phillips)
- Sandpaper (medium-grit)
- Mud Pan (for mixing compound)
- Putty Knife (6 inches wide)
- Drill (optional, for large holes)
Supplies & Materials
- Drywall Patch Kit
- Joint Compound (also known as spackling compound)
- Sandable Filler (optional, for large holes)
- Drywall Tape (for reinforcing edges)
- Paint (to match the surrounding area)
Step-by-Step Instructions
- 1. First, let’s get prepared for the patching process by gathering all the necessary materials, including a putty knife, some joint compound, a sanding block, and a piece of drywall that matches the thickness and texture of the wall we’re working on. I like to lay out all my tools and materials in my workshop, which can get a bit messy, but I find it helps me stay organized and focused on the task at hand.
- 2. Next, we need to clean up the area around the hole, making sure there are no loose debris or dust particles that could interfere with our patching process. Use a vacuum cleaner or a damp cloth to wipe down the surrounding area, and let it dry completely before moving on to the next step. This is an important step, as it ensures a strong bond between the patch and the existing drywall.
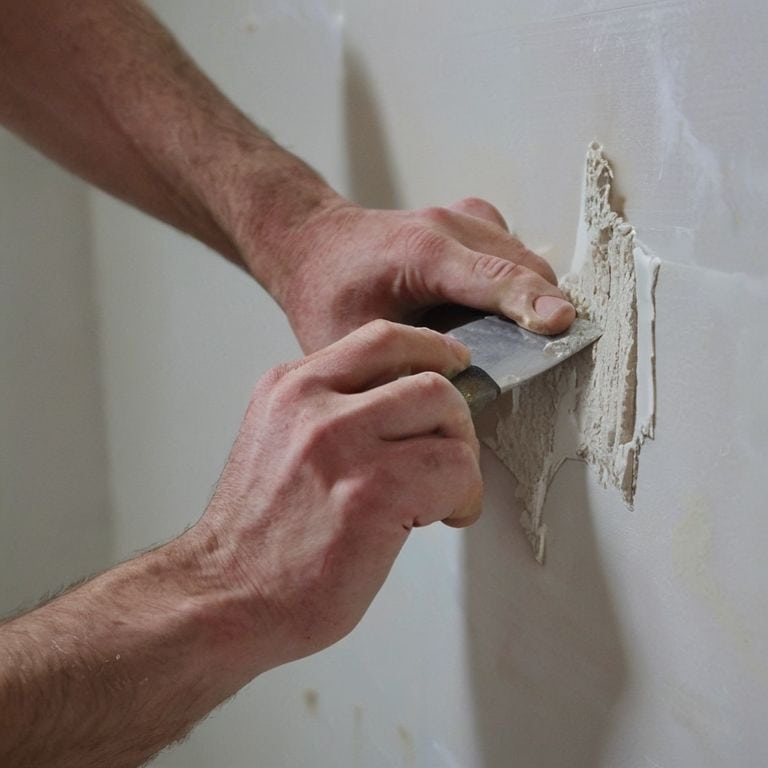
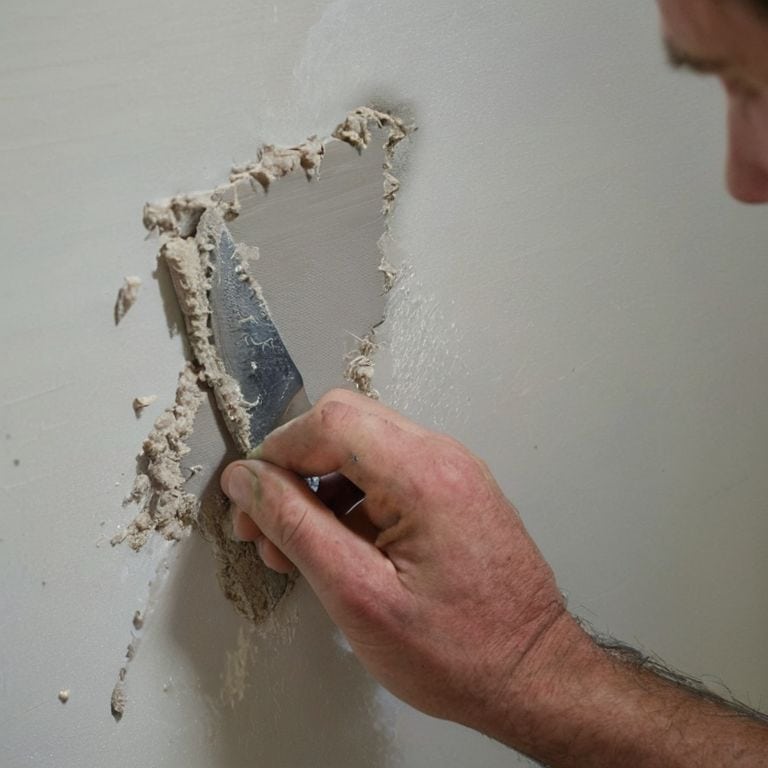
- 3. Now it’s time to apply the joint compound to the back of our drywall patch and to the area around the hole. Use a generous amount, but don’t overdo it – we don’t want excess compound squeezing out when we press the patch into place. I like to use a putty knife to spread it evenly, making sure to cover the entire area where the patch will be applied.
- 4. With our compound in place, it’s time to press the patch into position, starting from the center and working our way outwards. Use a putty knife or a drywall taping knife to apply gentle pressure, making sure the patch is firmly attached to the surrounding drywall. If some compound squeezes out, don’t worry – we can clean that up later.
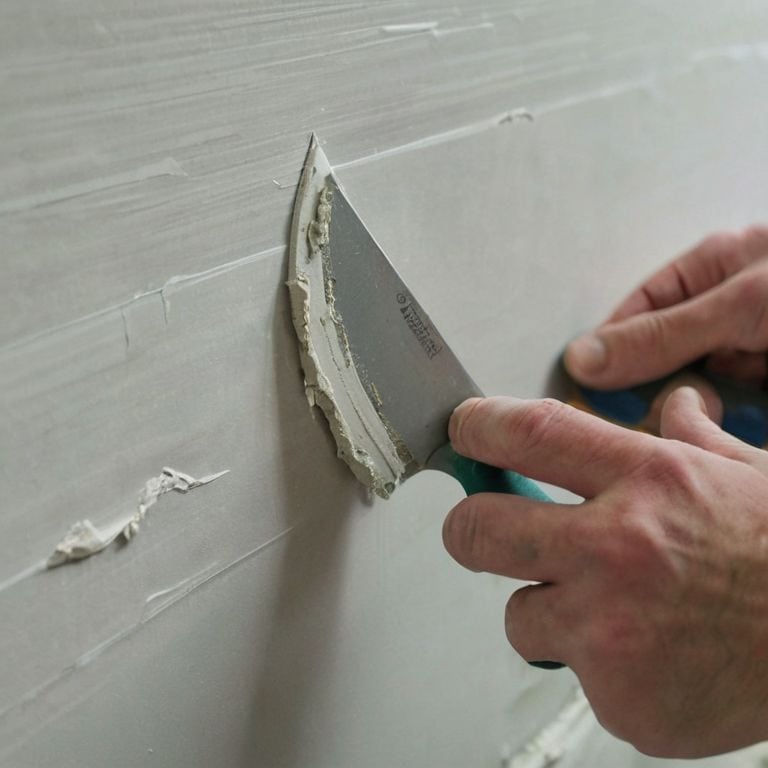
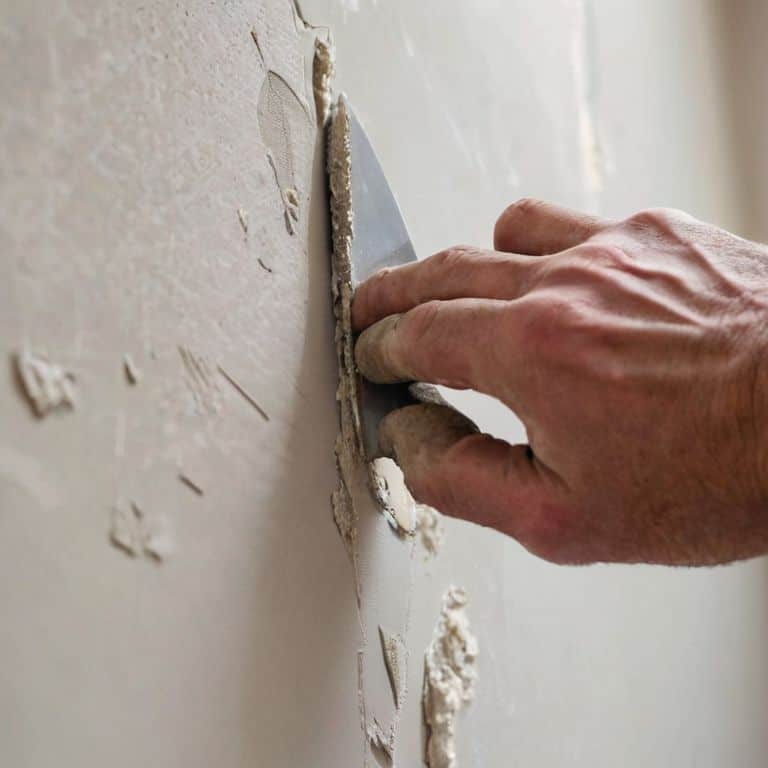
- 5. Once the patch is in place, we need to secure it with some drywall tape, applying it to the edges of the patch and pressing it firmly onto the surrounding drywall. Use a putty knife to apply a thin layer of joint compound over the tape, making sure to feather it out towards the edges so it blends in with the surrounding area.
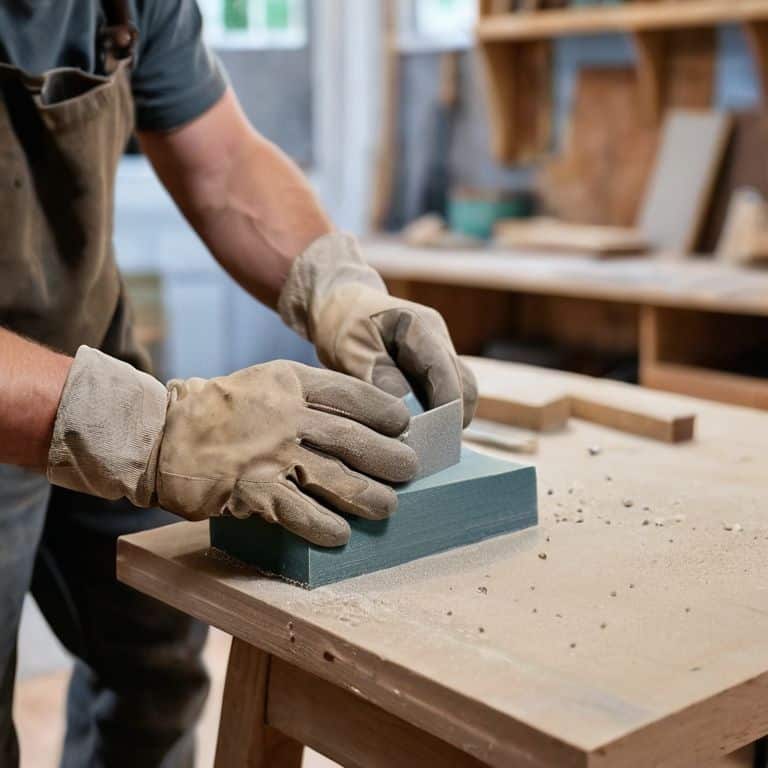
- 6. The next step is to apply additional coats of joint compound, allowing each coat to dry completely before sanding it down to a smooth finish. I like to use a sanding block to keep the surface even, and a damp cloth to wipe away any dust or debris. This process can be a bit tedious, but trust me, it’s worth it in the end.
- 7. Finally, after our final coat of compound has dried, it’s time to sand the area to a smooth finish, using progressively finer grits of sandpaper to get the job done. I like to use a combination of a sanding block and some handheld sandpaper to get into all the nooks and crannies, and to make sure the patch is completely seamless. And that’s it – with these steps, you should be able to patch a hole in drywall like a pro!
Patching Drywall Like a Pro
When it comes to patching drywall, there are a few drywall patching techniques that can make all the difference. One of my favorites is using a mesh patch to reinforce the area around the hole. This is especially useful for larger holes or areas with multiple cracks. By applying a layer of joint compound and then pressing the mesh into place, you can create a strong and durable bond that will help prevent future damage.
As you work on fixing the hole, keep in mind that common drywall damage causes can include everything from accidental bumps to water damage. Being aware of these potential hazards can help you take steps to prevent them in the future. For example, if you’re planning a renovation project, consider using a drywall repair tools list to ensure you have everything you need to make any necessary repairs.
Once you’ve applied the patch and allowed it to dry, it’s time to start sanding drywall joints. This can be a bit of a tedious process, but trust me, it’s worth it. By taking the time to smooth out the area and feather the edges, you can create a seamless finish that will blend in perfectly with the surrounding wall. And remember, the key to a successful patch job is to be patient and take your time – don’t rush it, and you’ll be amazed at how professional the final result looks.
Fixing Holes With Mesh Magic
Now that we’ve got the basics covered, let’s talk about taking your drywall patching game to the next level. I like to call it “Mesh Magic” – it’s all about using a mesh patch to add some extra strength and stability to your repair. This is especially handy for larger holes or areas where you need a bit more reinforcement. By applying a mesh patch over the hole, you can create a super-strong bond that’ll make your drywall good as new.
I’ve got a few tricks up my sleeve for working with mesh patches, and I’m excited to share them with you. From choosing the right type of mesh to applying it like a pro, we’ll dive into the details of this handy technique. With a little practice, you’ll be fixing holes like a seasoned pro in no time!
Sanding Joints for a Seamless Finish
Now that we’ve got our mesh in place, it’s time to sand those joints into submission. I like to think of sanding as the secret sauce to a seamless finish. Grab your trusty sanding block and start with a coarse grit, working your way up to finer and finer grains. Don’t be afraid to get a little aggressive – you want to feather those edges out so they disappear into the surrounding drywall.
As you sand, keep an eye out for any bumps or imperfections. If you find any, just hit ’em with a little more joint compound and sand again. Remember, it’s all about building up those layers and sanding them down to a smooth finish. And don’t worry if it takes a few tries to get it just right – that’s all part of the process, and I love the thrill of seeing it all come together!
Patch Like a Pro: 5 Essential Tips to Get You Started
- Let the compound set – don’t rush the drying process, or you’ll end up with a patch that’s more noticeable than the original hole!
- Choose the right sandpaper grit – you don’t want to scratch that drywall, buddy, so start coarse and work your way up to smooth!
- Mesh patches are your friend – especially for bigger holes, they provide a sturdy base for your compound to adhere to, making the fix way more durable
- Don’t overdo it with the joint compound – too much and you’ll be sanding for days, too little and the patch won’t hold; it’s all about finding that sweet spot!
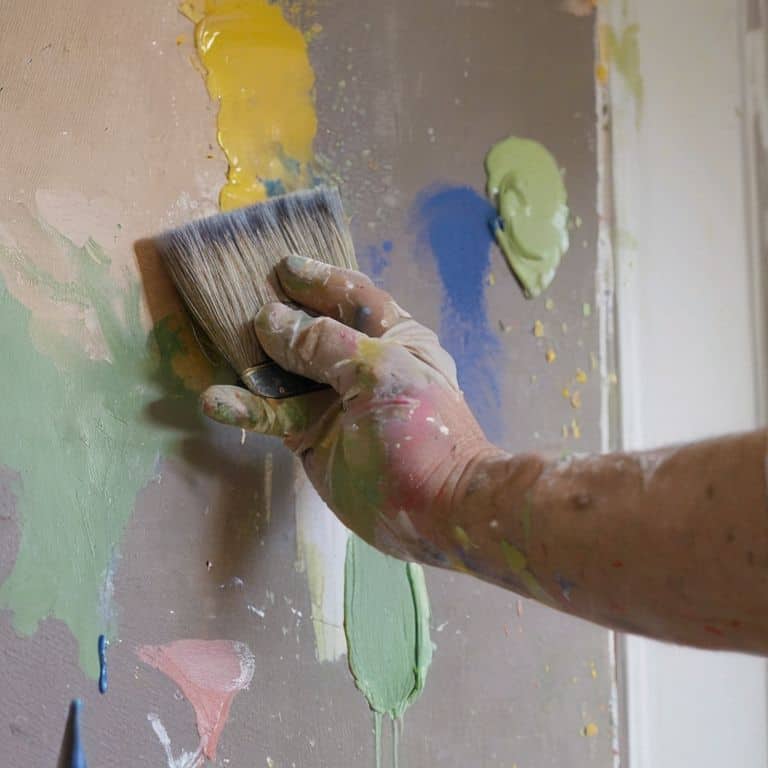
- Prime before you paint – trust me, the last thing you want is for your patch to stand out like a sore thumb; a good prime job will make it blend in seamlessly with the rest of the wall
Your Patching Success in 3 Key Takeaways
Always remember, fixing a hole in drywall is all about the prep work – take your time with the joint compound and sanding for a seamless finish
Don’t be afraid to get a little creative with your patching job, whether it’s using mesh for extra support or experimenting with different types of compound
With practice and patience, you’ll be patching like a pro in no time – just keep in mind that it’s okay to make mistakes, they’re all part of the learning process and can often lead to some amazing happy accidents
The Patching Philosophy
Patching a hole in drywall isn’t just about filling a gap, it’s about embracing the imperfections and turning them into an opportunity to create something stronger and more beautiful than before – that’s the magic of DIY, my friends!
Franklyn "Frank" Bishop
You Did It!
We’ve covered a lot of ground in this tutorial, from the basics of patching a hole in drywall to more advanced techniques like using mesh for extra strength and sanding for a seamless finish. By following these steps, you should now have the confidence to tackle any drywall repair project that comes your way. Remember, the key to success lies in taking your time and being patient with the process – don’t be afraid to make mistakes, as they’re an essential part of the learning curve.
As you put down your tools and step back to admire your handiwork, remember that the joy of creating something with your own hands is what it’s all about. Don’t be satisfied with just a functional repair – strive for a professional-looking finish that you can be proud of. Keep pushing yourself to try new things, and most importantly, have fun with the process. Happy building, and I’ll catch you in the next tutorial!
Frequently Asked Questions
What if the hole in my drywall is really large, do I need to use a different technique to patch it?
No worries, buddy! For larger holes, we’ll need to bring in the big guns – or rather, a drywall repair kit or a piece of plywood backing for extra support. We’ll still use joint compound, but with some added reinforcement to ensure a solid patch. I’ve got a video on my channel showing this exact process, so be sure to check it out for a visual walkthrough!
Can I use a regular joint compound or do I need a special kind for patching drywall holes?
Hey, great question! For patching drywall holes, you can totally use a regular joint compound – it’s what I reach for most of the time. Just make sure you get the all-purpose kind, and you’re good to go! Some folks swear by the specialized patching compounds, but honestly, the regular stuff works like a charm for me.
How long should I wait for the compound to dry before sanding it down to a smooth finish?
Ah, great question, buddy! For a smooth finish, wait at least 24 hours for the compound to dry completely. You can also use a fan to speed up the process, but don’t rush it – patience is key! Once it’s dry, sand it down with a fine-grit sandpaper and you’ll be golden!