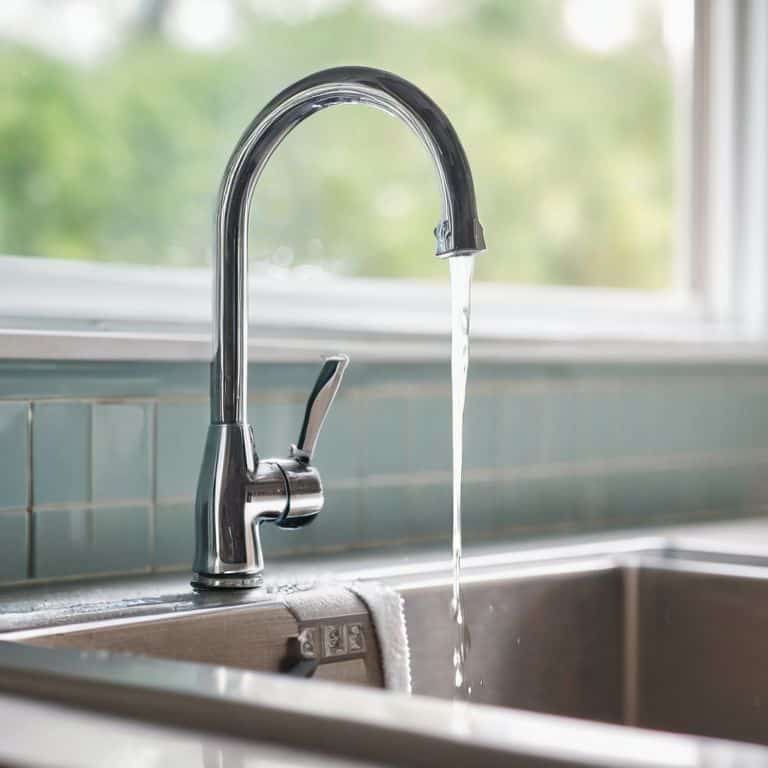
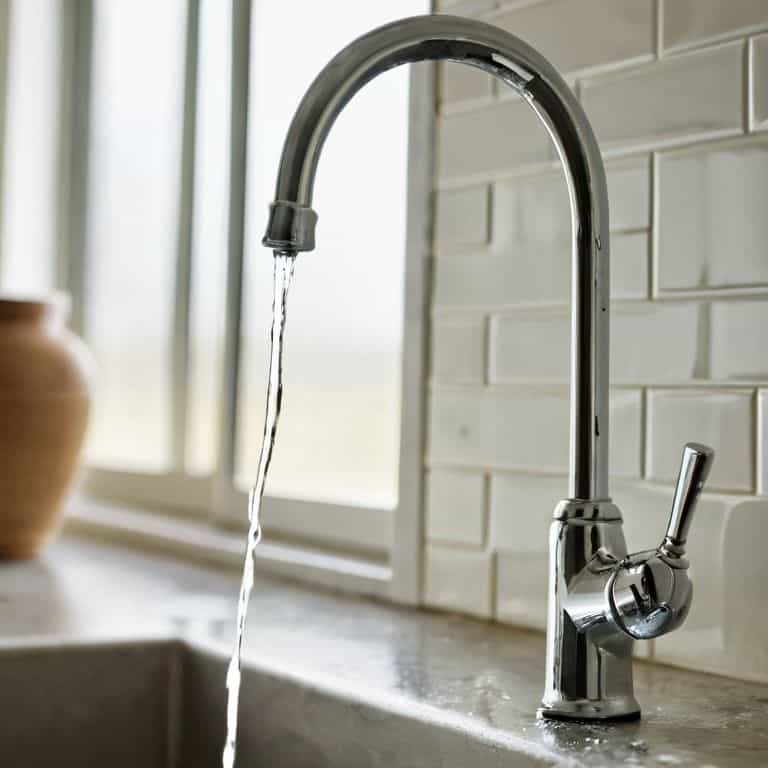
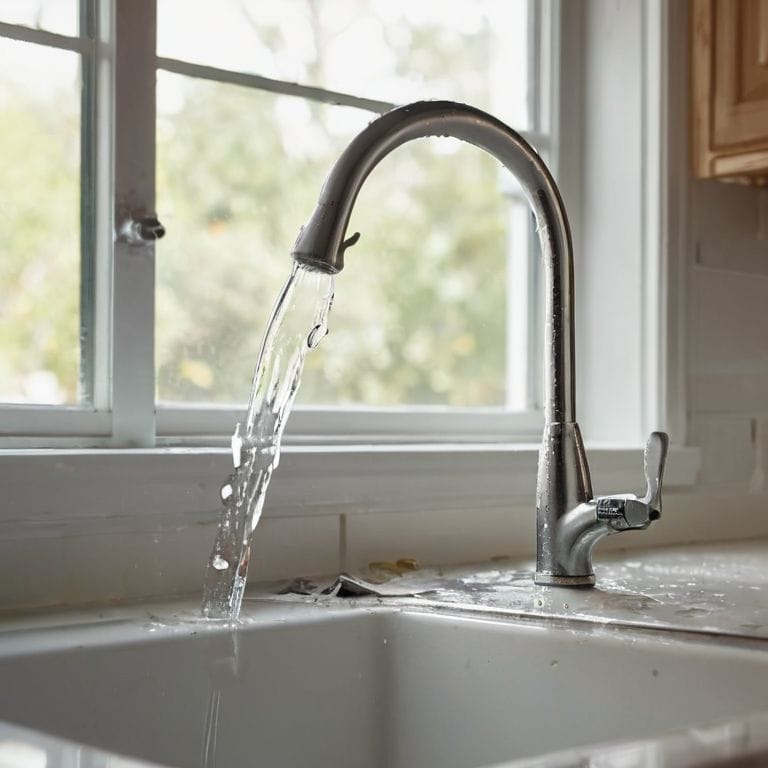
I still remember the first time I tried to fix a leaky kitchen faucet in my own home – it was a disaster. I was covered in water, and my DIY attempt had made the situation worse. But, as I always say, making a mistake is the most important part of learning. I learned that day that fixing a leaky faucet isn’t as complicated as it seems, and it’s definitely not a job for a professional plumber. The truth is, how to fix a leaky kitchen faucet is a skill that can be mastered with the right guidance and a bit of patience.
In this article, I’ll share my honest, no-hype advice on how to fix a leaky kitchen faucet, and I promise you’ll be able to tackle the job with confidence. I’ll walk you through the process, from shutting off the water supply to replacing the faulty parts, and provide you with practical tips and tricks to make the job easier. My goal is to empower you to take on this DIY project and enjoy the sense of satisfaction that comes with fixing something with your own hands. So, let’s get started and turn that leaky faucet into a thing of the past!
Table of Contents
Guide Overview: What You'll Need

Total Time: 1 hour 30 minutes
Estimated Cost: $20 – $40
Difficulty Level: Intermediate
Tools Required
- Adjustable Wrench (for loosening faucet parts)
- Channel-Type Pliers (for gripping small parts)
- Needle-Nose Pliers (for reaching tight spaces)
- Teflon Tape (for threaded pipe connections)
- Screwdriver (flathead and Phillips)
Supplies & Materials
- Faucet Cartridge or O-Ring (depending on faucet type)
- Faucet Gasket (if damaged or worn out)
- Plumber’s Putty (for creating watertight seals)
- Pipe Wrench (for 1/2 inches or 3/4 inches pipe connections)
Step-by-Step Instructions
- 1. First, let’s get started by shutting off the water supply under the sink, or we’ll be dealing with a mini-geyser. Locate the shut-off valves and turn them clockwise until they stop. Open the faucet to drain the water from the pipes, and then turn it off again.
- 2. Next, we need to disassemble the faucet to get to the source of the leak. You’ll typically find a screw or clip that holds the handle in place. Remove it, and gently pull the handle off. Be careful not to damage any of the surrounding components.
- 3. Now it’s time to identify the leaky component. Inspect the O-rings, gaskets, and valves for any signs of wear or damage. If you’re not sure what you’re looking for, don’t worry – it’s all part of the process. Take your time, and remember, making a mistake is just an opportunity to learn.
- 4. Once you’ve found the culprit, it’s time to replace the faulty part. This might be an O-ring, a gasket, or even a valve. Make sure you have the right replacement part before you start, and follow the manufacturer’s instructions for installation. Don’t be afraid to get a little creative with your problem-solving – it’s all part of the fun.
- 5. With the new part in place, it’s time to reassemble the faucet. Make sure everything is securely fastened, but don’t overtighten – you don’t want to damage any of the components. Take your time, and remember to double-check your work as you go.
- 6. Now that everything is back together, it’s time to turn the water supply back on and test the faucet. Turn the shut-off valves counterclockwise, and then turn on the faucet to check for leaks. If you’ve done everything correctly, you should be leak-free – but if not, don’t worry, it’s just a chance to learn and improve.
- 7. Finally, take a step back and admire your handiwork. You’ve just fixed that leaky faucet like a boss, and you should be proud of yourself. Take a moment to reflect on what you’ve learned, and think about what you’ll tackle next in your DIY journey.
Fix Leaky Faucet Like Pro
To take your faucet repair game to the next level, it’s essential to understand the importance of proper diagnosis. Before you start disassembling your kitchen faucet, make sure you’ve identified the source of the leak. Kitchen faucet leak detection can be as simple as observing where the water is coming from, but it’s crucial to get it right to avoid unnecessary repairs.
When it comes to replacing worn-out parts, a faucet cartridge replacement guide can be incredibly helpful. This will walk you through the process of removing the old cartridge and installing a new one, which often requires some finesse. Don’t forget to also inspect the o ring seal replacement tips, as these small components can make a big difference in preventing future leaks.
As you work on your faucet, having the right plumbing tools for faucet repair can make all the difference. From basin wrenches to channel-type pliers, having these tools at your disposal will save you time and frustration. Remember, common kitchen faucet problems can often be solved with a little patience and the right know-how, so don’t be discouraged if you encounter a setback – it’s all part of the learning process, and with practice, you’ll be a pro at diy faucet repair for beginners in no time.
Diy Faucet Cartridge Replacement
Now that we’ve detected the leak, it’s time to get our hands dirty with some DIY magic. Replacing the faucet cartridge is like giving your faucet a brand new heart – it’s a game-changer. I like to think of it as a fun little puzzle, where we get to take out the old, worn-out parts and swap them with shiny new ones. First, we’ll need to shut off the water supply (don’t forget, or you’ll be singing “I’m drowning in a sea of water”!).
Let’s get started by disassembling the faucet handle and removing the old cartridge. This is where things can get a bit tricky, but don’t worry, with some patience and the right tools, you’ll be a pro in no time. I always say, the best part of DIY is the journey, not just the destination – so, let’s enjoy the ride and get that faucet fixed like a boss!
Kitchen Faucet Leak Detection Tips
Now that we’ve got our hands dirty and fixed that leaky faucet, let’s talk about how to detect those sneaky leaks in the first place. I’ve found that a simple food coloring test can be a game-changer – just add a few drops to the water reservoir and wait to see if any color seeps into the faucet’s handles or spout.
You can also keep an ear out for any hissing sounds when the faucet’s off, or check your water bill for any unexpected spikes. These little tips can save you a ton of hassle (and water) down the line, and they’re dead simple to implement.
5 Essential Tips to Fix That Leaky Kitchen Faucet
- Shut off the water supply before you start tinkering, trust me, you don’t want a flooded kitchen to add to your woes!
- Use the right tools for the job, a basin wrench is your best friend when it comes to reaching those hard-to-access faucet parts
- Identify the source of the leak, is it the O-ring, the gasket, or maybe the faucet cartridge? Knowing this will save you a ton of time and frustration
- Don’t be afraid to get a little creative with your repairs, sometimes a leaky faucet just needs a good old-fashioned DIY hack to get it working like new again
- Take your time and be patient, fixing a leaky faucet can be a bit of a puzzle, but with the right mindset and a willingness to learn, you’ll be a pro in no time!
Key Takeaways to Fix That Leaky Faucet
Shut off the water supply before starting any repairs to avoid a flooded mess, and make sure you’ve got the right tools for the job – it’s all about being prepared, my friend!
Detecting the leak source is crucial: check the faucet’s O-rings, gaskets, and valve seats for signs of wear or damage, and don’t be afraid to get a little creative with your trouble-shooting – after all, that’s what DIY is all about!
Replacing the faucet cartridge or worn-out parts is a breeze with the right guidance: take your time, follow the manufacturer’s instructions, and don’t hesitate to reach out if you need a hand – or just want to show off your handy work, because, let’s be honest, fixing a leaky faucet is a definite bragging right!
The Fixer's Philosophy
A leaky faucet isn’t just a nuisance, it’s an invitation to get creative, get messy, and turn a frustrating problem into a fun DIY project – so, let’s dive in and make some waves!
Franklyn "Frank" Bishop
Wrapping Up Your Leaky Faucet Fix
We’ve covered a lot of ground in this journey to fix that pesky leaky kitchen faucet. From shutting off the water supply to navigating the world of DIY faucet cartridge replacement, it’s been a hands-on adventure. The key takeaway is that with the right tools and a bit of patience, you can turn a leaky faucet into a minor annoyance of the past. Don’t forget those kitchen faucet leak detection tips we discussed earlier – they’re crucial for identifying issues before they become major problems. And when it comes to the actual fix, remember that DIY faucet cartridge replacement is entirely within your reach.
As you stand back to admire your handiwork, remember that the joy of DIY isn’t just about fixing things; it’s about creating something with your own hands. Every project, no matter how small, is an opportunity to learn, to grow, and to feel a sense of pride and accomplishment. So, don’t be afraid to get a little messy, to make mistakes, and to learn from them. Because in the end, it’s not just about fixing a leaky faucet – it’s about becoming the kind of person who can tackle any project that comes their way, with confidence, creativity, and a willingness to get their hands dirty.
Frequently Asked Questions
What are the most common causes of a leaky kitchen faucet?
Alright, buddy, let’s get to the root of the problem! Leaky kitchen faucets are usually caused by worn-out O-rings, corroded valves, or faulty cartridges. Sometimes, it’s just a loose connection or mineral buildup. Don’t worry, we’ll dive into each of these common culprits and get your faucet fixed in no time!
How do I know if I need to replace the entire faucet or just a single part?
Ah, great question, buddy! If you’ve got a leaky faucet, don’t assume you need to replace the whole thing just yet. Check the aerator, O-rings, and cartridge first – those are usually the culprits. If you’ve already tried replacing those and the leak persists, it might be time to consider a new faucet. Let’s diagnose it together!
Can I fix a leaky kitchen faucet with worn-out O-rings or do I need to replace the whole cartridge?
Don’t worry, buddy, worn-out O-rings are a common culprit behind leaky faucets. You can usually replace just the O-rings, but if they’re corroded or the cartridge’s damaged, it’s best to swap out the whole cartridge for a fresh start.