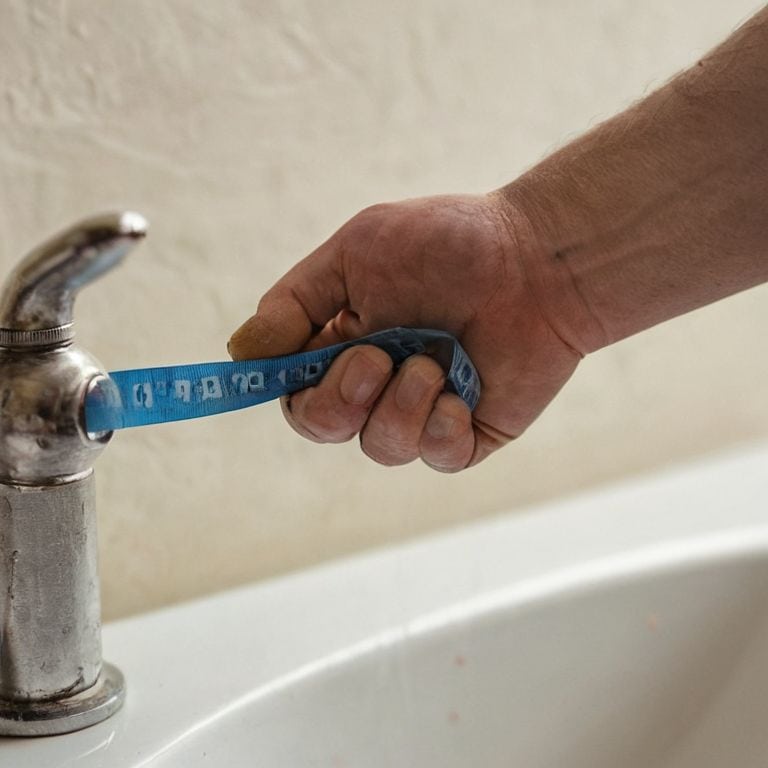
I still remember the first time I tried to use plumber’s tape on a leaky faucet – it was a disaster. I had heard it was a miracle fix, but somehow I ended up with a bigger mess than when I started. It wasn’t until later, when I learned what is plumber’s tape and how to use it, that I realized my mistake. The truth is, plumber’s tape isn’t a magic solution, but when used correctly, it can be a game-changer. So, if you’re like I was, struggling to get the hang of plumber’s tape, you’re in the right place.
In this article, I’ll share my no-nonsense knowledge on what is plumber’s tape and how to use it. You’ll learn the simple, yet effective techniques to get the most out of this handy tool. From preparing the threads to applying the perfect amount of tension, I’ll walk you through the process with practical advice and real-life examples. By the end of this guide, you’ll be a plumber’s tape pro, able to tackle even the toughest leaks and connections with confidence. So, let’s dive in and get started on this DIY journey together!
Table of Contents
- Guide Overview: What You'll Need
- Step-by-Step Instructions
- What Is Plumbers Tape and How to Use It
- Tape Like a Pro: 5 Essential Tips for Mastering Plumber's Tape
- Key Takeaways: Mastering Plumber's Tape Like a Pro
- The Plumber's Tape Philosophy
- Wrapping Up: You're Now a Plumber's Tape Master
- Frequently Asked Questions
Guide Overview: What You'll Need
Total Time: 30 minutes to 1 hour
Estimated Cost: $5 – $10
Difficulty Level: Easy
Tools Required
- Pipe Wrench (for gripping and twisting pipes)
- Teflon Tape Cutter (optional)
Supplies & Materials
- Plumber’s Tape (also known as Teflon tape, typically 1/2 inches wide and 10 yards long)
- Pipe Fittings (to practice applying plumber’s tape)
Step-by-Step Instructions
- 1. First, let’s talk about what plumber’s tape is and why it’s a must-have in your toolkit. It’s a type of tape used to create a watertight seal on threaded pipes and fittings, and it’s usually made of a thin, flexible material like Teflon or polyethylene. To get started, you’ll need to gather your materials, including the plumber’s tape, a pipe or fitting, and a pair of channel-type pliers.
- 2. Next, you’ll need to clean the threads on the pipe or fitting to ensure a smooth, even surface for the tape to adhere to. Use a soft brush or cloth to remove any dirt, debris, or old tape residue. This is an important step, as any imperfections can compromise the seal and lead to leaks. Once you’ve cleaned the threads, use a dry cloth to wipe them down and remove any excess moisture.
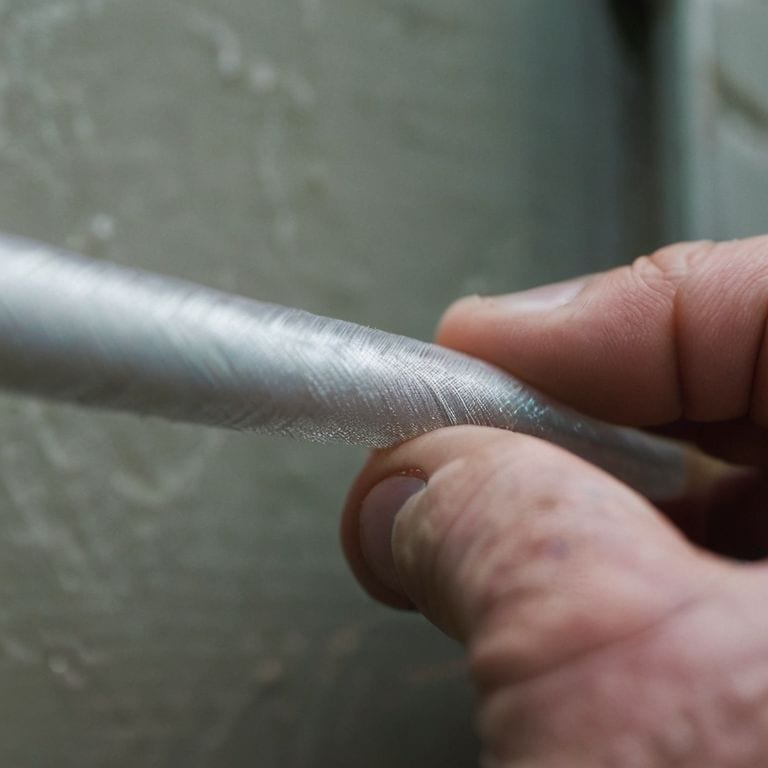
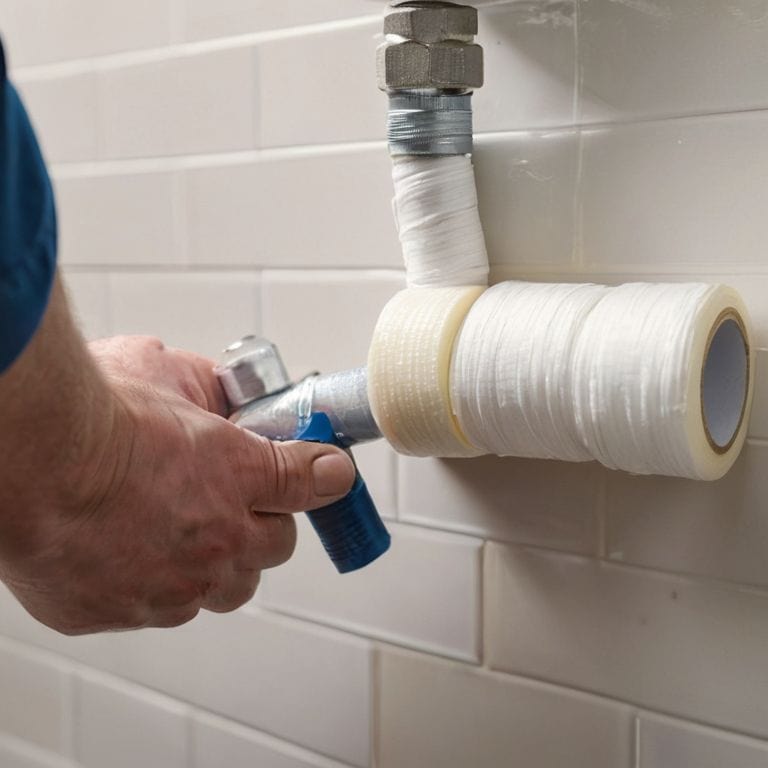
- 3. Now it’s time to apply the plumber’s tape. Start by holding the tape at a 45-degree angle to the threads, with the end of the tape aligned with the starting point of the threads. Then, begin wrapping the tape around the threads in a clockwise direction, overlapping each layer by about half the width of the tape. Make sure to keep the tape taut but not too tight, as this can cause it to stretch and lose its effectiveness.
- 4. As you wrap the tape, use your fingers or a small tool to press it firmly onto the threads, making sure it’s securely in place. You should see the tape begin to compress and form a tight seal as you apply it. Continue wrapping the tape until you’ve covered the entire length of the threads, usually 2-3 full wraps.
- 5. Once you’ve applied the tape, use your channel-type pliers to tighten the fitting or pipe. Make sure not to overtighten, as this can damage the threads or dislodge the tape. You should feel the fitting or pipe begin to securely seat as you tighten it.
- 6. To test the seal, turn on the water supply and check for any leaks. If you notice any water escaping, you may need to reapply the tape or adjust the fitting. It’s also a good idea to use a soapy water solution to test for any hidden leaks, as this can help you detect even the smallest amounts of moisture.
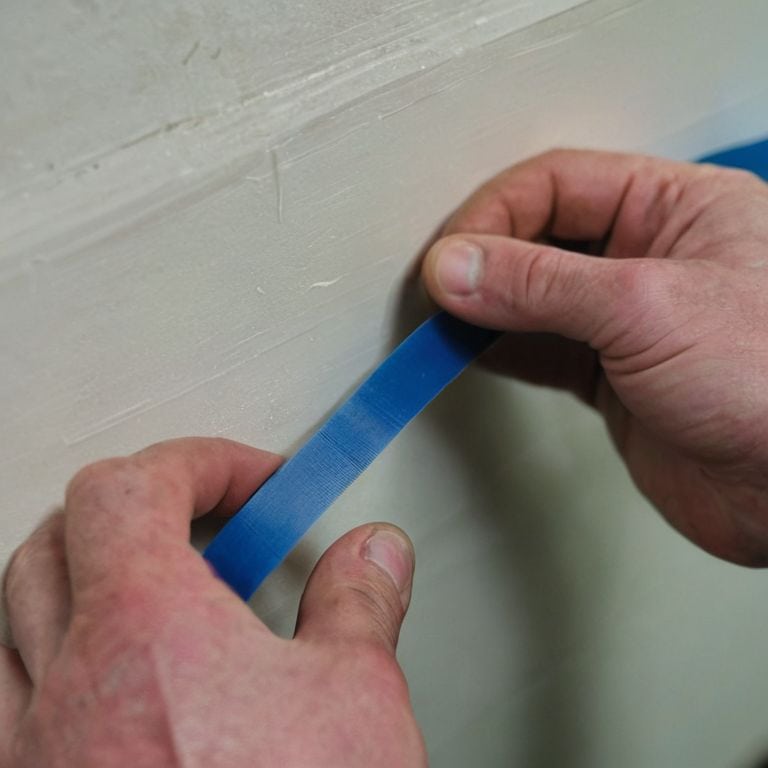
- 7. Finally, use a pair of needle-nose pliers to trim any excess tape that’s protruding from the end of the fitting or pipe. This will help prevent the tape from getting in the way or causing any issues with the surrounding area. And that’s it! With these simple steps, you should be able to use plumber’s tape like a pro and create a watertight seal on your pipes and fittings.
What Is Plumbers Tape and How to Use It
When it comes to working with pipes, I’ve found that thread sealing techniques are just as important as the materials you’re using. Plumber’s tape, also known as Teflon tape, is a crucial tool in preventing leaks and ensuring a tight seal. There are several types of Teflon tape available, but the most common is the standard white tape. It’s a good idea to have a few rolls on hand, as it’s not just limited to plumbing – I’ve used it in various DIY projects, from fixing my vintage tools to building custom planters for my urban garden.
One of the most common mistakes people make when using plumber’s tape is over-tightening the connection. This can actually cause more harm than good, leading to common plumbing leak causes like stripped threads or cracked pipes. To avoid this, make sure to use the right amount of tape and tighten the connection just until it feels snug. It’s also important to note that plumber’s tape is not a substitute for pipe dope, although some people use them interchangeably. In fact, plumber’s tape vs pipe dope is a common debate among DIY enthusiasts, with each having its own advantages and disadvantages.
When working with gas lines, it’s especially important to use plumber’s tape correctly. Using plumber’s tape on gas lines requires a bit more finesse, as the connections need to be extremely tight to prevent leaks. I always make sure to use a high-quality tape and follow the manufacturer’s instructions to the letter. By doing so, you can ensure a safe and secure connection that will last for years to come.
Get a Grip Types of Teflon Tape
So, you’re wondering what makes plumber’s tape so special? Well, let me tell you – it’s all about the Teflon! There are a few different types of Teflon tape out there, but don’t worry, I’ve got you covered. You’ve got your basic, no-frills Teflon tape, which is great for most jobs. Then you’ve got your high-density Teflon tape, which is perfect for those tricky, high-pressure situations. And finally, you’ve got your colored Teflon tape, which is awesome for color-coding your pipes and keeping your workspace organized.
I like to keep a few rolls of each on hand in my workshop, just in case. And trust me, it’s worth having the right type of Teflon tape for the job – it can make all the difference between a leaky pipe and a tight seal.
Seal the Deal Thread Sealing Techniques
Now that we’ve got our tape, let’s talk about how to use it like a pro. When it comes to sealing threads, the key is to wrap the tape in the right direction – always follow the threads. For most pipes, that means wrapping the tape clockwise. I like to think of it as “helping the threads hug” – you want the tape to fill in the gaps and create a tight seal. A good rule of thumb is to use 2-3 wraps of tape, depending on the size of the pipe. Too little tape and you might not get a good seal, but too much and you can actually damage the threads.
Tape Like a Pro: 5 Essential Tips for Mastering Plumber's Tape
- Always clean the threads before applying plumber’s tape to ensure a solid seal and prevent debris from getting in the way
- Use the right type of Teflon tape for the job – there are different thicknesses and types for various applications, so choose wisely
- Apply the tape in the right direction – it should be wrapped in the same direction as the threads to prevent it from unraveling
- Don’t over-tighten – too much tape can be just as bad as too little, so find that sweet spot for a leak-proof seal
- Inspect your work – after applying the tape, give it a once-over to make sure it’s evenly applied and not twisted or bunched up
Key Takeaways: Mastering Plumber's Tape Like a Pro
Always choose the right type of Teflon tape for your project, considering factors like thickness, density, and compatibility with the materials you’re working with
Seal the deal with the right thread sealing technique – whether it’s the basic wrap, the double-wrap, or the more advanced ‘crossover’ method, each has its own strengths and ideal applications
Remember, practice makes perfect: don’t be discouraged by initial mistakes or leaks – they’re an opportunity to learn and refine your plumber’s tape skills, and with time, you’ll be taping like a seasoned pro
The Plumber's Tape Philosophy
Plumber’s tape isn’t just about keeping things from leaking, it’s about the confidence that comes with knowing you’ve got a solid seal – it’s the difference between a DIY project and a DIY masterpiece!
Franklyn "Frank" Bishop
Wrapping Up: You're Now a Plumber's Tape Master
So, you’ve made it through the guide and now you know what plumber’s tape is and how to use it like a pro. We’ve covered the different types of Teflon tape, from basic to specialized, and I’ve shared my favorite thread sealing techniques to help you seal the deal with leak-proof pipes. Remember, practice makes perfect, so don’t be afraid to experiment and find what works best for you. With a little patience and the right techniques, you’ll be tackling plumbing projects like a DIY boss in no time.
As you put down your tools and admire your handiwork, I want to leave you with a final thought: making is learning. Every project, every mistake, and every success is an opportunity to grow and improve. So, keep pushing the boundaries of what you thought was possible, and most importantly, have fun with it. Turn up the music, get creative, and remember that the journey is just as important as the destination. Happy building, and I’ll catch you in the next tutorial!
Frequently Asked Questions
Can I use plumber's tape on all types of pipes, or are there specific materials it's not compatible with?
Whoa, great question! Plumber’s tape isn’t a one-size-fits-all solution. It’s best for threaded pipes, like PVC, ABS, and NPT. But, it’s not the best choice for PEX, copper, or galvanized pipes – you’ll want to use other sealing methods for those. Always check the pipe material before taping, or you might end up with a leaky mess!
How often should I replace plumber's tape on existing connections to ensure they remain leak-proof?
Dude, great question! I’d say check and replace plumber’s tape on existing connections every 5-10 years, or if you notice any signs of wear or leaks. Think of it like tuning up your ride – a little maintenance goes a long way in keeping things running smoothly!
Are there any situations where using plumber's tape is not recommended, and if so, what alternatives can I use instead?
Hey, not all situations call for plumber’s tape, my friend! Avoid using it on PVC or ABS pipes, as it can actually make things worse. Instead, opt for pipe dope or a specialized PVC cement. And if you’re working with gas lines, it’s best to use a dedicated gas-line thread sealant for safety’s sake.