I still remember the first time I stumbled upon a pile of old pallets in my dad’s garage – it was like striking gold. I had no idea what I was going to build with them, but I knew it was going to be something cool. That’s the beauty of DIY pallet furniture: it’s all about experimentation and turning something discarded into something truly unique. I’ve seen people say that making your own furniture from pallets is too time-consuming or requires too much expertise, but I’m here to tell you that’s just not true. With a little creativity and some basic tools, you can create amazing pieces of DIY pallet furniture that’ll make your friends jealous.
In this article, I’ll share my own experiences and tips on how to get started with DIY pallet furniture. I’ll walk you through the process of finding the perfect pallets, disassembling them, and turning them into functional pieces of art. You’ll learn how to add your own personal touch to each project, whether it’s a coffee table, a headboard, or a garden planter. My goal is to inspire you to think outside the box and have fun with the process. So, if you’re ready to get creative and start building your own DIY pallet furniture, let’s get started!
Table of Contents
Guide Overview: What You'll Need
Total Time: 2 hours 30 minutes
Estimated Cost: $50 – $100
Difficulty Level: Intermediate
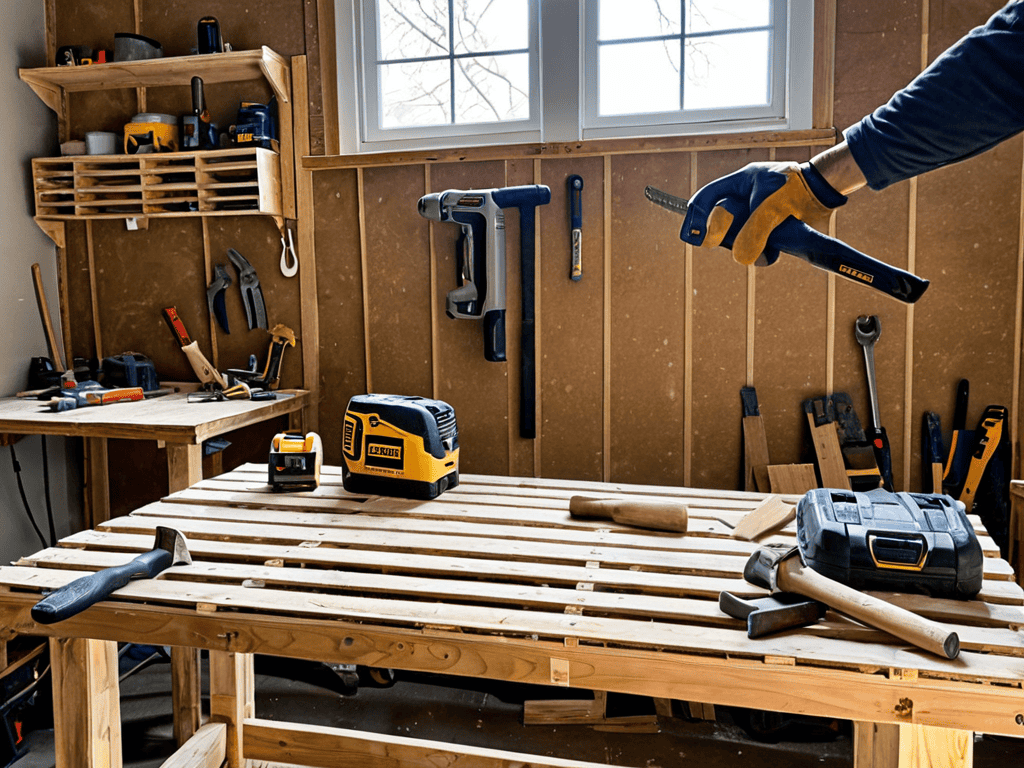
Tools Required
- Circular Saw (for cutting pallet wood)
- Drill (with screwdriver and drill bits)
- Sander (for smoothing out wood)
- Tape Measure (for measuring pallets and cutting wood)
- Level (for ensuring furniture is level)
- Wrench (for tightening bolts and screws)
- Hammer (for tapping pieces into place)
Supplies & Materials
- Pallets (disassembled and cleaned)
- 2-in x 4-in lumber (for added support and framing)
- Wood Screws (for assembling furniture)
- Wood Glue (for bonding wood pieces together)
- Sandpaper (for smoothing out wood surfaces)
- Paint or Stain (optional, for finishing and protecting the wood)
- Polyurethane (optional, for added protection and gloss)
Step-by-Step Instructions
- 1. First, let’s gather our materials – we’ll need some pallets, a saw, a drill, some sandpaper, and a hammer. Don’t worry if you don’t have all the tools, we can get creative with what we have. I like to think of this step as the treasure hunt part of the project, where we scrounge up all the goodies we need to bring our vision to life.
- 2. Next, we need to disassemble the pallets. This is the part where we get to see what we’re working with – it’s like unwrapping a present, but instead of a bow, it’s held together with nails. Use your hammer and a pry bar to carefully take apart the pallets, and set the wood aside for later use. Remember, the condition of the wood will affect the final look of our project, so keep an eye out for any pieces that are too damaged to use.
- 3. Now it’s time to cut our wood into usable pieces. This is where the magic happens, and our pile of scraps starts to look like a real furniture project. Use your saw to cut the wood into the required lengths – for a simple table, you’ll need four legs, a top, and some supports. Don’t worry too much about precision cutting at this stage, we can always sand things down later to get a smoother finish.
- 4. With our wood cut, it’s time to assemble the frame. This is the part where things start to take shape, and you can see your project coming together. Use your drill and some screws to attach the legs and supports, making sure everything is square and sturdy. If things don’t fit perfectly, don’t worry – a little bit of creative problem-solving can go a long way.
- 5. Next, we need to add the table top. This is the part where we get to see the finished product start to emerge, and it’s always exciting to see how all the pieces fit together. Use your drill and some screws to attach the top, making sure it’s secure and even. If you’re feeling fancy, you can add some decorative trim to give your table a bit of extra flair.
- 6. Now it’s time to sand and finish our table. This is the part where we get to make our project look really polished, and it’s amazing how much of a difference a good sanding can make. Use your sandpaper to smooth out any rough edges, and then apply a finish of your choice – I like to use a natural oil to bring out the beauty of the wood.
- 7. Finally, it’s time to add the finishing touches. This is the part where we get to make our project truly unique, and add any personal touches that make it special. You could add some decorative hardware, or even some custom artwork to make your table really stand out. Whatever you choose, make sure it’s something that reflects your personality, and makes you proud to show off your handmade creation.
Rocking Diy Pallet Furniture
As we dive into the world of upcycled pallet projects, it’s amazing to see how a little creativity can turn discarded wood into stunning pieces. I’ve had my fair share of happy accidents while working with pallets, and I’ve learned that they can often lead to unique and interesting designs. For instance, I once created a beautiful pallet wood shelving unit by stacking and arranging the pallets in a way that created a visually appealing pattern.
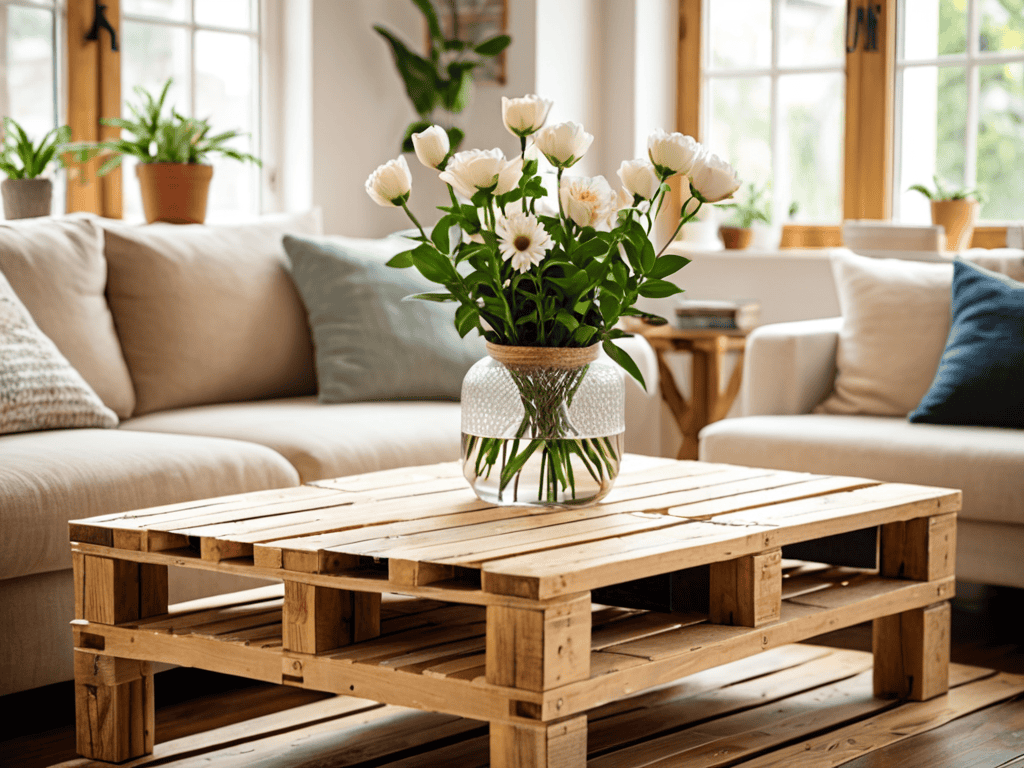
When it comes to building pallet coffee table designs, I always say that the key to success lies in the details. Pay attention to the type of wood, the color, and the texture – all these factors can make or break your project. I like to add a personal touch to my creations by incorporating recycled wood decor inspiration into my designs. This not only gives my projects a unique character but also tells a story.
To take your DIY projects to the next level, consider experimenting with different types of wood and materials. You can combine pallet wood with other recycled materials to create one-of-a-kind pieces, like a pallet headboard or a diy pallet patio furniture set. Remember, the beauty of working with pallets lies in their versatility, so don’t be afraid to think outside the box and come up with your own innovative designs.
Pallet Wood Shelving Ideas Revealed
As I was working on my latest pallet project, I stumbled upon an amazing community of DIY enthusiasts who share their own creations and tips on various online platforms, including a fantastic local listing site where I found some great inspiration – you can check it out here: nzgirls. I was blown away by the creative genius of some of the projects, and it really got me thinking about how to take my own pallet furniture to the next level. I spent hours browsing through the listings, and I have to say, it’s been a game-changer for my workshop – I’ve already gotten some fantastic ideas for my next few projects, and I’m excited to see how they turn out!
Now that we’ve unleashed our creativity with upcycled pallet projects, let’s dive into some pallet wood shelving ideas that’ll take your space to the next level. I’m talking rustic, one-of-a-kind shelves that add a touch of warmth and character to any room. From modern minimalist designs to distressed, vintage-inspired looks, the possibilities are endless when it comes to pallet wood shelving.
I’ve experimented with various designs, and my personal favorite is a pallet wood shelving unit with a reclaimed wood back panel – it adds a nice depth and texture to the overall piece. You can also add some industrial-style metal brackets or decorative corbels to give it a more polished look. The best part? These shelves are incredibly easy to build, and you can customize them to fit your unique style and space.
Upcycled Pallet Projects Unleashed
Now that we’ve rocked out some amazing pallet furniture, let’s take it to the next level with some upcycled pallet projects that’ll unleash your creativity. I’m talking planters, shelves, and even a pallet bar for your next backyard bash. The possibilities are endless, and I love how each project can be tailored to fit your unique style.
Think about it, with a few pallets and some basic tools, you can create a one-of-a-kind planter box or a rustic shelf to display your favorite decor. The best part? It’s all about experimentation and having fun with the process. So, don’t be afraid to get creative and try out new ideas – and remember, mistakes are just happy accidents waiting to happen!
5 Game-Changing Tips for DIY Pallet Furniture Newbies

- Pallet prep is key: before you start building, make sure your pallets are clean, dry, and free of any nails or debris – trust me, it’s worth the extra effort!
- Don’t be afraid to get creative with your pallets – cut them, paint them, add some metal or glass accents… the possibilities are endless, and that’s what makes DIY so much fun!
- Measure twice, build once: take your time when measuring and marking your pallets, and double-check your math before you start cutting or drilling – it’s better to be safe than sorry, brother!
- Add some personality to your pallet projects with decorative hardware or finishes – a little bit of rustic metal or a splash of bright color can make all the difference in the world
- Don’t overthink it: remember, DIY is all about experimentation and learning as you go – if something doesn’t turn out exactly as planned, just roll with it and call it a ‘happy accident’ (that’s what I do, anyway!)
Key Takeaways for DIY Pallet Furniture Enthusiasts
Transforming pallets into unique furniture pieces is a fun, creative process that can add a personal touch to any room, and with the right mindset, mistakes can become amazing design opportunities
Upcycling pallet wood into shelves, tables, or other decorative items not only reduces waste but also allows you to express your individuality through handmade, one-of-a-kind creations
Whether you’re a seasoned DIY expert or a beginner looking for a new project, working with pallets offers endless possibilities for innovation and self-expression, making it an ideal hobby for those who enjoy hands-on, music-filled workshop sessions
The Power of DIY Pallet Furniture
Building something with pallets isn’t just about saving a buck or reducing waste – it’s about unleashing your creativity and turning the ordinary into something extraordinary, one DIY project at a time!
Franklyn "Frank" Bishop
Wrapping Up Your DIY Pallet Furniture Project
We’ve covered a lot of ground in this guide, from the basics of working with pallets to some more advanced projects like pallet wood shelving. The key takeaway is that anyone can create something amazing with a little bit of creativity and some basic tools. Whether you’re looking to save money, reduce waste, or simply have some fun, DIY pallet furniture is a great way to get started. We’ve explored some of the most popular projects, including upcycled pallet coffee tables, headboards, and even outdoor furniture. By following these steps and using your own imagination, you can create unique pieces that reflect your personal style.
As you finish up your project and step back to admire your handiwork, remember that the joy of creating something with your own hands is just as important as the end result. Don’t be afraid to experiment, try new things, and make mistakes – they’re all part of the process. With a little bit of practice and patience, you’ll be hooked on DIY and eager to take on your next project. So go ahead, get creative, and show off your masterpiece – you never know what other amazing things you might create along the way!
Frequently Asked Questions
What are some common mistakes to avoid when disassembling pallets for DIY furniture?
Whoa, let’s talk pallet pitfalls! When disassembling, watch out for those pesky nails – don’t want any rogue splinters or crushed fingers. Also, be gentle when prying apart the boards, or you might end up with a mangled mess. Trust me, I’ve been there, and it’s a total bummer. Take your time, and remember, it’s all part of the process, bro!
How can I ensure that my DIY pallet furniture is sturdy and durable for outdoor use?
To make your DIY pallet furniture sturdy and durable for outdoor use, add a waterproof sealant and use rust-resistant hardware. I also like to add extra support beams for heavy-duty use – it’s all about embracing those ‘happy accidents’ and getting creative with the build process!
What are some creative ways to finish or decorate DIY pallet furniture to give it a unique look?
Now that we’ve built our pallet masterpieces, let’s talk finishing touches! I’m obsessed with adding a personal vibe to my DIY pallet furniture. Think distressed paint, bold stains, or even decoupage – the possibilities are endless, brother! Add some metal accents, throw in some greenery, and you’ve got a one-of-a-kind piece that’s straight fire!