I still remember the thrill of stumbling upon a vintage dresser at a flea market, its worn surface and rusty handles whispering tales of the past. As a DIY enthusiast, I’ve always been drawn to the challenge of restoring such hidden gems, and I’m excited to share my journey with you in this guide to restoring a flea market dresser. There’s a common myth that restoring old furniture requires a hefty budget or professional expertise, but I’m here to tell you that with a little creativity and patience, you can breathe new life into these treasures.
In this article, I’ll walk you through the step-by-step process of transforming a flea market find into a stunning piece of furniture that reflects your personal style. You’ll learn how to assess the dresser’s condition, choose the right materials, and tackle common restoration challenges. My goal is to empower you with the knowledge and confidence to take on your own restoration project, and to show you that with a little imagination, you can turn a discarded relic into a beautiful, functional piece that tells a story. So, if you’re ready to embark on this creative adventure, let’s get started and uncover the hidden potential of that vintage dresser!
Table of Contents
- Guide Overview: What You'll Need
- Step-by-Step Instructions
- A Guide to Restoring a Flea Market Dresser
- Bringing New Life to Old Treasures: 5 Essential Tips for Restoring a Flea Market Dresser
- Key Takeaways from My Flea Market Dresser Restoration Adventure
- Restoring with Heart
- Bringing Your Vision to Life
- Frequently Asked Questions
Guide Overview: What You'll Need
Total Time: 4 hours 30 minutes
Estimated Cost: $50 – $100
Difficulty Level: Intermediate
Tools Required
- Sander (with various grits)
- Drill (with screwdriver and drill bits)
- Hammer
- Tape measure
- Clamp (for holding pieces in place)
- Paintbrush (various sizes)
- Pry bar (for removing old hardware)
- Utility Knife (with extra blades)
Supplies & Materials
- 2-in x 4-in lumber (for shelf support)
- Wood filler
- Sandpaper (various grits)
- Paint (chosen color)
- Primer (optional)
- Decorative hardware (for knobs or handles)
- Wood stain (optional)
- Polyurethane (for protective coating)
Step-by-Step Instructions
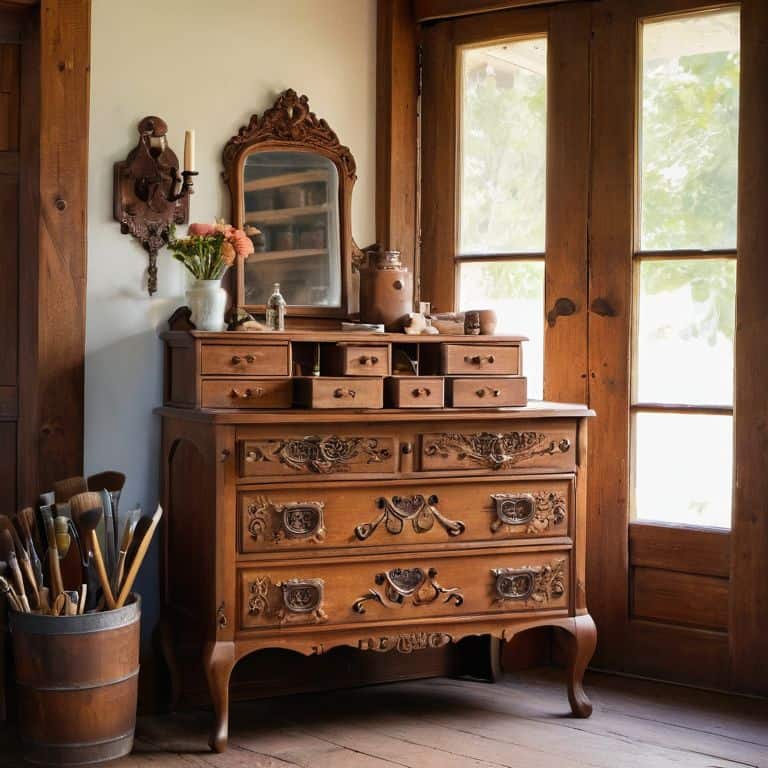
- 1. First, let’s start with the fun part: assessing the dresser’s condition and imagining its potential. I like to take a step back, look at my find, and think about what I want to achieve with the restoration. Is it going to be a bold, statement piece, or a more subtle, elegant addition to my bedroom? Considering the dresser’s original style, the materials it’s made of, and any unique features it may have will help guide my restoration process. I also make a mental note (or sometimes a real note, because let’s face it, I can get distracted) of any parts that are missing or damaged beyond repair.
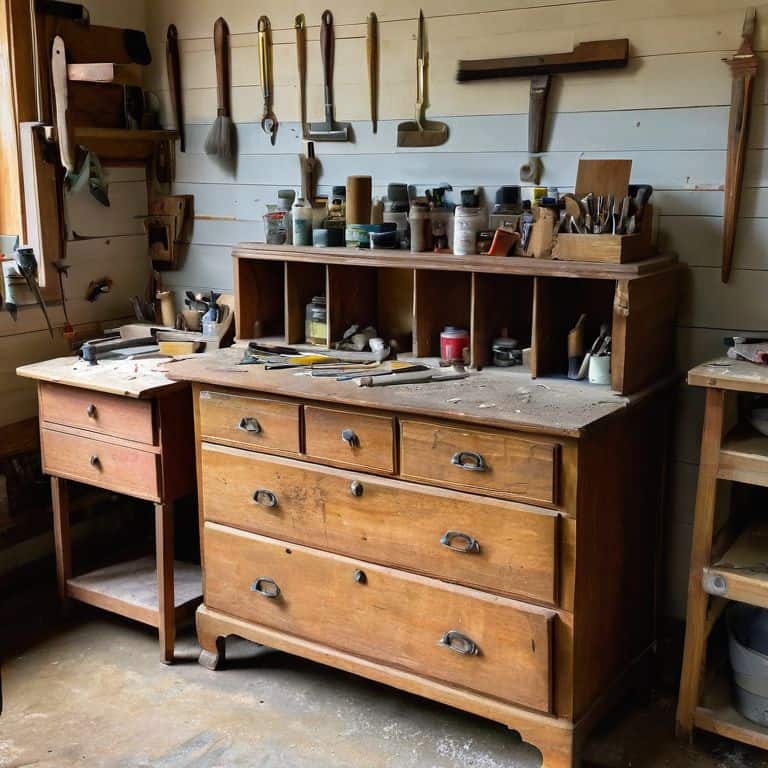
- 2. Next, I gather my tools and supplies, which, admittedly, can be the most overwhelming part of the process. My trusty sidekicks, a drill named Drilly and a sander named Sandy, are always by my side. For a typical dresser restoration, I’ll need a variety of sandpapers, paints or stains, a primer if necessary, brushes, a drop cloth, and possibly some new hardware if the original knobs or handles are beyond saving. It’s also a good idea to have a vacuum cleaner handy to get rid of all the dust and debris from sanding.
- 3. Now, it’s time to strip the old finish. This is where things can get a bit messy, but it’s also incredibly satisfying to see the old, worn-out finish come off, revealing the beautiful wood underneath. I use a combination of chemical strippers and good old-fashioned elbow grease to remove the existing paint or varnish. Safety first, so I always wear gloves and work in a well-ventilated area. Once the old finish is removed, I give the dresser a good wipe down with a damp cloth to remove any remaining residue.
- 4. With the dresser stripped down to its bare wood, I can start sanding it down to smooth out any rough patches and create a surface that’s ready for painting or staining. I start with a coarse grit sandpaper and work my way up to finer grits for a silky smooth finish. It’s amazing how much of a difference sanding can make, transforming the dresser from a rough, neglected piece into a beautiful, tactile surface that invites touch.
- 5. After sanding, I apply a primer if I’m planning to paint the dresser. This step is crucial for ensuring a strong bond between the wood and the paint, and it helps to bring out the true color of the paint. I use a high-quality primer, apply it according to the instructions, and let it dry completely before moving on to the next step. If I’m staining the dresser instead, I might skip this step or use a stain with a built-in primer.
- 6. It’s time to add some color to my dresser. Whether I’m painting or staining, this is the part where my vision really starts to come together. I choose colors that not only complement the room the dresser will be in but also reflect my personal style. For paint, I use a roller for large surfaces and a brush for the details. For stain, I work in small sections, wiping off any excess with a clean cloth to achieve an even tone.
- 7. Once the paint or stain is completely dry, I replace any hardware that’s missing or doesn’t fit with my new design. This could be as simple as swapping out old knobs for new ones or as complex as adding completely new drawer pulls. I love this part because it’s where the dresser starts to look like a finished piece of furniture. I also make sure everything is securely attached and functions smoothly.
- 8. Finally, I apply a clear coat of varnish or polyurethane to protect the finish and give the dresser a beautiful sheen. This step is essential for ensuring my hard work lasts, as it protects the dresser from spills, scratches, and fading. I apply it sparingly, following the manufacturer’s instructions, and let it dry according to the recommended time. And that’s it! My flea market find is now a stunning, one-of-a-kind piece of furniture that tells a story of transformation and creativity.
A Guide to Restoring a Flea Market Dresser
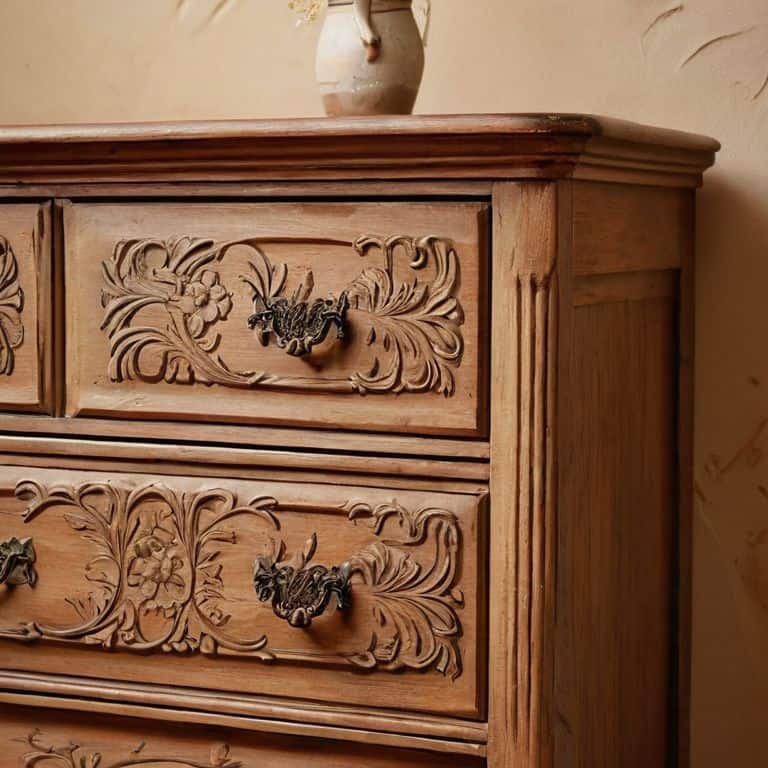
As I delved into the world of flea market restoration, I discovered the thrill of the hunt and the satisfaction of bringing new life to old, discarded pieces. One of my favorite distressing techniques for furniture is using a combination of sandpaper and paint to create a unique, worn look. This technique allows me to add character to my pieces without compromising their structural integrity. When I’m out flea market shopping, I always keep an eye out for items with interesting hardware or carvings that can be refinished to add an extra layer of personality to the piece.
I’ve found that cabinet refinishing ideas can be inspired by anything from nature to vintage clothing. For my latest project, I drew inspiration from the soft hues of a sunset and used a combination of stains and paints to achieve a warm, inviting tone. To add some extra flair, I also experimented with upcycled home decor inspiration, repurposing old jars and containers to create one-of-a-kind storage solutions. This not only reduced waste but also added a touch of whimsy to the overall design.
When it comes to restoring hardware on antique furniture, I’ve learned that patience and attention to detail are key. I spend hours scouring thrift stores and online marketplaces for unique knobs and handles that can be refurbished to their former glory. By combining these one-of-a-kind hardware pieces with budget friendly furniture restoration techniques, I’m able to create pieces that are both functional and visually stunning.
Distressing Techniques for a Vintage Look
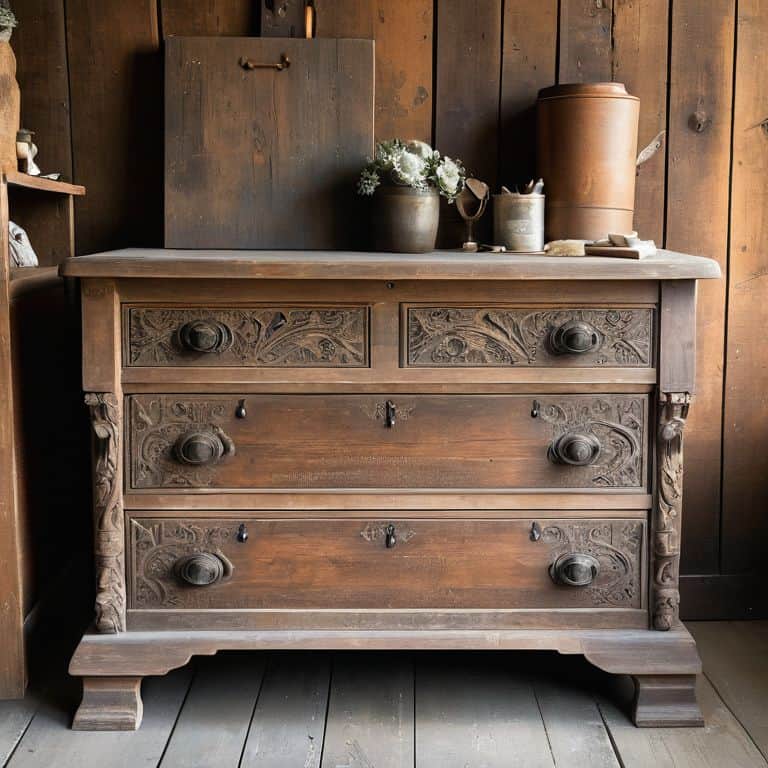
To achieve that perfect vintage look, I just love experimenting with different distressing techniques. For my dresser, I used a combination of sanding and strategically placing small scratches to give it a worn, nostalgic feel. I also employed a technique called “dry brushing” to add a hint of texture and depth to the finish. It’s amazing how a little bit of creative distressing can transform a piece from merely old to beautifully vintage.
My power tool, “Sandy,” got a workout as I carefully sanded down the edges and corners to reveal the gorgeous wood grain beneath. I then used a small hammer and chisel to add some subtle dents and dings, giving my dresser a charming, well-loved appearance. The result is a one-of-a-kind piece that tells a story and adds character to my bedroom.
Flea Market Shopping Tips for Unique Finds
When I’m on the hunt for a new project, I love scouring flea markets for one-of-a-kind treasures. My top tip is to keep an open mind – don’t be afraid to dig through piles or consider items that need a little extra TLC. I’ve found some of my favorite pieces by thinking outside the box and imagining how they could be repurposed or refinished. For example, an old door can become a unique headboard, or a vintage window can transform into a beautiful mirror frame.
I also make sure to inspect each piece carefully, looking for interesting details like carvings, hardware, or unique materials. And don’t worry if you don’t find the perfect piece right away – the thrill of the hunt is all part of the fun! My power tool, “Bertha,” is always by my side, ready to help me bring my latest find back to life.
Bringing New Life to Old Treasures: 5 Essential Tips for Restoring a Flea Market Dresser
- Assess the dresser’s structure and potential before purchasing, considering factors like missing drawers, damaged legs, or water damage to ensure you’re up for the restoration challenge
- Clean the dresser thoroughly before starting the restoration process to remove dirt, grime, and old finishes that might interfere with your new paint or stain
- Choose a paint or stain that complements the dresser’s original character and the style of your home, and consider adding a clear coat to protect the finish and make it easier to clean
- Don’t be afraid to add your personal touch with unique hardware, decorative trim, or creative storage solutions to make the dresser truly one-of-a-kind and reflective of your personal style
- Consider the dresser’s original era and style when deciding on a restoration approach, and try to balance preservation of its history with the need for modern functionality and aesthetic appeal
Key Takeaways from My Flea Market Dresser Restoration Adventure
I learned that with a little creativity and some elbow grease, even the most worn-out flea market finds can be transformed into unique and functional pieces that tell a story in your home
Distressing techniques can add a beautiful, vintage touch to your restored dresser, but it’s all about balance – you want to preserve the character of the piece without making it look too worn out
Restoring a flea market dresser is not just about following steps, it’s about uncovering the hidden potential in an old, quirky piece and making it your own, which is why I love sharing my journey and tips with you, so you can embark on your own creative adventures
Restoring with Heart
The true magic of restoring a flea market dresser lies not in the sandpaper or the paint, but in the stories we uncover and the memories we create with each careful brushstroke.
Maya Rivera
Bringing Your Vision to Life
As we wrap up this journey of restoring a flea market dresser, I hope you’ve enjoyed the process of uncovering the hidden potential in a unique, vintage piece. From flea market shopping tips to distressing techniques, we’ve covered the essential steps to transform an old, quirky dresser into a stunning centerpiece for your bedroom. Remember, the key to a successful restoration is to balance your personal style with the character of the piece, embracing its imperfections and breathing new life into it.
Now, as you embark on your own restoration adventure, I want to leave you with a final thought: your home is a canvas, waiting for you to tell your story through every carefully chosen piece, every brushstroke of paint, and every bold design decision. Don’t be afraid to experiment, to try new things, and to make mistakes – they’re all part of the journey to creating a space that’s truly, beautifully yours.
Frequently Asked Questions
What are some common mistakes to avoid when restoring a flea market dresser?
When restoring a flea market dresser, I’ve learned to avoid common pitfalls like over-sanding, which can erase the piece’s history, and using too much stain, which can hide its character. Also, don’t forget to inspect for any structural damage before starting your project – it’s easier to fix issues early on!
How can I ensure the dresser's original character is preserved during the restoration process?
To preserve the dresser’s original character, I focus on subtle enhancements rather than overhauls. I carefully assess each flaw – a scratch, a dent – and ask myself, ‘Is this part of its story?’ If so, I work around it, using techniques like waxing or oiling to bring out the wood’s natural beauty, rather than sanding it away.
What are some creative ways to repurpose or upcycle the dresser's hardware or other original components?
I love getting creative with original hardware! You can upcycle the dresser’s knobs into plant markers for your garden, or turn old hinges into unique wall hooks. I’ve even used vintage screws to create a quirky wind chime for my patio. The possibilities are endless, and it’s a great way to preserve the dresser’s story while giving it new life.