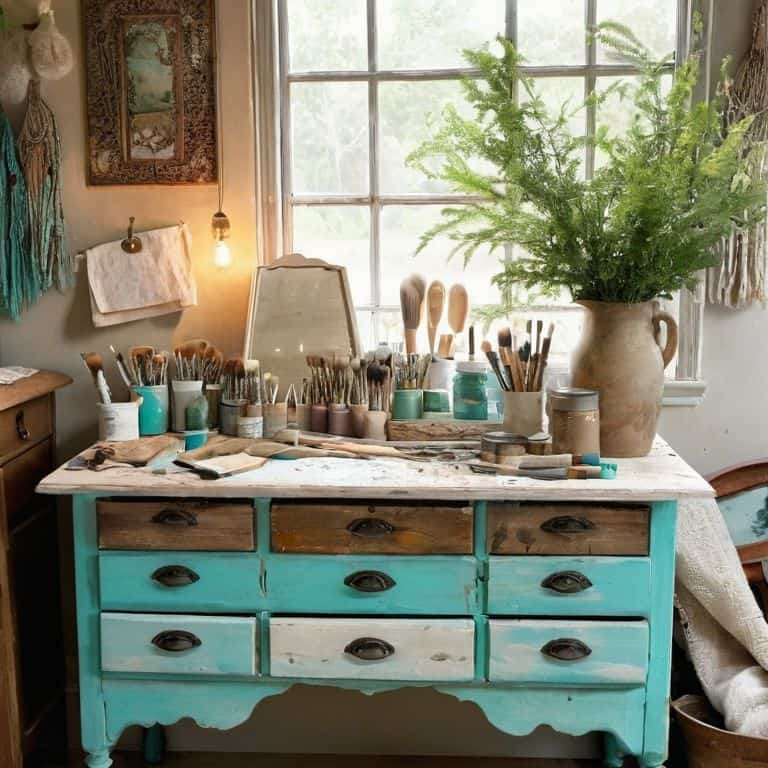
I still remember the first time I tried to paint an old dresser without sanding – it was a total disaster. The paint dripped, the finish was uneven, and I ended up with a piece of furniture that looked like it belonged in a thrift store. But I didn’t give up. I learned that how to paint furniture without sanding requires a little creativity and the right techniques. I’ve since mastered the art of giving old furniture a fresh new look without the hassle of sanding, and I’m excited to share my secrets with you.
In this article, I’ll show you my favorite ways to paint furniture without sanding, from using the right primer to adding a unique finish. You’ll learn how to transform old, outdated pieces into beautiful, one-of-a-kind creations that reflect your personal style. I’ll share my own experiences, including the mistakes I’ve made and the lessons I’ve learned, to help you avoid common pitfalls and achieve professional-looking results. By the end of this guide, you’ll be equipped with the knowledge and confidence to tackle your own furniture makeover projects and give your home a unique, story-driven charm.
Table of Contents
Guide Overview: What You'll Need

Total Time: 2 hours 30 minutes
Estimated Cost: $20 – $40
Difficulty Level: Easy
Tools Required
- Paintbrushes various sizes
- Roller and extension pole for large surfaces
- Paint tray for holding paint
- Drop cloths for protecting floors and surfaces
- Cleaning cloth for wiping away dirt and debris
Supplies & Materials
- Chalk paint or no-sand paint specifically designed for furniture
- Primer optional, but recommended for uneven surfaces
- Clear coat or sealant for protecting the paint
- Rags for cleaning up spills
Step-by-Step Instructions
- 1. First, prep your space by laying down a drop cloth or old sheets to protect your floor from any accidental paint spills. I like to think of this step as setting the stage for my DIY project – it’s all about creating a clean slate for the magic to happen. Gather all your supplies, including your furniture piece, paint, brushes, and any other materials you’ll need for the transformation.
- 2. Next, give your furniture a good dust bath to remove any loose dirt or debris that might interfere with the paint’s adhesion. I use a soft-bristled brush or a lint-free cloth to gently sweep away any dust or cobwebs. This step is crucial in ensuring a smooth, even finish, and it’s also a great opportunity to inspect your piece for any areas that might need a little extra TLC.
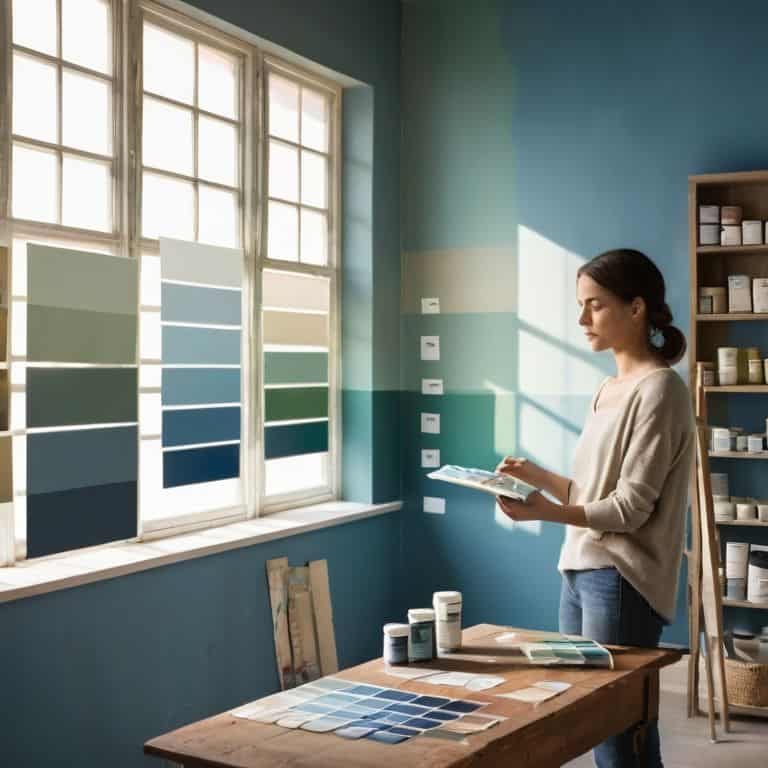
- 3. Now it’s time to get creative with your paint choice. I love browsing through paint swatches and imagining the different stories each color could tell. Consider the mood and atmosphere you want to create in your space, and choose a color that reflects your personality. For my latest project, I opted for a soothing shade of blue that reminds me of a clear summer sky.
- 4. With your paint selected, it’s time to prime your piece (if necessary). Not all furniture needs a primer, but if you’re working with a surface that’s particularly porous or uneven, a primer can help create a more even base for your paint. I like to think of primer as a trusty sidekick that helps my paint go on smoothly and evenly.
- 5. Once your primer is dry (if using), it’s time to start painting. I begin by applying a thin, even coat to a small section of the furniture, working in smooth, steady strokes. It’s essential to work in thin coats, allowing each layer to dry completely before adding the next. This will help prevent drips and unevenness, and ensure a beautiful, professional-looking finish.
- 6. As you continue painting, be sure to work in thin, even coats, building up your color gradually. I like to think of this process as telling a story, layer by layer. Each coat is like a new chapter, adding depth and richness to the narrative. Don’t be afraid to take your time and let each layer dry completely before moving on to the next.
- 7. After your final coat of paint is dry, it’s time to add any finishing touches. This might include applying a clear coat of varnish or polyurethane to protect your paint and give it a beautiful sheen. I also like to add any decorative hardware or embellishments at this stage, such as new knobs or handles. This is the final flourish in your story, the icing on the cake that brings everything together.
Painting Without Sanding Secrets
As I’ve experimented with no sanding primer techniques, I’ve discovered that the key to a smooth finish lies in the preparation. It’s all about creating a strong bond between the old surface and the new paint. I like to think of it as giving my furniture a fresh new story to tell. When it comes to distressed furniture painting, I’ve found that a little bit of imperfection can go a long way in adding character to a piece.
For furniture painting for beginners, I always recommend starting with a small project, like a side table or a stool. This allows you to get a feel for the process and build your confidence before moving on to larger pieces. And, let’s be real, it’s all about having fun and experimenting with different best paint for furniture makeover options. I’ve tried everything from bold brights to soft pastels, and each time, I’ve been amazed at how a fresh coat of paint can completely transform a room.
One of my favorite things to do is upcycling old furniture ideas and giving new life to pieces that would otherwise end up in a landfill. It’s a great way to reduce waste and create something truly unique. When it comes to furniture refinishing without sanding, I’ve found that the right tools and a little bit of creativity can make all the difference. Whether I’m using a power tool or a good old-fashioned brush, I love the feeling of bringing a new story to life, one coat of paint at a time.
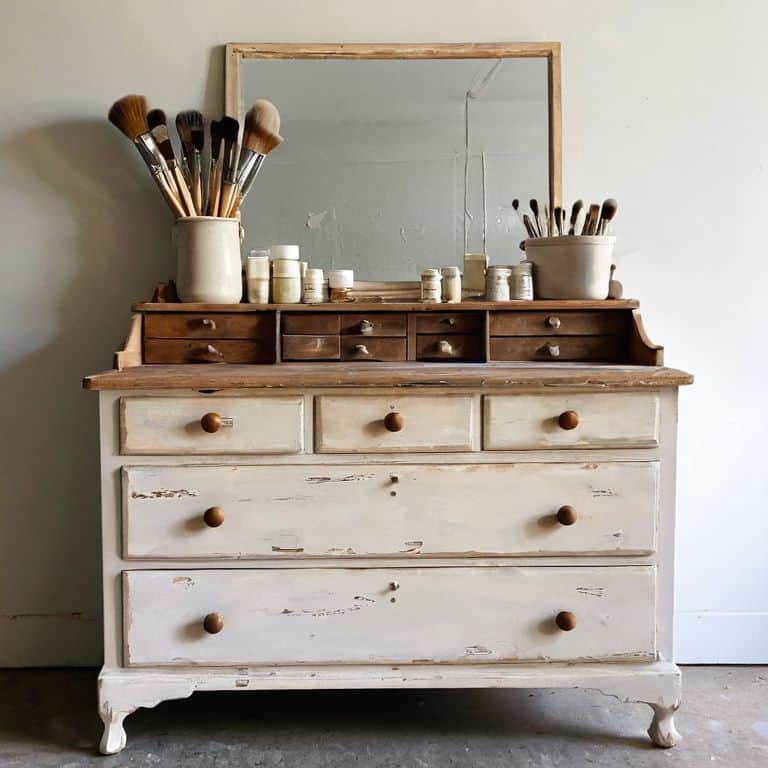
Distressed Furniture Painting Made Easy
Now that we’ve explored the world of no-sanding primer techniques, let’s dive into one of my favorite ways to add character to a piece: distressed furniture painting. I just love how a little bit of distressing can turn a bland, thrift-store find into a one-of-a-kind treasure. To get started, I like to use a combination of paint and wax to create a beautifully imperfect finish. It’s all about embracing the imperfections and letting the piece tell its own story.
I’ve found that the key to effortless distressed painting is to not overthink it – just let your brush dance across the surface, and see what kind of magic happens. You can always add more paint or wax, but it’s harder to take it away once it’s on, so start slow and build up your look. Trust me, the end result is worth it: a piece that looks like it’s been plucked straight from a vintage dream world, with a story all its own.
No Sanding Primer Techniques Uncovered
Now that we’ve covered the basics of painting without sanding, let’s dive into one of my favorite secrets: using the right primer to make the process even smoother. I like to think of primer as the magic eraser for my furniture makeovers. With the right one, you can skip the sanding altogether and still get a flawless finish. My go-to technique is to use a high-build primer that can fill in any imperfections on the surface, leaving me with a blank canvas to work with.
I’ve experimented with a few different types, but my favorite is a water-based primer that’s specifically designed for use on furniture. It’s easy to apply, dries quickly, and provides a strong bond for my paint to adhere to. By using this primer, I can ensure a professional-looking finish without all the hassle of sanding. It’s a total game-changer for any DIY enthusiast looking to give their old furniture a fresh new story.
Sanding-Free Secrets: 5 Tips to Transform Your Furniture
- Choose the right primer: Opt for a high-build or shellac-based primer that can fill in small imperfections and create a smooth surface for painting
- Select the perfect paint: Pick a paint specifically designed for furniture, such as chalk or milk paint, which often doesn’t require sanding
- Cleanliness is key: Wipe down your furniture with a degreaser to remove dirt, grime, and wax, ensuring better paint adhesion
- Embrace the imperfections: Distressed or vintage pieces can add character to your space, so consider skipping sanding altogether and embracing the unique texture
- Layer it up: Apply multiple thin coats of paint, allowing each layer to dry before adding the next, to achieve a smooth, even finish without the need for sanding
My Top 3 Takeaways for a Sanding-Free Furniture Makeover
Embracing the unconventional: I learned that with the right primer and technique, you can breathe new life into old furniture without the hassle of sanding, and that’s incredibly liberating for a DIY enthusiast like me
The power of distressed charm: Giving old furniture a distressed look without sanding is all about playing with layers and textures – it’s amazing how a little creativity can turn a bland piece into a unique story teller
Breaking free from perfection: The most important thing I’ve discovered on this journey is that it’s okay to have imperfections – in fact, they’re what make our homes truly special, and that’s a lesson I’ll carry with me for every future DIY project
Embracing the Unconventional
The beauty of painting furniture without sanding lies not in the shortcut, but in the story it tells – of imperfections, of character, and of the unconventional beauty that makes a house a home.
Maya Rivera
Bringing Your Unique Story to Life
As we’ve explored the world of painting furniture without sanding, I hope you’ve discovered that it’s all about embracing the unconventional and finding creative solutions to bring new life to old pieces. From using the right primer to achieving a beautifully distressed look, each technique is a brushstroke in the larger picture of your home’s story. Remember, the goal isn’t to follow every trend or achieve perfection; it’s to create a space that feels like you, with all its unique character and charm.
So, the next time you’re tempted to toss that old dresser or chair, I encourage you to see it as a blank canvas waiting for your story. Don’t be afraid to experiment, to try new things, and to make mistakes – they’re all part of the adventure of creating a home that’s truly yours. With a little imagination and some paint, you can turn any piece of furniture into a testament to your personal style and a chapter in the ongoing story of your home.
Frequently Asked Questions
What kind of paint works best for furniture that hasn't been sanded?
For unsanded furniture, I swear by chalk paint or milk paint – they’re like a warm hug for your pieces. These paints are super forgiving and can adhere to most surfaces without sanding, giving you a beautiful, unique finish that’s all your own.
How do I prepare the surface of my furniture for painting without sanding?
To prep your furniture for painting without sanding, I swear by a good cleaning with a degreaser and a wire brush to remove any dirt or grime. Then, I use a liquid sander or a specialized no-sand primer to create a smooth surface for painting – it’s like a secret hack to get that perfect finish!
Can I use a no-sanding primer on furniture with a glossy or lacquered finish?
Absolutely, a no-sanding primer is a game-changer for glossy or lacquered finishes. I’ve used it on my grandma’s old dresser, and it worked like a charm. Just make sure to choose a primer specifically designed for slick surfaces, and you’re good to go – no sanding required!