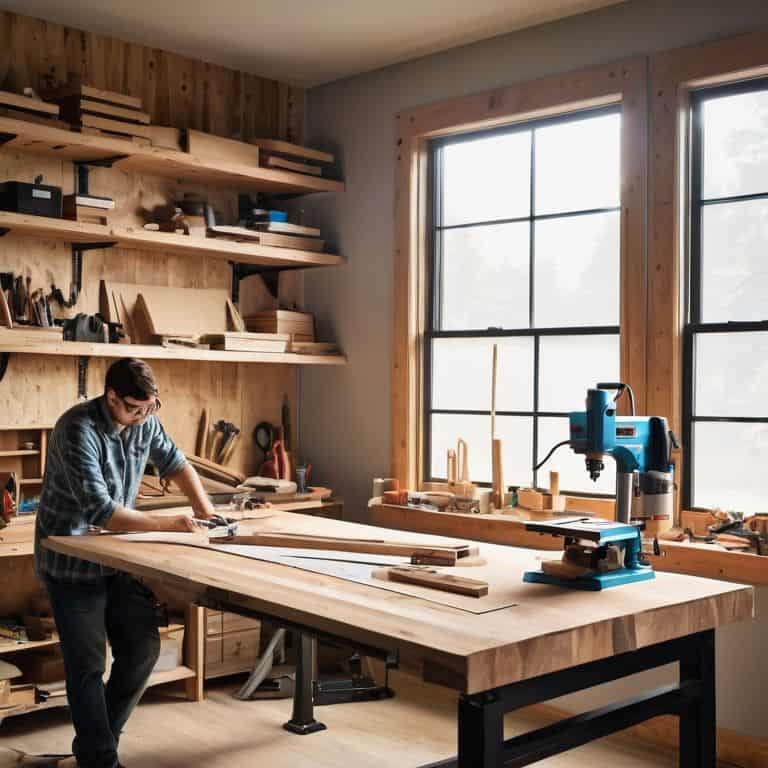
I still remember the first time I tried to build a floating desk – it was a disaster. I mean, who needs instructions, right? Wrong. I ended up with a wobbly, uneven mess that looked more like a failed science experiment than a stylish workspace. But that’s the thing about DIY projects: the mistakes are just as important as the successes. And that’s exactly what I want to share with you in this guide on how to build a floating desk. I’ve learned from my mistakes, and now I’m excited to pass on the knowledge.
So, what can you expect from this article? Practical advice, honest tips, and a healthy dose of creativity. We’ll dive into the nitty-gritty of building a floating desk that’s both functional and visually stunning. I’ll share my favorite tricks for working with wood, choosing the right materials, and adding those extra touches that make a project truly special. By the end of this guide, you’ll be equipped with the confidence and know-how to create your own unique floating desk – and have a blast doing it. Whether you’re a seasoned DIY enthusiast or just starting out, I’m excited to have you along for the ride.
Table of Contents
Guide Overview: What You'll Need
Total Time: 2 hours 30 minutes
Estimated Cost: $50 – $100
Difficulty Level: Intermediate
Tools Required
- Drill Press (for precise drilling)
- Hand Saw (or circular saw for cutting lumber)
- Sander (for smoothing out wood surfaces)
- Level (to ensure the desk is properly aligned)
- Measuring Tape (for accurate measurements)
- Clamp (for holding pieces together during assembly)
- Utility Knife (with extra blades)
Supplies & Materials
- 2-in x 4-in lumber (for the desk frame)
- 3/4-in thick plywood (for the desk top)
- Wall Anchors (for securing the desk to the wall)
- Wood Screws (for assembling the desk frame)
- Wood Glue (for added stability)
- Finishing Nails (for attaching the desk top)
- Decorative Trim (optional, for a finished look)
Step-by-Step Instructions
- 1. First, let’s get our materials ready, because having everything at hand will save us a ton of time and frustration in the long run. We’ll need a few basic power tools like a drill press, a miter saw, and a sander, as well as some lumber for the desk top and shelves. I like to use reclaimed wood for my projects, it adds a bit of character, but you can use whatever type of wood you prefer.
- 2. Now, let’s move on to preparing our wall for the floating desk. This involves locating the studs in the wall, which is crucial for ensuring our desk will be securely attached. We don’t want our new desk to come crashing down, right? Use a stud finder to mark the spot where you’ll be drilling into the wall.
- 3. With our wall prepared, it’s time to assemble the desk frame. This is the part where most people get a bit anxious, but trust me, it’s easier than it looks. Use your drill press to screw the frame pieces together, making sure everything is square and level. Don’t worry if it’s not perfect; we can always make adjustments as we go.
- 4. Next up, we need to attach the desk top to our frame. This is where things start to look like a real desk! Apply some wood glue to the frame and carefully place the desk top onto it. Use some clamps to hold everything in place while the glue dries, and then screw it in from underneath for extra stability.
- 5. Now that our desk is taking shape, let’s add some hidden brackets to make it look like it’s floating. These are basically just small pieces of metal that attach to the wall and the desk, giving it that sleek, floating appearance. Make sure they’re evenly spaced and securely attached to both the wall and the desk.
- 6. It’s time to add some finishing touches, like sandpapering the entire desk to smooth out any rough edges or splinters. This is also a good opportunity to apply a finish, like a wood stain or varnish, to protect the wood and give it a nice color. Just remember to follow the instructions on the finish you’re using and apply it in a well-ventilated area.
- 7. Finally, let’s install our desk and make any necessary adjustments. Carefully lift the desk and slide the hidden brackets into place, making sure they’re securely attached to the wall. Double-check that everything is level and plumb, and then step back to admire your handiwork! You’ve just built a beautiful floating desk that’s sure to be the envy of all your friends.
Build Your Dream Desk
As we dive into building our dream desk, let’s talk about space saving furniture ideas that can elevate our workspace. I’m a huge fan of incorporating hidden features, like a hidden compartment, to keep our essentials within reach without cluttering the surface. This not only adds a touch of personality to our desk but also helps maintain a clean and organized workspace.
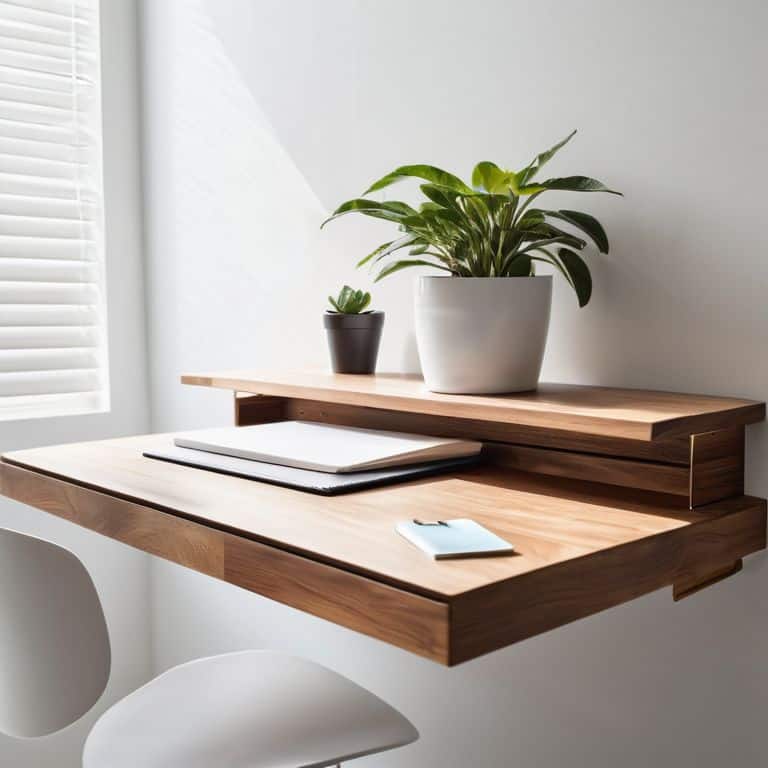
When it comes to adding some extra storage or display space, I recommend exploring wall mounted shelf designs. Not only do they keep our floor clear, but they also add a modern touch to our home office. For a more industrial look, we could even incorporate industrial pipe desk diy elements into our design. This can add a unique twist to our floating desk and create a one-of-a-kind piece of furniture.
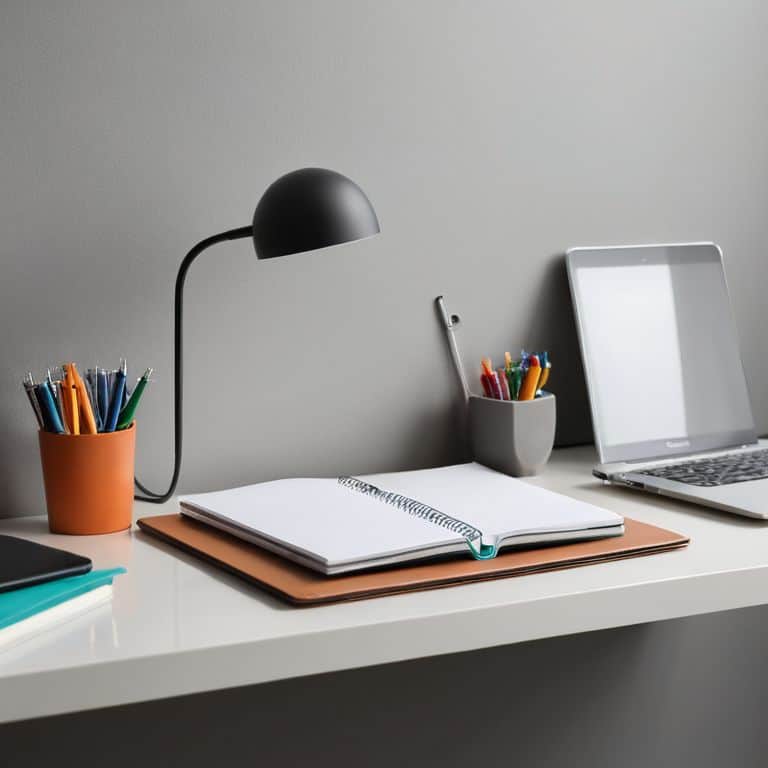
To take our desk to the next level, let’s consider small home office organization tips. By implementing a few simple storage solutions, like baskets or trays, we can keep our workspace tidy and focused. For inspiration, we can look to modern minimalist decor inspiration to guide our design choices. By striking a balance between form and function, we can create a desk that not only looks amazing but also helps us stay productive and creative.
Hidden Compartment Desk Plans
Now that we’ve explored some amazing space-saving ideas, let’s talk about adding a touch of secrecy to your dream desk. I’m obsessed with hidden compartments – there’s something so satisfying about having a secret stash in your workspace. When designing your floating desk, consider adding a hidden drawer or compartment to store valuable items or personal treasures. You can use a magnetic lock or a cleverly hidden latch to keep it secure.
I’ve seen some incredible designs that incorporate hidden compartments, from sliding panels to hinged tops. Get creative and think about what you want to hide – is it a valuable device, a journal, or a favorite snack? The possibilities are endless, and it’s a great way to add some personality to your desk. Plus, it’s a fun challenge to figure out how to make it work seamlessly with the rest of your design.
Space Saving Furniture Ideas
Now that we’ve built our dream floating desk, let’s talk about the rest of the space. I’m all about maximizing that square footage, and the right furniture can make all the difference. Consider adding some wall-mounted shelves or a storage ottoman to keep your workspace clutter-free.
I’m also a big fan of multi-functional pieces, like a storage bench or a coffee table with built-in storage. These types of furniture ideas will help you create a workspace that’s not only stylish but also super functional. Plus, they’ll keep your floors clear and your mind focused on the next big project.
5 Essential Tips to Nail Your Floating Desk Build
- Measure Twice, Cut Once: Double-check your wall anchors and desk dimensions to ensure a sturdy and level installation
- Choose the Right Materials: Select woods and finishes that fit your space and style, and don’t be afraid to mix and match for a unique look
- Add Some Extra Support: Consider adding hidden brackets or supports to keep your desk stable and secure, especially if you plan on loading it up with heavy equipment
- Don’t Forget the Finishing Touches: Add some decorative trim, paint, or stain to give your floating desk a polished and professional finish
- Light It Up: Install some under-desk lighting to create a cozy and inviting workspace, and to highlight the sleek, floating design of your new desk
Key Takeaways for Your Floating Desk Project
Remember, the most important part of building a floating desk is having fun with the process – don’t be too hard on yourself if things don’t turn out exactly as planned, those ‘happy accidents’ can often lead to the coolest features
Measure twice, cut once – accuracy is key when it comes to creating a sturdy and level floating desk, so take your time and double-check those measurements before making any cuts
Get creative with your design – a floating desk is a great opportunity to think outside the box and incorporate unique features like hidden compartments, LED lighting, or custom finishes to make your workspace truly one-of-a-kind
You Did It: Now Go Forth and Create
As we wrap up this project, let’s take a moment to reflect on what we’ve accomplished. We’ve taken a pile of lumber and turned it into a stunning floating desk that’s not only functional but also a statement piece for any room. From the initial planning stages to the final assembly, we’ve covered it all. We’ve explored space saving furniture ideas, discovered the joy of hidden compartment desk plans, and brought our vision to life with some amazing DIY skills.
So, as you stand back to admire your handiwork, remember that the true beauty of DIY lies not just in the end result, but in the journey itself. Don’t be afraid to experiment, to try new things, and to embrace the happy accidents that come with creating something from scratch. Keep pushing your boundaries, and always remember: the next great project is just a power tool away. Happy building, and I’ll catch you in the next tutorial!
Frequently Asked Questions
What type of wood is best suited for building a floating desk?
Dude, for a floating desk, I’m all about using wood that’s both sturdy and stylish! I recommend going with solid hardwoods like oak, maple, or walnut. They’re perfect for creating a sleek, modern look that’ll make your desk a showstopper. Plus, they’re super durable, so your desk will withstand all your late-night gaming sessions or coffee-fueled work marathons!
How do I ensure the floating desk is level and securely attached to the wall?
Leveling your floating desk is crucial, my friend! To ensure it’s securely attached and perfectly level, use a trusty stud finder to locate the wall studs, then drill into them for added stability. Double-check with a level tool, and voilà! Your desk will be rock-solid and ready for action.
Can I customize the size and shape of the floating desk to fit a specific space or design aesthetic?
Absolutely, my friend! The beauty of building a floating desk is that you can tailor it to your unique space and style. Want a curved edge or a specific width? Go for it! Just adjust the measurements and materials accordingly. I love experimenting with different shapes and sizes – it’s all about embracing that creative freedom and making it your own!