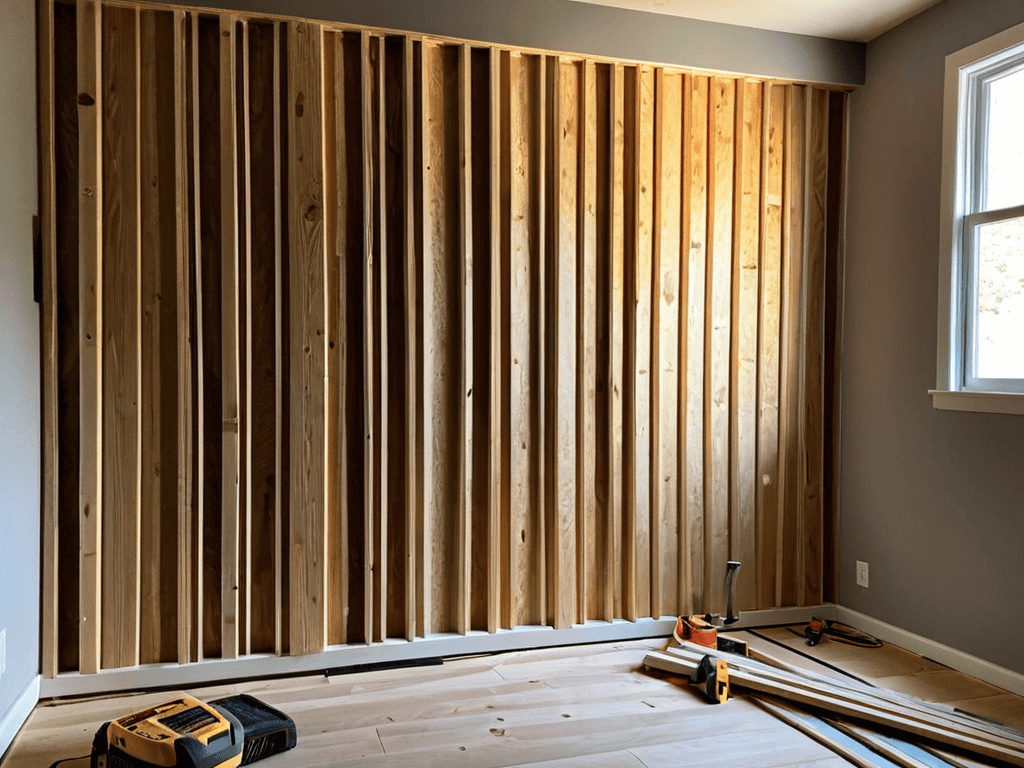
I still remember the first time I attempted a diy pipe desk tutorial – I was a rookie maker with a dream of creating my own workspace. The problem was, every guide I found online seemed to assume I had a Ph.D. in engineering or a magical budget that could afford all the fancy tools. But here’s the thing: building something with your own hands doesn’t have to be intimidating. In fact, I believe that with the right mindset and a few simple tricks, anyone can create an amazing pipe desk that’s both functional and incredibly cool.
So, what can you expect from this article? I’ll walk you through my own step-by-step process for building a killer pipe desk from scratch, sharing all the practical tips and honest advice I’ve learned along the way. From choosing the right materials to avoiding common pitfalls, I’ll give you the lowdown on how to create a desk that’s not only sturdy and reliable but also reflects your unique personality. Whether you’re a seasoned maker or just starting out, my goal is to empower you with the confidence and skills to take on this project and make it your own. So, let’s get started and turn that pile of pipes and wood into an epic workspace!
Table of Contents
Guide Overview: What You'll Need
Total Time: 3 hours 45 minutes
Estimated Cost: $75 – $150
Difficulty Level: Intermediate
Tools Required
- Drill Press (for precise hole drilling)
- Hand Saw (or circular saw for lumber cutting)
- Sander (for smoothing out wood surfaces)
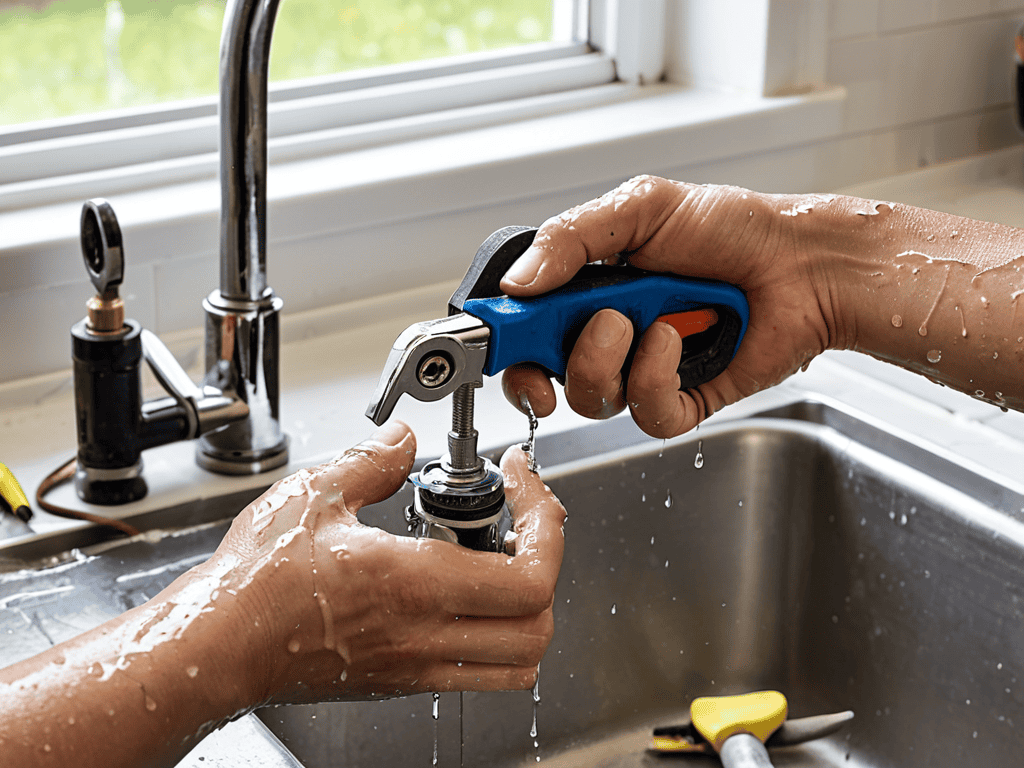
- Wrench (for pipe fitting adjustments)
- Tape Measure (for accurate measurements)
- Level (for ensuring desk stability)
- Clamp (for holding pieces in place during assembly)
Supplies & Materials
- 2-in x 4-in lumber (for the desk frame)
- 3/4-in plywood (for the desk top, 30 inches x 60 inches)
- Metal pipes (1 inch diameter, various lengths)
- Pipe fittings (elbows, tees, and flanges for assembly)
- Wood screws (1 inch and 2 inches long)
- Pipe tape (for sealing threaded connections)
- Wood finish (optional, for protecting and enhancing the wood)
Step-by-Step Instructions
- 1. First, let’s gather our materials, bro! We’ll need a bunch of pipes, fittings, a wooden top, and some tools to make it all happen. I like to think of this step as the treasure hunt – you get to go around and find all the cool pieces that will eventually become your awesome new desk.
- 2. Next, we need to _plan our attack_. Take some time to think about the design of your desk. Do you want it to be simple and sleek, or more complex with lots of storage? I personally love adding some industrial flair with metal baskets or old machinery parts. Get creative, and don’t be afraid to try out new things!
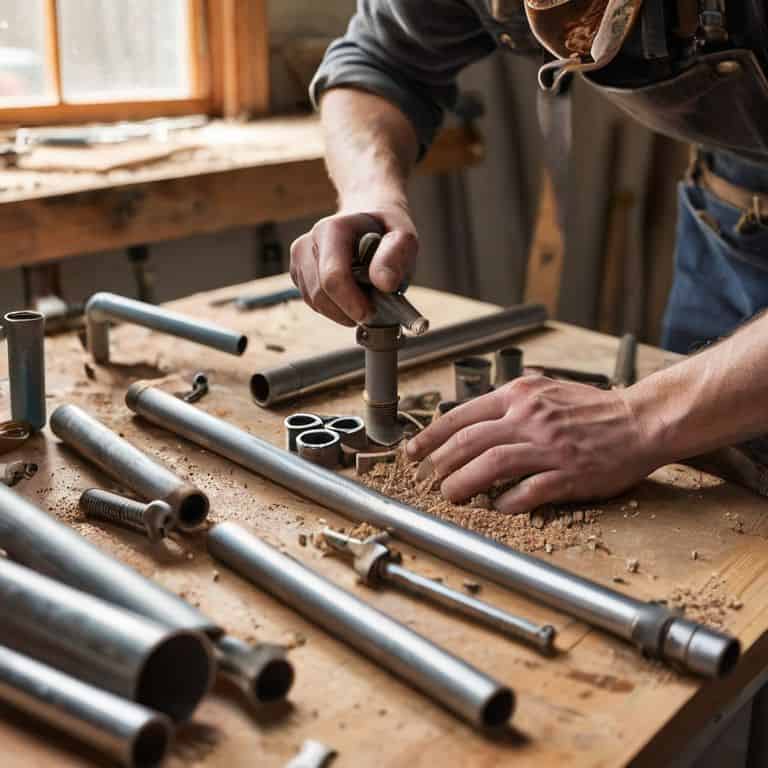
- 3. Now it’s time to start building the frame of our desk. We’ll begin by _assembling the legs_ using our pipes and fittings. This is where things can get a little tricky, but don’t worry, I’ve got your back. Just remember to measure twice, cut once – we don’t want any mistakes that will throw off our whole project.
- 4. With our legs in place, it’s time to add the _supporting beams_. These will give our desk the stability it needs to hold all your gear. I like to use a combination of pipes and wooden dowels to add some extra visual interest. Plus, it’s a great way to practice your drilling and screwing skills.
- 5. Next up, we need to _attach the wooden top_ to our frame. This is where the magic happens, and your desk starts to look like a real, functional piece of furniture. Make sure to pre-drill your holes to avoid any splitting, and use some heavy-duty screws to keep everything in place.
- 6. Now that our desk is taking shape, it’s time to add some _finishing touches_. This could be anything from a fresh coat of paint to some decorative trim. I personally love adding some rustic metal accents to give my projects a bit of an edge. Get creative, and have fun with it!
- 7. Finally, it’s time to _put it all together_ and start using your brand new DIY pipe desk! This is the best part – you get to sit back, admire your handiwork, and think about all the amazing projects you’ll be working on from your new workspace. Congratulations, buddy – you did it!
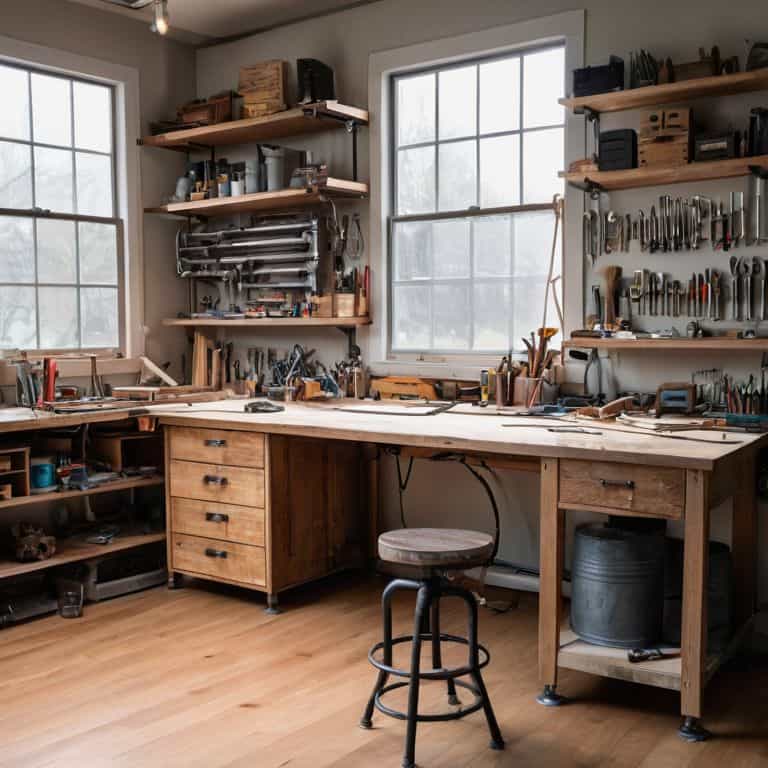
Rock Your Office
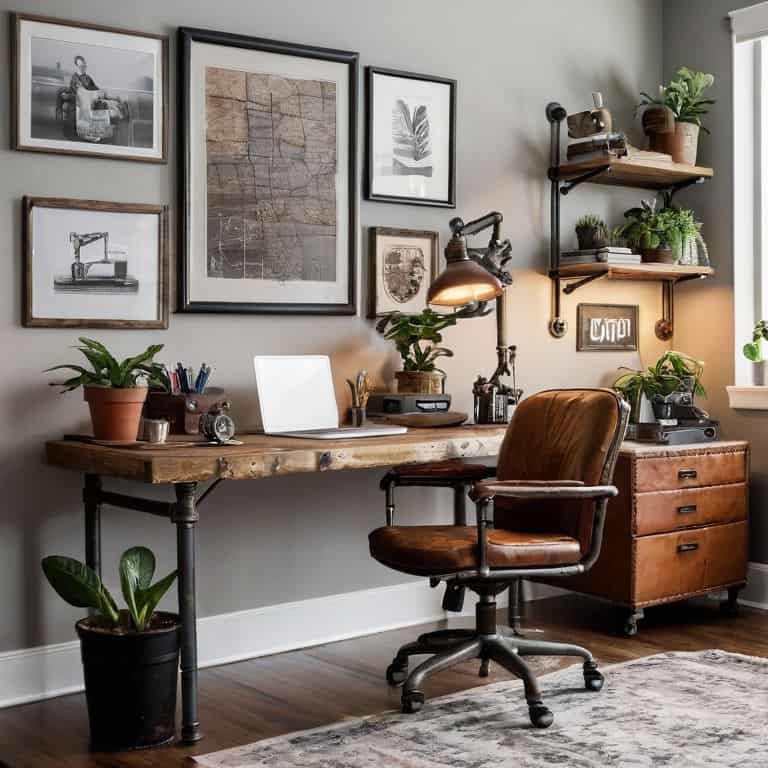
Now that you’ve built your very own pipe desk, it’s time to rock your office with some unique decor ideas. One of the coolest things about industrial pipe furniture plans is the ability to customize and add your own personal touches. Consider adding some upcycled pipe decor elements, like old pipe fittings or reclaimed wood, to give your space a truly one-of-a-kind feel.
When it comes to diy desk building ideas, the possibilities are endless. You can experiment with different pipe desk design inspiration styles, from modern and sleek to rustic and vintage. Don’t be afraid to think outside the box and try out new things – it’s all part of the creative process. And remember, making mistakes is all part of the fun, so don’t worry if things don’t turn out exactly as planned.
To take your pipe desk to the next level, consider adding some custom touches, like custom pipe desk legs or a unique metal pipe desk frame. This will not only make your desk more functional, but also give it a personalized touch that reflects your own style and personality. With a little bit of creativity and some industrial pipe furniture plans, you can create a space that’s truly your own and inspires you to be your most productive self.
Custom Pipe Desk Legs
Now that we’ve got our design inspiration flowing, let’s talk about one of my favorite parts of the project: custom pipe desk legs. I mean, this is where you can really get creative and make your desk stand out. You can go for a super industrial look with bare metal pipes, or add some flair with copper or PVC pipes. I’ve even seen people use old bike frames or reclaimed wood to create one-of-a-kind legs. The possibilities are endless, and it’s a great way to add some personality to your workspace.
I personally love experimenting with different pipe configurations and fittings to create unique leg designs. You can go for a simple, minimalist look or get crazy with intricate pipe work. Whatever you choose, it’s going to be a conversation starter. And the best part? It’s easy to switch up the look if you get bored or want to try something new. Just swap out the pipes and fittings, and you’ve got a whole new vibe going on.
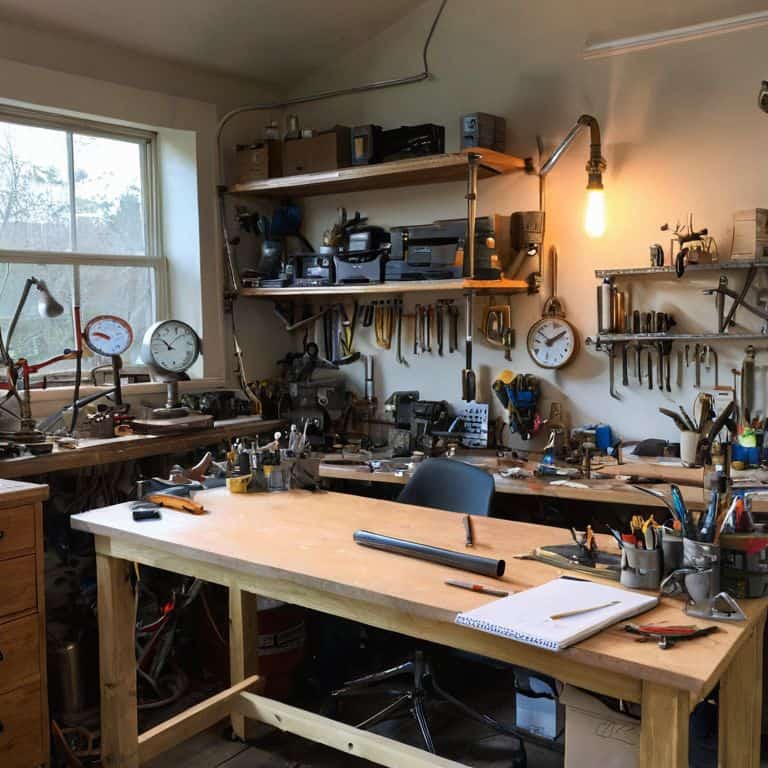
Pipe Desk Design Inspiration
Now that we’ve rocked our office with that killer pipe desk, let’s talk inspiration. I mean, the beauty of a DIY project is that it’s all about putting your own spin on things. For my pipe desk, I drew inspiration from old industrial factories – think exposed brick, metal beams, and reclaimed wood. You can take it in any direction you like, though – maybe you’re into a more modern, minimalist vibe or perhaps a rustic, farmhouse feel. The key is to have fun and make it your own.
I’ve seen some amazing pipe desk designs out there, from sleek, low-profile setups to crazy, over-the-top creations with multiple tiers and built-in lighting. The possibilities are endless, and that’s what makes this project so exciting. What’s your style?
5 Essential Tips to Nail Your DIY Pipe Desk Project
- Measure Twice, Cut Once: Double-check your pipe lengths and cuts to avoid costly mistakes and ensure a sturdy frame
- Choose the Right Pipe: Select pipes that fit your desk’s style and load-bearing needs – galvanized, copper, or black steel, the choice is yours
- Get Creative with Wood Tops: Don’t settle for boring plywood, experiment with reclaimed wood, live edges, or even a glass top for a unique look
- Add Some Flair with Fittings: Mix and match elbow joints, tees, and flanges to create a one-of-a-kind pipe desk that reflects your personality
- Test and Refine: Assemble your desk, test its stability, and make adjustments as needed – it’s all part of the DIY journey, and I’m rooting for you
Key Takeaways for Your DIY Pipe Desk
Remember, the most important part of this project is having fun and not being afraid to make mistakes – they’re all part of the learning process and can often lead to unique, personalized touches
Customization is key: don’t be afraid to experiment with different pipe desk designs, legs, and materials to create a workspace that truly reflects your personality and style
Building something with your own hands, like this DIY pipe desk, is an incredibly rewarding experience that not only saves you money but also gives you a sense of pride and accomplishment every time you sit down to work
Wrapping Up Your DIY Pipe Desk Project
We’ve covered a lot of ground in this DIY pipe desk tutorial, from the initial planning stages to the final assembly. You’ve learned how to choose the right materials, assemble the frame, and add a custom touch with your pipe desk legs. Don’t forget to rock your office with your new desk and make it a space that inspires creativity and productivity. Whether you’re a beginner or a seasoned DIY enthusiast, this project is all about having fun and being proud of what you’ve created.
As you put the finishing touches on your DIY pipe desk, remember that it’s not just about the end result – it’s about the journey and the sense of accomplishment that comes with creating something with your own hands. Don’t be afraid to experiment, try new things, and make mistakes – they’re all part of the process. Happy building, and I’ll catch you in the next tutorial!
Frequently Asked Questions
What kind of pipes and fittings are best for a sturdy and stylish DIY pipe desk?
Dude, for a sturdy and stylish desk, I recommend using 1.5″ or 2″ steel pipes and fittings – they’re super strong and give a cool industrial vibe. You can also experiment with galvanized or black pipes for a unique look. Just make sure to choose high-quality fittings that can handle the weight of your workspace essentials!
How do I ensure my DIY pipe desk is level and stable on uneven floors?
Whoa, great question, buddy! For uneven floors, I recommend using adjustable feet or casters on your pipe desk legs. This will give you the flexibility to level it out and keep it stable. You can also use shims or felt pads to fine-tune the balance. Trust me, it’s a total game-changer for a wobbly workspace!
Can I customize the height and length of my DIY pipe desk to fit my specific workspace and needs?
Absolutely, buddy! One of the best things about building a DIY pipe desk is that you can tailor it to your exact needs. Want a standing desk or a sit-stand combo? No problem! Just adjust the pipe lengths to fit your space and preferences. I’ve done it myself, and it’s a total game-changer. Get creative and make it your own!