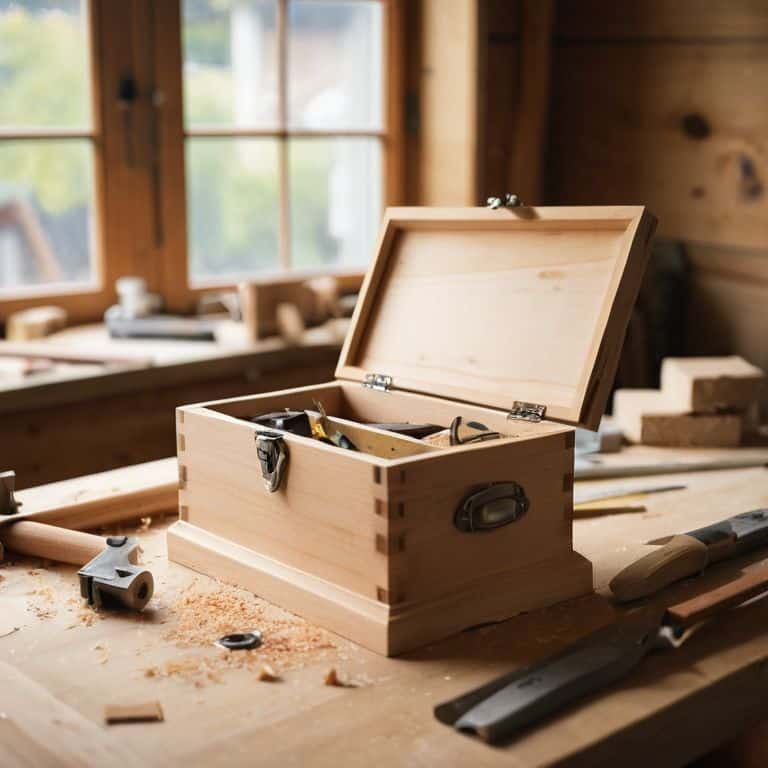
I still remember the first time I tried to make a simple wooden box. I was a teenager, hanging out in my dad’s garage, and I thought it would be a breeze. But, let me tell you, it was a disaster! I ended up with a wobbly, uneven mess that looked more like a kindergartener’s art project than a sturdy box. The myth that making a simple wooden box is, well, simple, is just that – a myth. The truth is, it takes some skill, patience, and practice to get it right. But, with the right guidance, how to make a simple wooden box can be a fun and rewarding DIY project.
So, what are you going to get out of this article? Honest, no-hype advice on how to create a beautiful, functional wooden box from scratch. I’ll share my own experiences, tips, and tricks to help you avoid the common pitfalls and make a simple wooden box that you can be proud of. We’ll cover everything from choosing the right materials to adding the finishing touches. My goal is to make this process fun and accessible, so you can enjoy the thrill of creating something with your own hands. By the end of this article, you’ll be equipped with the knowledge and confidence to start your own woodworking project and make a simple wooden box that will last for years to come.
Table of Contents
Guide Overview: What You'll Need
Total Time: 2 hours 30 minutes
Estimated Cost: $20 – $40
Difficulty Level: Easy
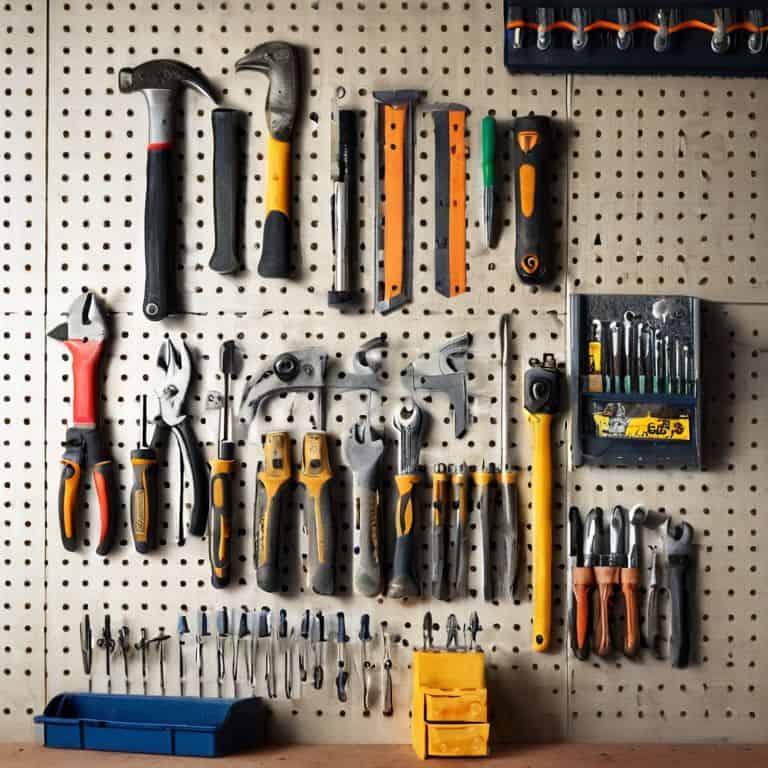
Tools Required
- Table Saw for cutting lumber
- Drill Press for precise drilling
- Hand Saw or a circular saw for cutting curves
- Sander for smoothing out wood surfaces
- Hammer for tapping pieces into place
- Tape Measure for accurate measurements
- Square for ensuring corners are square
- Clamps for holding pieces together while gluing
Supplies & Materials
- 1/2 inch thick Wooden Plywood for the box top and bottom
- 1 inch by 4 inch lumber for the box frame
- Wood Glue for bonding wood pieces
- 1 1/4 inch Wood Screws for assembling the box frame
- Hinges for the lid
- Latch for securing the lid
- Wood Finish optional, for protecting and enhancing the wood
Step-by-Step Instructions
- 1. First, let’s get our materials ready – we’ll need some 2×4 lumber for the frame, 1/2 inch plywood for the top and bottom, and some wood screws to hold everything together. I like to use a mix of power tools and hand tools to give my projects a personal touch, so make sure you have a drill press, a circular saw, and a hand saw on hand.
- 2. Now that we have our materials, let’s start by cutting the 2×4 lumber into the required pieces for the frame – we’ll need four pieces for the sides and two for the top and bottom. I always say that measuring twice and cutting once is key to avoiding mistakes, so take your time and get it just right.
- 3. With our frame pieces cut, it’s time to assemble the box using wood screws – start by screwing the sides together to form a rectangular frame, then add the top and bottom pieces. Don’t worry if it gets a bit wonky at this stage; we can always adjust as we go.
- 4. Next, let’s add some support brackets to the inside of the box to give it some extra stability – cut two small pieces of 2×4 lumber to fit inside the box and screw them into place. This will help prevent the box from collapsing under weight.
- 5. Now it’s time to add the finishing touches – sand down any rough edges and apply a coat of wood stain or paint to protect the wood and give it a bit of color. I like to use a distressed finish to give my projects a bit of character.
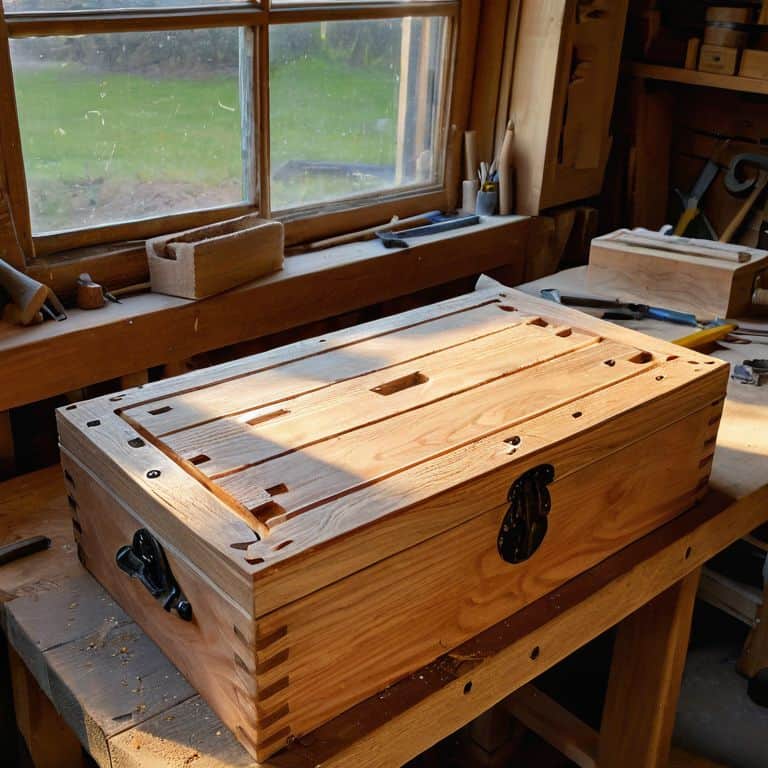
- 6. With the box assembled and finished, let’s add a lid – cut a piece of 1/2 inch plywood to fit the top of the box and attach some hinges to allow it to open and close. Don’t forget to add a small latch to keep the lid closed when not in use.
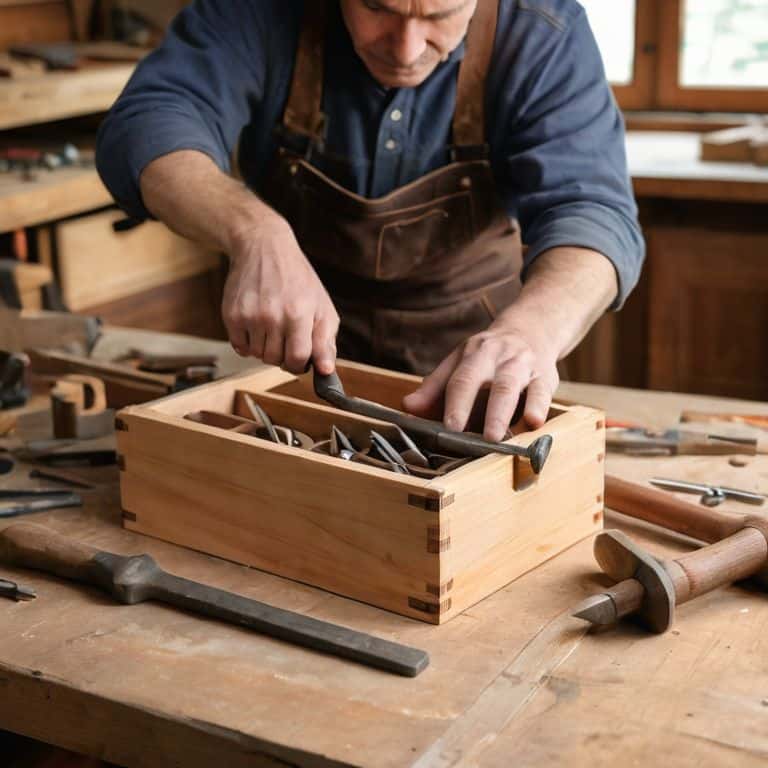
- 7. Finally, let’s add some decorative touches – I like to use metal hardware to give my projects a bit of an industrial feel, but you can use whatever you like to make your box unique. Take a step back and admire your handiwork – you’ve just built a simple wooden box from scratch, and it’s ready to use.
How to Make a Simple Wooden Box
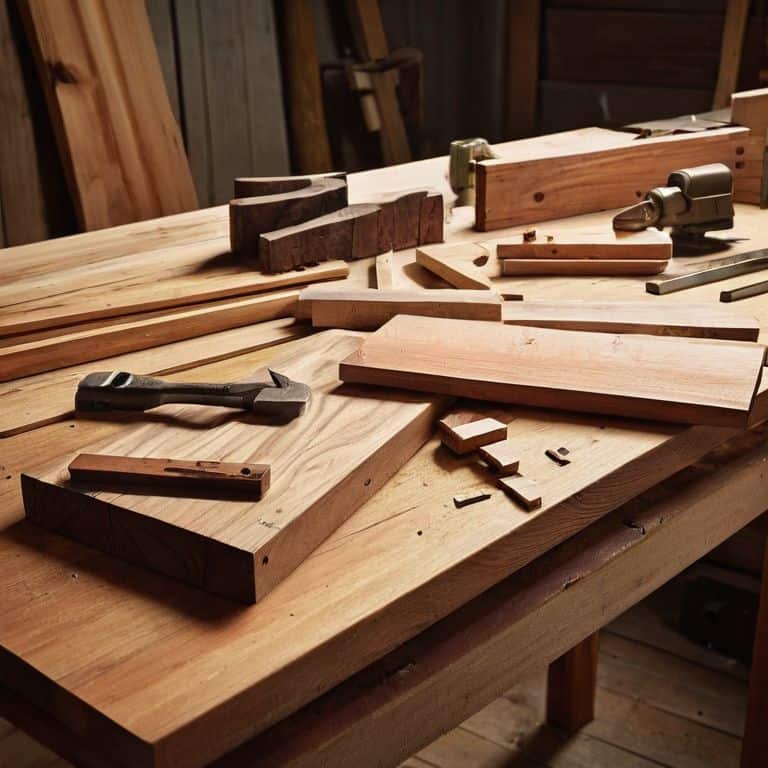
As we dive deeper into the world of woodworking, it’s essential to explore simple woodworking projects for beginners that can help build confidence and skills. One of the most critical aspects of creating a stunning wooden box is selecting the right types of wood for box making. From the richness of mahogany to the versatility of pine, each wood type brings its unique character to the project. When choosing your wood, consider the intended use of the box, as well as the desired aesthetic.
When it comes to assembling the box, wood glue techniques play a vital role in ensuring a sturdy and long-lasting construction. It’s crucial to apply the right amount of glue to avoid excess oozing out during the assembly process. Additionally, using basic joints for woodworking, such as the dovetail or dado joint, can add an extra layer of sophistication to your box. These joints not only provide exceptional strength but also create a beautiful, handmade look.
To take your wooden box to the next level, consider experimenting with wood finishing tips and tricks. A well-applied finish can enhance the natural beauty of the wood, while also protecting it from the elements. From stains and sealers to waxes and oils, the options are endless. For a truly unique piece, try incorporating decorative box ideas, such as intricate carvings or ornate hardware, to give your box a one-of-a-kind personality.
Choosing Perfect Types of Wood for Box Making
When it comes to choosing the perfect wood for our box, I always say – the possibilities are endless! You can go for a classic look with oak or maple, or add some excitement with a richer tone like walnut or cherry. I personally love experimenting with different types of wood to see how they affect the overall vibe of the project. For a simple wooden box, you can’t go wrong with pine or cedar – they’re easy to work with and give a warm, rustic feel.
I like to think of the wood as the personality of the box, so choose one that reflects the style you’re going for. If you’re feeling adventurous, try mixing and matching different woods to create a unique look. Just remember, the type of wood you choose will also affect the durability and weight of your box, so keep that in mind as you make your selection.
Simple Woodworking for Beginners Starts Here
Simple Woodworking for Beginners Starts Here
Now that we’ve dived into making a simple wooden box, I want to emphasize that this project is perfect for those just starting out with woodworking. It’s all about keeping it fun and straightforward, with a focus on learning the basics. By starting with a project like this, you’ll get hands-on experience with measuring, cutting, and assembling – essential skills for any woodworking enthusiast.
As you work on your box, don’t stress if things don’t turn out perfectly at first. That’s all part of the process, and I love seeing how ‘happy accidents’ can turn into unique features. Remember, the goal is to enjoy the journey, learn as you go, and be proud of what you create. With each new project, you’ll become more confident in your abilities and ready to take on more complex tasks. So, let’s keep building and see where this creative adventure takes us!
5 Essential Tips to Nail Your Simple Wooden Box Project
- Measure Twice, Cut Once: Double-check your measurements before cutting any wood to avoid costly mistakes and ensure your box fits together perfectly
- Sand Like You Mean It: Don’t be afraid to get a little aggressive with the sandpaper – a smooth finish is key to a professional-looking wooden box
- Clamp It Up: Use plenty of clamps to hold your box together while the glue dries, and make sure they’re tight to prevent any gaps or warping
- Choose the Right Hinges: Don’t settle for flimsy or cheap hinges – invest in some high-quality ones that will make your box open and close smoothly
- Add a Personal Touch: Consider adding a small detail, like a wooden latch or a decorative inlay, to make your simple wooden box truly one-of-a-kind
Key Takeaways for Your Wooden Box Project
Remember, the type of wood you choose can make or break your project – consider the grain, color, and durability to ensure your box turns out amazing
Don’t be too hard on yourself if things don’t go exactly as planned – some of the best designs come from ‘happy accidents’ and a little creative problem-solving
With these simple steps and a bit of practice, you’ll be well on your way to creating your own custom wooden boxes that are perfect for gifts, storage, or just showing off your DIY skills
The Joy of Creation
The beauty of making a simple wooden box lies not in the perfection of the final product, but in the imperfect, amazing journey of creating something with your own two hands – the scratches, the scuffs, and the stories that come with it.
Franklyn "Frank" Bishop
Wrapping Up Your Wooden Box Project
As we’ve gone through the process of making a simple wooden box, I hope you’ve seen how easy it is to get started with woodworking, even if you’re a beginner. We’ve covered the basics of box making, from choosing the perfect types of wood to following a straightforward, step-by-step guide. Remember, the key to a successful project is not just about following instructions, but also about being open to happy accidents and learning from your mistakes. Don’t be too hard on yourself if things don’t turn out exactly as planned – it’s all part of the process, and it’s often the unexpected twists that lead to something truly unique and special.
Now that you’ve completed your wooden box, I want to leave you with a final thought: making something with your own hands is a powerful experience that can bring a sense of pride and fulfillment like few other things can. So, don’t stop here – keep experimenting, keep pushing yourself to try new things, and never lose sight of the joy that comes from creating something from scratch. Whether it’s a wooden box, a custom planter, or something entirely different, the act of making is what matters most, and I’m excited to see what you’ll create next.
Frequently Asked Questions
What are some common mistakes to avoid when cutting and assembling the wooden box?
Whoa, don’t worry, we’ve all been there! Common mistakes to avoid include cutting outside the lines, not pre-drilling screw holes, and applying too much glue. Trust me, I’ve made ’em all! Just remember, mistakes are where the magic happens, and we can always sand or fill ’em in. Keep it relaxed, and let’s get cutting!
How do I ensure that my wooden box is square and even?
Ah, the million-dollar question – how to keep it square! For me, it’s all about double-checking those corners with a trusty combo square and clamps. I like to use a technique called ‘clamping and checking’ to ensure everything is nice and even. It’s an extra step, but trust me, it’s worth it to avoid wonky boxes!
What are some creative ways to finish and decorate a simple wooden box?
Now that our box is built, let’s get creative with the finishing touches! I love adding a personal vibe with wood stains, paints, or even decoupage. You can also add some metal hardware, carvings, or engravings to give it a unique twist. The possibilities are endless, and that’s what makes this part so much fun – it’s all about experimentation and making it your own!