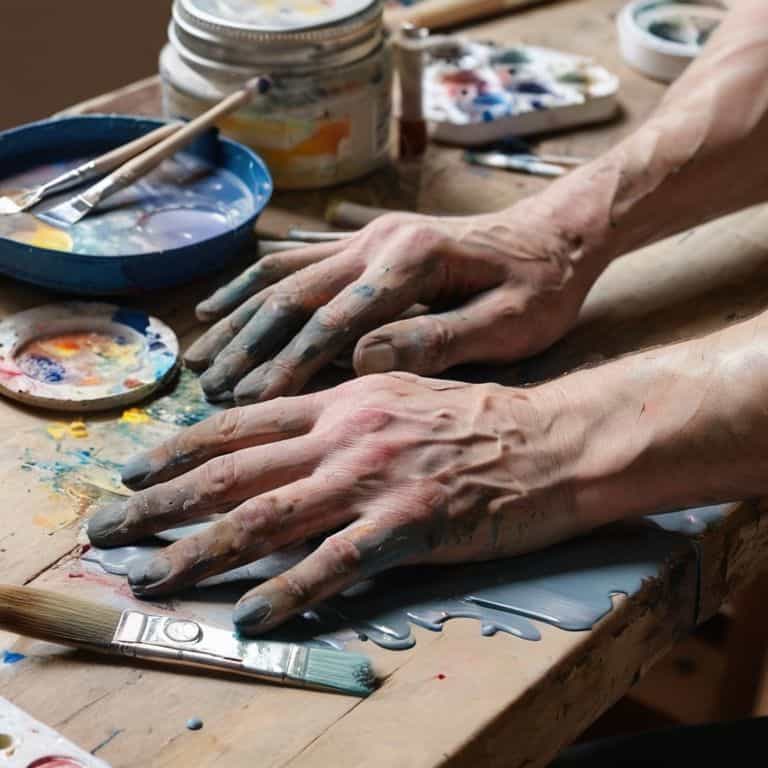
I still remember the time I tried to paint my first custom planter – it was a disaster! I ended up with a gloopy mess that looked more like a kindergartener’s art project than a beautiful piece of home decor. But, as I always say, making mistakes is where the magic happens. That’s why I want to share with you the common painting mistakes to avoid, so you don’t have to go through the same frustrating experience I did. From uneven coats to poor color choices, I’ve learned that it’s all about being aware of the pitfalls and taking the time to prepare.
In this article, I’ll give you the lowdown on the most common painting mistakes to avoid, and provide you with practical tips and tricks to ensure your next project turns out amazing. You’ll learn how to properly prime your surface, choose the right colors, and achieve a smooth, even finish. My goal is to make the process of painting fun and accessible, so you can focus on creating something beautiful, rather than stressing about making mistakes. So, let’s get started and turn your next painting project into a masterpiece!
Table of Contents
Guide Overview: What You'll Need
Total Time: 1 hour 30 minutes
Estimated Cost: $20 – $50
Difficulty Level: Easy
Tools Required
- Paintbrush (various sizes)
- Roller Extension Pole (for high ceilings)
- Sandpaper (for surface preparation)
- Drop Cloths (for floor protection)
- Tape (for trim and edge masking)
- Putty Knife (for filling small holes)
- Lint-Free Rags (for cleaning spills)
Supplies & Materials
- Paint (choose your color)
- Primer (optional, but recommended for uneven surfaces)
- Paint Tray
- Paint Roller Covers (replace when worn)
- Spackling Compound (for filling nail holes or small gaps)
- Caulk (for sealing edges and corners)
Step-by-Step Instructions
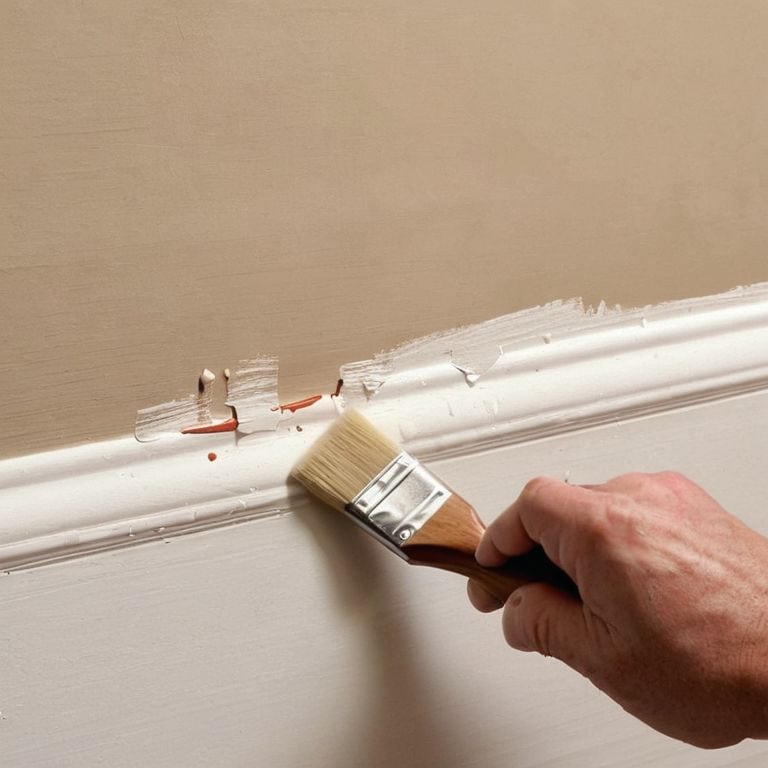
- 1. First, prep that surface like your project depends on it – because, let’s face it, it does. Before you even think about opening a can of paint, make sure your surface is clean, dry, and free of any dirt, grime, or old paint that might be flaking off. I like to use a mixture of soap and water to wipe down the area, and then let it dry completely before moving on to the next step.
- 2. Next, tape it off, but don’t just slap that tape on there like you’re trying to win a bet on who can apply painter’s tape the fastest. Take your time, make sure it’s straight, and press it down firmly to avoid any pesky paint seepage. I’ve found that using a credit card or similar tool to really press that tape onto the surface can make all the difference in getting a crisp, clean line.
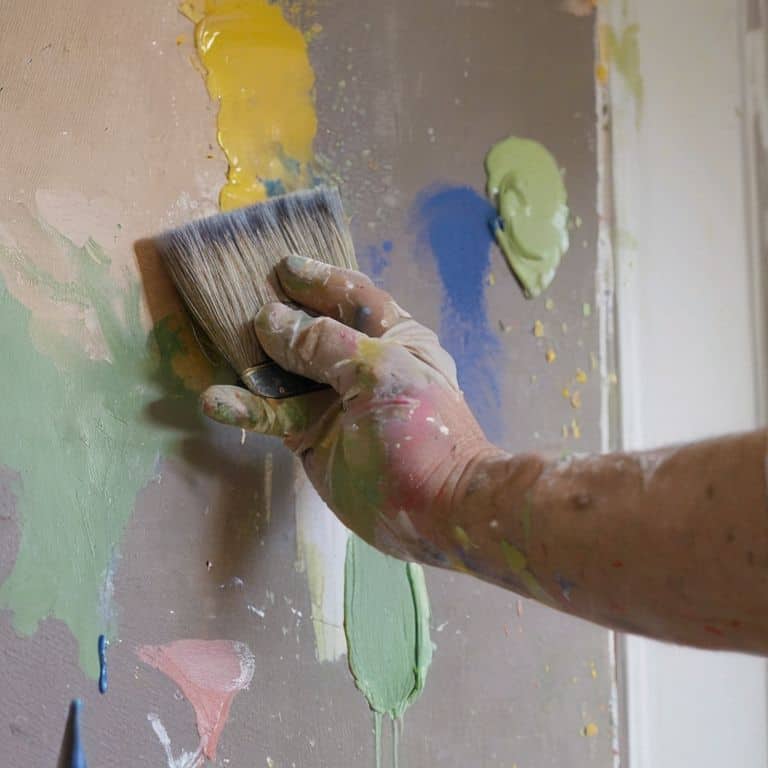
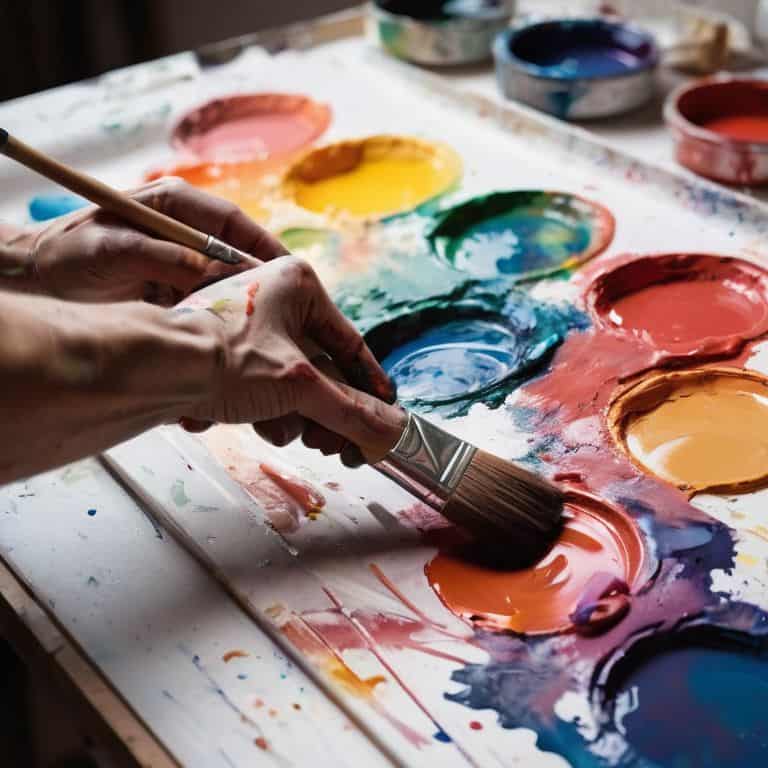
- 3. Now we’re getting to the fun part – choosing your colors. This is where you can really let your creativity shine, but don’t get too carried away just yet. Make sure you’re selecting colors that complement each other and the surface you’re painting. I like to use online color picker tools or even just take a bunch of photos of the surface with different color swatches to see what looks best.
- 4. With your colors chosen, it’s time to get your paint on. But before you start slapping that paint on the wall, make sure you’re using the right brush or roller for the job. I’ve found that natural fiber brushes are great for smooth surfaces, while synthetic brushes are better for rougher textures. And don’t even get me started on the importance of using the right roller extension pole – trust me, your back will thank you.
- 5. As you’re painting, work in thin coats, allowing each coat to dry completely before adding the next. This might seem like a no-brainer, but I’ve seen plenty of projects go sideways because someone got a little too eager with the paint. Take your time, and remember, it’s all about building up those layers to achieve the perfect color and finish.
- 6. Once you’ve got your final coat on, it’s time to remove that tape and inspect your handiwork. If you’ve done everything right, you should be looking at a beautiful, professional-looking paint job. But if you notice any mistakes, don’t worry – they can usually be fixed with a little bit of touch-up paint.
- 7. Finally, *step back and admire your work, but don’t get too comfortable just yet. There are always a few final touches to add, whether it’s clearing up any spills or splatters, or adding a fresh coat of clear coat to protect that beautiful paint job. I like to take a step back, blast some music, and just enjoy the feeling of creating something with my own two hands.
Common Painting Mistakes to Avoid
When it comes to painting, preparation is key. You want to make sure your surface is ready for that fresh coat of paint. I always say, a good painting surface preparation can make all the difference in the final result. It’s like building a strong foundation for your project. Take the time to clean, sand, and prime your surface, and you’ll be rewarded with a smooth, even finish.
Now, let’s talk about choosing the right paint finish. This can be a bit overwhelming, especially for beginners. But don’t worry, with a little practice, you’ll be a pro at selecting the perfect finish in no time. Remember, choosing the right paint finish depends on the look and feel you’re going for. Do you want a sleek, modern look or a more rustic, vintage feel? The right finish can elevate your entire project, so take your time and consider your options carefully.
As you’re painting, keep an eye on the humidity levels in your workspace. Painting in high humidity environments can be tricky, but with the right techniques and tools, you can still achieve great results. Just be sure to work in a well-ventilated area and consider using a dehumidifier to keep the air dry. With a little patience and practice, you’ll be able to tackle even the most challenging painting projects with confidence.
Fixing Faux Pas Paint Color Mismatches
So, you’ve prepped your surface like a pro, but now you’re facing a different kind of challenge – paint color mismatches. We’ve all been there, buddy – you think you’ve got the perfect shade, but when it hits the wall, it’s a totally different story. Maybe the sample you tested was too small, or perhaps the color looked different in the store’s lighting.
Don’t worry, it’s an easy fix! Take a step back, and reassess the color. You can always tweak it or start over. Remember, it’s all part of the process, and those ‘happy accidents’ can sometimes lead to something even better. Grab some paint swatches, and get ready to experiment – you might just stumble upon a unique combination that blows your mind!
Prep Like a Pro Painting Surface Tips
Prep is where the magic happens, folks! A smooth, even surface is key to a professional-looking paint job. I like to think of it as setting the stage for your masterpiece. Make sure to clean your surface thoroughly, removing any dirt, grime, or old paint. Fill in any holes or cracks with a quality filler, and sand it down to a silky smooth finish. Don’t forget to wipe away any dust or debris with a tack cloth – it’s a pro tip that makes all the difference.
By taking the time to prep your surface, you’ll avoid a host of common painting mistakes, like uneven coverage or peeling paint. Trust me, buddy, it’s worth the extra effort. A well-prepped surface is the foundation of a beautiful paint job, and it’s where the pros separate themselves from the amateurs. So, take a deep breath, put on your favorite playlist, and get ready to prep like a pro!
Key Takeaways to Paint Like a Pro
Don’t skip the prep work: a well-prepared surface is the foundation of a flawless paint job, so take your time to clean, sand, and prime for a professional finish
Color calamities can be avoided by testing your paint samples on the wall, considering the lighting, and considering the 60-30-10 rule to ensure a harmonious palette
Embracing happy accidents and learning from mistakes is just as important as following the instructions, so don’t be too hard on yourself if things don’t go as planned – it’s all part of the creative process
Painting Wisdom
The biggest mistake you can make while painting isn’t the color you choose, or the brush you use – it’s being too afraid to make a mistake in the first place. That’s where the magic happens, folks!
Franklyn "Frank" Bishop
Wrapping Up: You're a Painting Pro Now!
We’ve covered a lot of ground in this guide, from prep work to paint color mismatches. To recap, preparing your surface is crucial for a smooth, even finish. Don’t forget to fix those holes and cracks before you start painting, and make sure you’re using the right primer for the job. We also dove into the world of paint color mismatches and how to avoid them. By following these tips and tricks, you’ll be well on your way to becoming a painting pro in no time.
As you put down your brush and step back to admire your handiwork, remember that making mistakes is all part of the process. Don’t be too hard on yourself if things don’t turn out exactly as planned – it’s all about having fun and learning as you go. So, go ahead and get creative, try out new techniques, and don’t be afraid to think outside the box. Happy painting, and I’ll catch you in the next tutorial!
Frequently Asked Questions
What are some common painting mistakes that can be avoided with proper planning and preparation?
Hey, buddy! Let’s talk painting mistakes. I’ve been there, done that, and got the stained shirt to prove it. Common blunders include inadequate surface prep, wrong paint choices, and poor brushwork. But don’t worry, with some planning and prep, you can avoid these rookie errors and achieve a pro-like finish. Trust me, I’ve learned from my own mistakes!
How can I prevent paint color mismatches and ensure a uniform finish?
Dude, paint color mismatches can be a total bummer! To avoid ’em, always test your paint samples on the wall, and consider the lighting in the room. And, here’s a pro tip: use a paint with a built-in color matching system, or consult with a pro if you’re unsure. Trust me, it’s worth the extra effort for a uniform finish that’ll make your project pop!
What are some tips for fixing painting mistakes, such as uneven coverage or roller marks, after they've already occurred?
Don’t stress, buddy! Fixing painting mistakes is all part of the process. For uneven coverage, try touching up with a small brush. Roller marks can be sanded down and re-painted. Remember, it’s all about embracing those ‘happy accidents’ and turning them into something awesome!