I still remember the first time I tried to build a set of floating shelves – it was a disaster. I mean, who needs a perfectly level surface, right? But in all seriousness, I’ve heard people say that building floating shelves is a task that requires a lot of expertise, and that’s just not true. With the right guidance, anyone can create their own stunning shelves using a reliable a guide to building floating shelves. I’ve been there, done that, and now I’m excited to share my knowledge with you.
In this article, I’ll walk you through the process of building your own floating shelves, and I promise it’ll be a fun, no-fuss experience. You’ll learn how to choose the right materials, design your shelves to fit your space, and execute the build with confidence. My goal is to provide you with practical advice that you can actually use, not just a bunch of fancy theories. By the end of this guide, you’ll be equipped with the skills and knowledge to create your own beautiful, functional floating shelves that will make your friends and family go wow!
Table of Contents
Guide Overview: What You'll Need
Total Time: 2 hours 30 minutes
Estimated Cost: $50 – $100
Difficulty Level: Intermediate
Tools Required
- Drill (with screwdriver and drill bits)
- Level (laser or bubble level)
- Tape Measure (for accurate measurements)
- Stud Finder (for locating wall studs)
- Saw (circular or handheld saw for cutting lumber)
- Sander (optional, for smoothing out wood)
- Utility Knife (with extra blades)
Supplies & Materials
- 2-in x 4-in lumber (for shelf support)
- 3/4-in plywood (for shelf boards, 6 inches or 8 inches wide)
- Wall Anchors (for securing shelves to wall studs)
- Wood Screws (1 1/2 inches or 2 inches long)
- Wood Glue (for assembling shelf boards)
- Paint or Stain (optional, for finishing the shelves)
- Decorative Trim (optional, for covering edges)
Step-by-Step Instructions
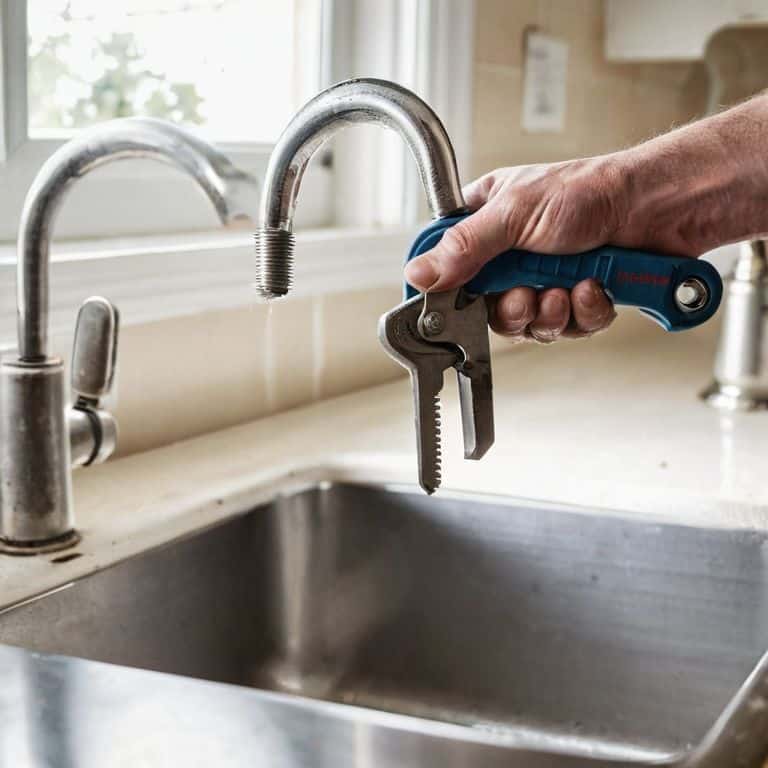
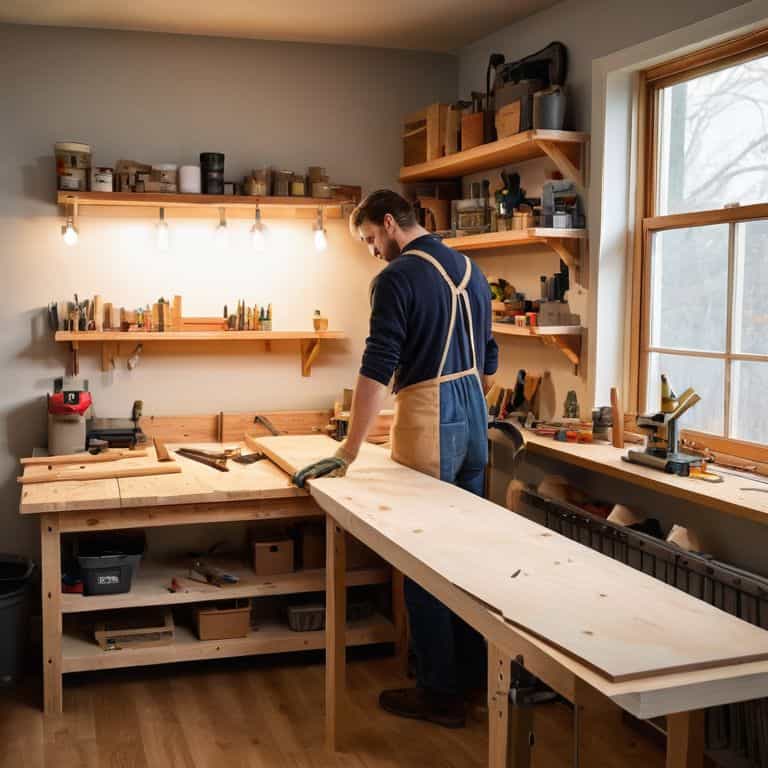
- 1. First, let’s gather our materials and tools, because we can’t start building without them. We’ll need some wooden planks for the shelves, wall anchors, a drill press, a hand saw or a circular saw for cutting the wood, a sanding block to smooth out the edges, and some wood glue. Make sure you’ve got a clean and stable workspace, like my own workshop, where I can get a little messy but still find everything I need.
- 2. Next, we need to measure the wall where our shelves will go, taking into account the space between each shelf and the height from the floor. This is crucial because we want our shelves to be evenly spaced and at a comfortable height. Use a level to ensure your measurements are straight, and mark the wall with a pencil where you’ll be drilling holes for the anchors.
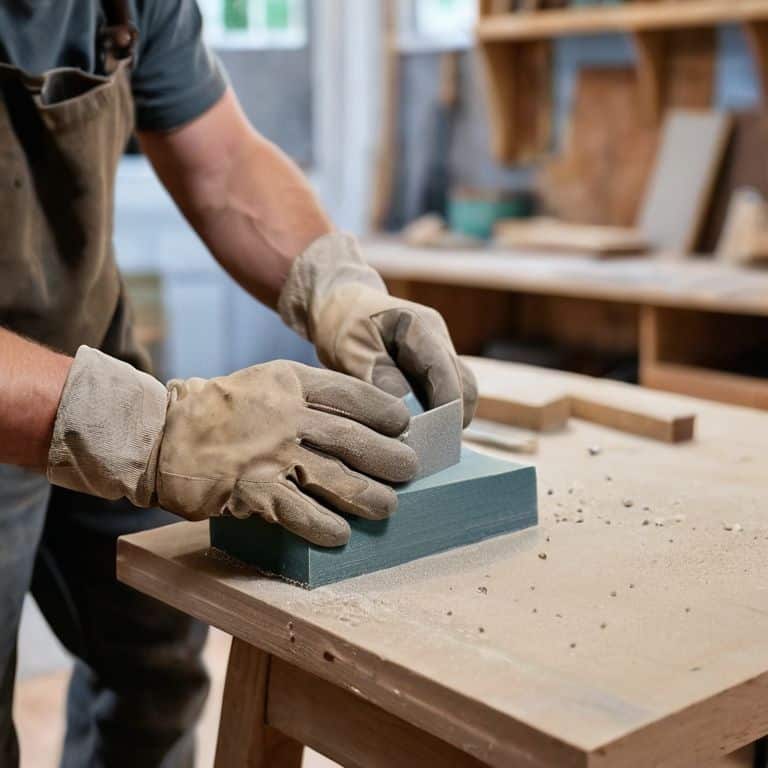
- 3. Now, let’s cut our wooden planks to the right size for our shelves. If you’re using a circular saw, make sure you’re wearing safety goggles and keeping your hands away from the blade. For a more rustic look, you can use a hand saw, but be prepared for some elbow grease. Sand down the cut edges to prevent any splinters.
- 4. With our shelves cut and sanded, it’s time to assemble the floating shelf mechanism. This usually involves attaching the wall anchors to the back of the shelf and then screwing them into the wall. Make sure these are securely fastened, as they’ll be holding the weight of your shelf and whatever you decide to put on it.
- 5. Before we hang our shelves, let’s add a finish to the wood to protect it and give it a nice look. You can use varnish, stain, or even paint, depending on the style you’re going for. Apply it evenly, following the manufacturer’s instructions, and let it dry completely before moving on to the next step.
- 6. Now it’s time to hang our shelves. Place the shelf against the wall, ensuring it’s level, and mark the spot where you’ll drill the hole for the wall anchor. Drill carefully, and then screw the anchor into the wall. Gently hang your shelf on the anchor, making sure it’s secure and even.
- 7. Finally, let’s add the decorative touch. Place your items on the shelf, and step back to admire your handiwork. You can add some decorative trim around the edges of the shelf for a more polished look or leave it as is for a minimalist aesthetic. Either way, you’ve just built your own floating shelves, and that’s something to be proud of.
A Guide to Building Floating Shelves
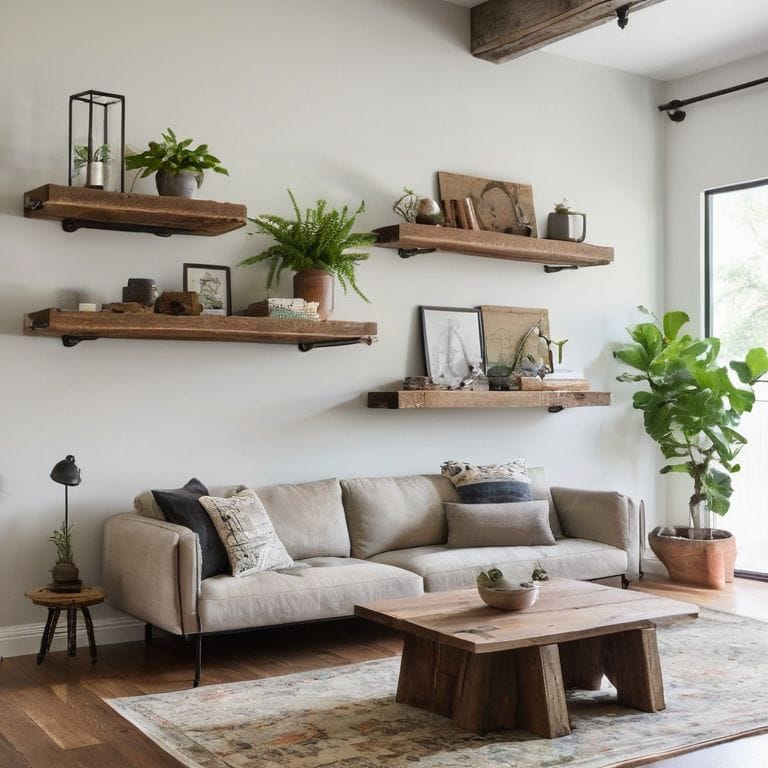
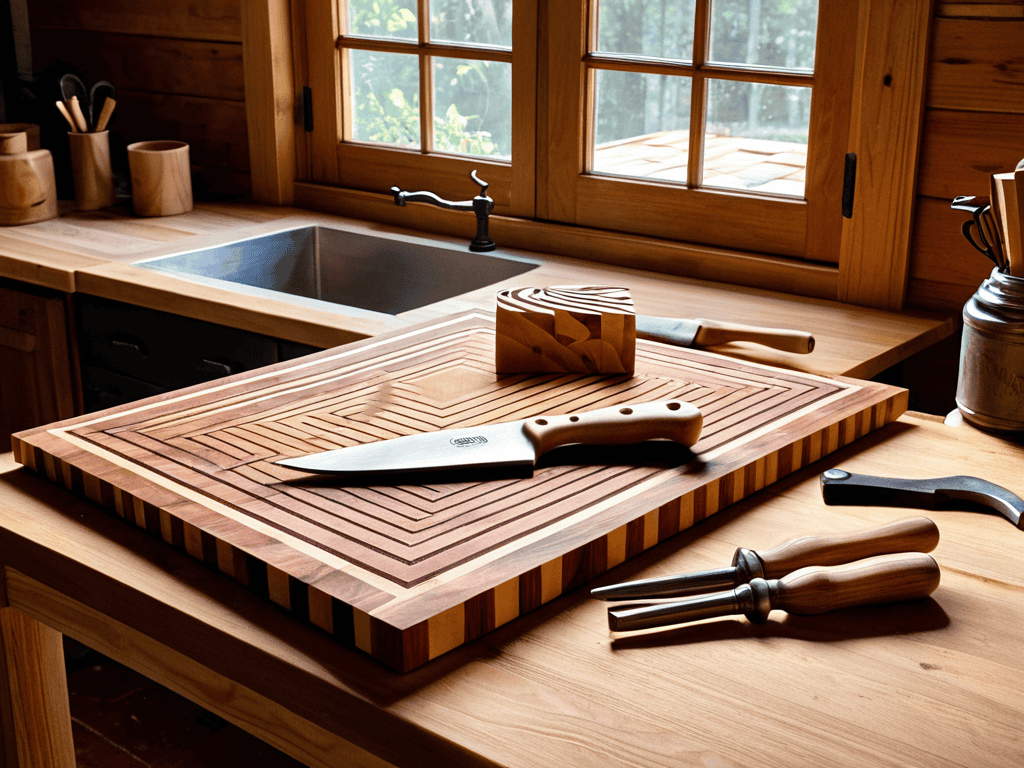
As we dive into the world of diy wall shelf designs, it’s essential to consider the overall aesthetic you’re aiming for. Think about the style of your room, the color of your walls, and the type of decor you want to showcase on your shelves. For a more rustic look, you could incorporate reclaimed wood into your design, while a modern space might call for sleek, minimalist floating shelf hardware options.
When it comes to the actual building process, having the right woodworking plans for shelves can make all the difference. Take the time to carefully measure and cut your materials, and don’t be afraid to get creative with your design. Consider adding decorative shelf trim ideas to give your shelves a unique touch. And, if you’re feeling adventurous, you could even try your hand at crafting your own custom trim pieces.
One of the most critical aspects of building floating shelves is the installation of hidden bracket installation tips. It’s crucial to choose the right wall anchor types for shelves to ensure your shelves are secure and level. By following these tips and experimenting with different designs, you’ll be well on your way to creating a stunning and functional floating shelf that adds a touch of personality to any room.
Diy Wall Shelf Designs Made Easy
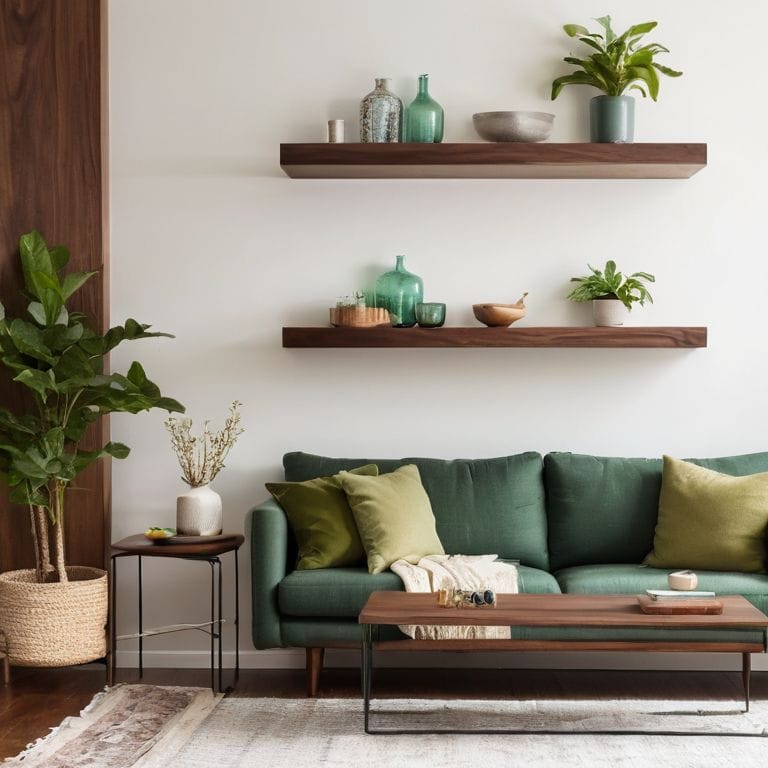
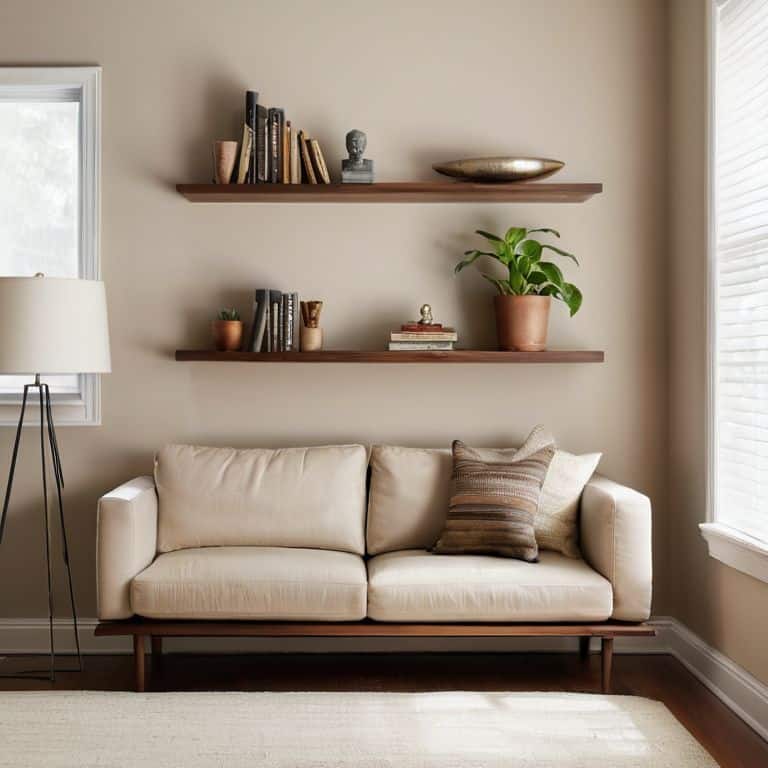
Now that we’ve got the basics covered, let’s talk about making your floating shelves truly unique. I love experimenting with different materials and designs to give each project its own personality. From rustic wood to sleek metal, the possibilities are endless. You can add a personal touch with decorative trim, or keep it simple with a minimalist approach. The key is to have fun and make it your own!
I’ve had my fair share of happy accidents in the workshop, and they often lead to the most interesting designs. Don’t be afraid to try new things and see what works for you. With a little creativity, you can turn a simple floating shelf into a stunning piece of functional art that reflects your style and adds a touch of personality to any room.
Mastering Hidden Bracket Installation Tips
Now that we’ve got our shelves cut and ready to go, it’s time to talk about the magic that makes them float: hidden brackets. I love this part of the process – it’s like the secret ingredient in your favorite recipe. To get started, make sure you’ve got the right drill bits and screws for the job. I like to use a level to double-check that my brackets are straight, and then it’s just a matter of screwing them into place. Don’t overtighten, or you might split the wood – we want that smooth, clean look.
One of my favorite tips for hidden bracket installation is to use a small pilot hole to avoid splitting the drywall. It’s a simple trick, but it makes all the difference in the end result. With your brackets securely in place, you can start hanging your shelves and admiring your handiwork. Remember, it’s all about the details, and taking your time with the bracket installation will pay off in the end.
Shelf Life: 5 Tips to Take Your Floating Shelves to the Next Level
- Measure Twice, Drill Once: Double-Check Your Wall Type to Ensure You’re Using the Right Anchors
- Hidden in Plain Sight: Mastering the Art of Concealing Bracket Installation for a Seamless Look
- Level Up: Why Using a Level is Crucial for Ensuring Your Shelves are Perfectly Straight
- The Right Cut: Choosing the Perfect Wood and Cutting Technique for a Professional Finish
- Add Some Flair: How to Incorporate LED Lighting or Other Decorative Elements to Make Your Shelves Pop
Shelf Life: 3 Key Takeaways to Get You Hanging
Measure twice, drill once – taking your time to ensure accurate measurements and placements is crucial for a sturdy and level floating shelf
Hidden bracket installation is an art – with the right tools and a bit of patience, you can achieve a seamless, professional-looking finish that makes your shelves look like they’re floating on air
Practice makes perfect, and mistakes are just happy accidents waiting to happen – don’t be too hard on yourself if things don’t go exactly as planned, and remember to have fun with the process of creating something with your own hands
Wrapping Up Your Floating Shelf Masterpiece
As we’ve gone through this guide to building floating shelves, I hope you’ve seen how easy it can be to add a touch of elegance to any room. From choosing the right materials to mastering hidden bracket installation, we’ve covered it all. Remember, the key to a successful DIY project is not just about following instructions, but also about embracing the process and having fun with it. Don’t be too hard on yourself if things don’t turn out perfectly – those ‘happy accidents’ can often lead to unique and interesting designs.
Now that you’ve completed your floating shelf, take a step back and admire your handiwork! You’ve not only created a beautiful piece of functional art, but you’ve also unleashed your inner maker. Don’t stop here – keep experimenting, trying new things, and pushing your creativity to the limit. And most importantly, don’t forget to share your projects with the world, because as I always say, the joy of making is in the sharing.
Frequently Asked Questions
What kind of materials are best for building floating shelves?
Dude, for floating shelves, I’m all about using solid woods like oak or walnut – they’re sturdy and look amazing. But, you can also use engineered woods or even reclaimed materials for a unique vibe. Just make sure they’re compatible with your wall type and the weight you’re planning to put on them.
How do I ensure my floating shelves are level and securely attached to the wall?
Leveling your floating shelves is a breeze. I use a trusty laser level to ensure everything’s perfectly aligned. For secure attachment, I swear by hidden brackets – just make sure to drill into the wall studs for maximum hold. And remember, it’s all about taking your time and double-checking your work, my friend!
Can I customize the size and design of my floating shelves to fit a specific space or decor?
Absolutely, my friend! The beauty of building your own floating shelves is that you can tailor them to fit your unique space and style. Want a rustic vibe or a sleek, modern look? You can customize the size, material, and design to match your decor. I love experimenting with different woods and finishes to create one-of-a-kind pieces that reflect my personality – and you can do the same!