I still remember the first time I tried to replace furniture hardware on my own – it was a disaster. I mean, who needs instructions, right? Wrong. I ended up stripping the screws and scratching the surface. But that’s exactly why I’m excited to share my hard-earned knowledge with you. Learning how to replace furniture hardware is not rocket science, but it does require some finesse. The good news is that with the right guidance, you can breathe new life into your old furniture and give it a fresh, modern look.
In this article, I’ll walk you through the simple, no-nonsense steps to replace furniture hardware like a pro. You’ll learn how to choose the right tools, remove the old hardware, and install the new pieces with ease. My goal is to make this process fun and accessible, so you can enjoy the satisfaction of creating something with your own hands. By the end of this guide, you’ll be confident in your ability to replace furniture hardware and tackle even more ambitious DIY projects. So, let’s get started and turn that old, worn-out furniture into a stunning masterpiece.
Table of Contents
Guide Overview: What You'll Need
Total Time: 1 hour 15 minutes
Estimated Cost: $10 – $30
Difficulty Level: Easy
Tools Required
- Screwdriver (flathead and Phillips)
- Drill (optional)
- Wrench (for certain types of hardware)
- Pliers (for gripping small parts)
Supplies & Materials
- New furniture hardware (e.g., knobs, handles, screws)
- Wood filler (for filling old screw holes)
- Sandpaper (for smoothing out filled areas)
- Measuring tape (for ensuring proper hardware placement)
- Level (for aligning new hardware)
Step-by-Step Instructions
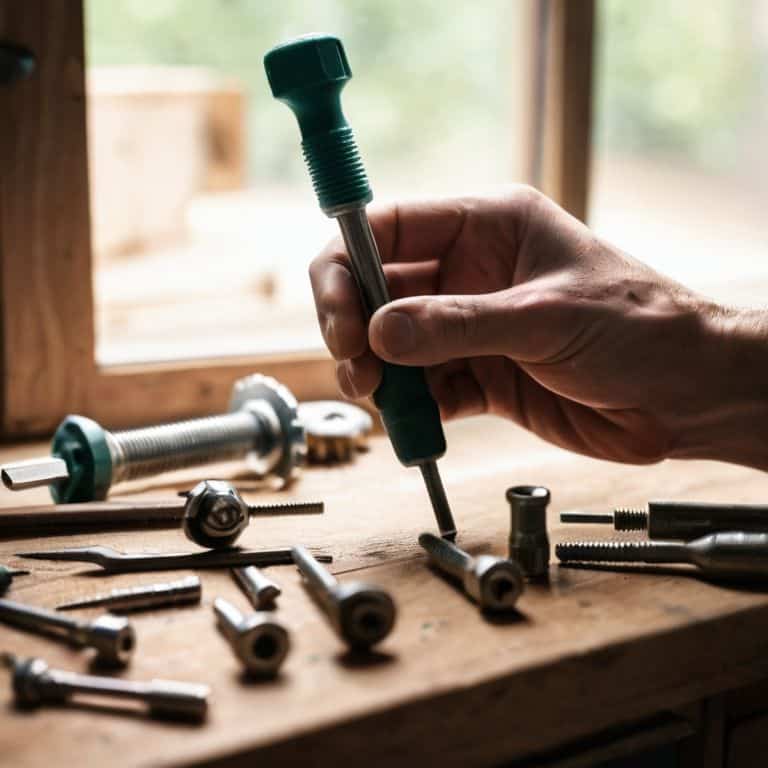
- 1. First, let’s gather our tools and hardware – we’ll need a screwdriver (preferably one with interchangeable bits), a wrench or pliers for those stubborn pieces, and of course, the new hardware we’re going to install. Make sure you’ve got a clear workspace, maybe even put on your favorite playlist to get those creative juices flowing.
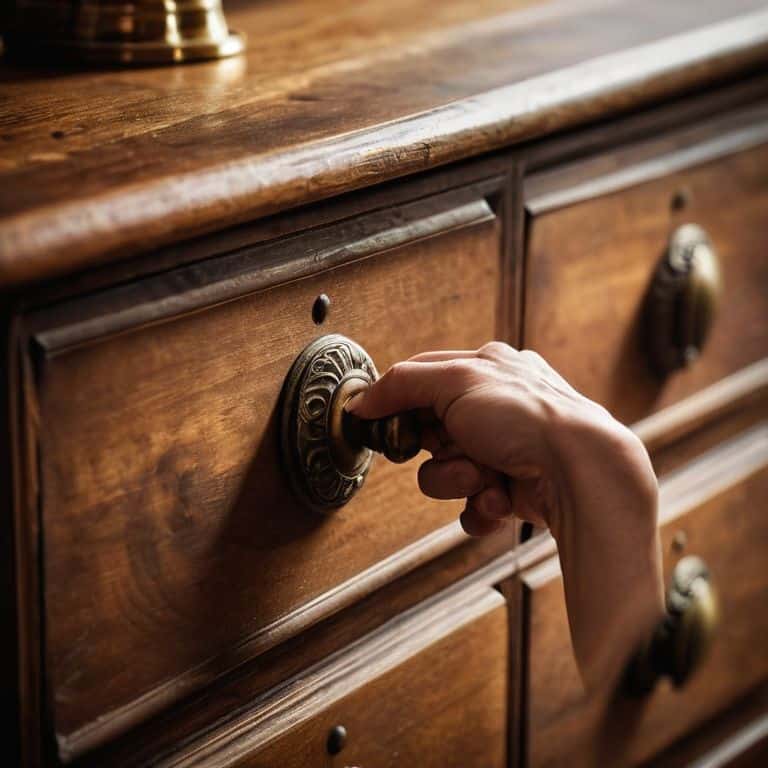
- 2. Next, we need to remove the old hardware. This can be the trickiest part, especially if the previous owner or manufacturer decided to over-tighten everything. Take your time, and don’t be afraid to use a bit of elbow grease. Remember, it’s all part of the process, and we’re not just replacing hardware, we’re giving that piece of furniture a new life.
- 3. Once the old hardware is out, it’s time to inspect and clean the area. You’d be surprised what a difference a little cleaning can make. Use a soft brush or a cloth to remove any dirt, grime, or old adhesive. This step is crucial because it ensures our new hardware will have a solid, clean surface to adhere to.
- 4. Now, let’s talk about measuring twice, drilling once. Before we start making holes for our new hardware, double-check the measurements. You don’t want to end up with a piece of furniture that looks like it’s been through a war. Precision is key here, so take your time, and remember, patience is a virtue.
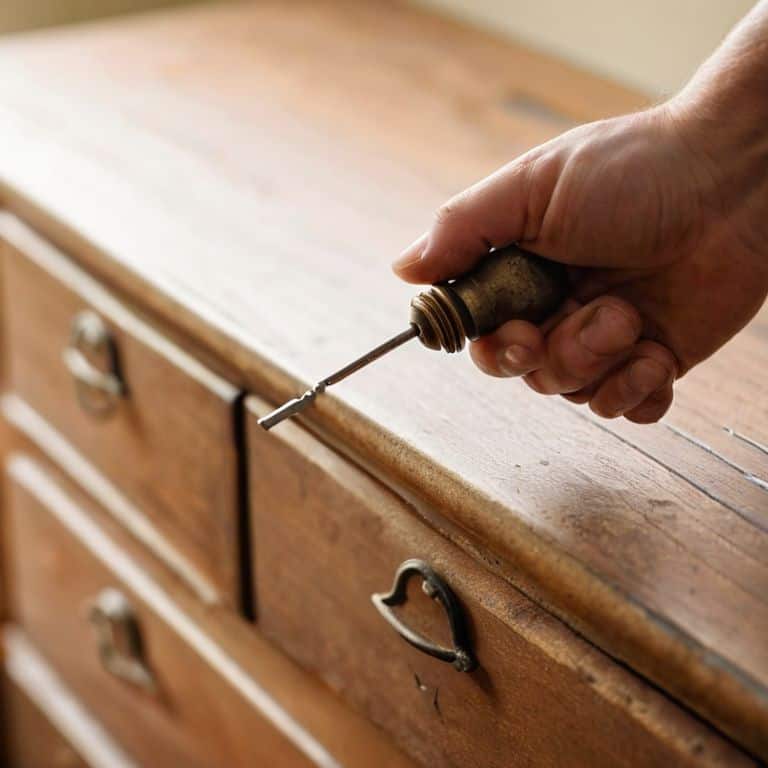
- 5. With our measurements in hand, it’s time to drill those holes. If you’re using a drill press, fantastic! If not, don’t worry, a handheld drill will do the trick. Just make sure you’re applying steady, consistent pressure. And don’t forget to wear your safety goggles – we want to keep those peepers protected.
- 6. After drilling, we can start installing the new hardware. This is the part where you get to see your project come together. Make sure everything is aligned properly, and don’t overtighten – we don’t want to strip any screws. It’s all about finding that perfect balance between snug and secure.
- 7. Finally, step back and admire your handiwork. You’ve successfully replaced that old furniture hardware with something new and shiny. Take a moment to appreciate the process, the happy accidents that might have happened along the way, and the sense of accomplishment that comes with creating something with your own hands. Now, go forth and show off your newly refurbished piece of furniture!
Time to Replace
As we dive into the world of furniture restoration, it’s essential to remember that furniture restoration techniques can make or break the overall aesthetic of your piece. When replacing hardware, consider the style and era of the furniture to ensure a cohesive look. I like to think of it as giving my project a facelift, where the new hardware brings out the best features of the old piece.
When it comes to updating your cabinet hardware, there are countless cabinet hardware update ideas to explore. From modern knobs to vintage-inspired pulls, the possibilities are endless. I’ve found that diy drawer pull installation can be a bit tricky, but with the right tools and patience, it’s a breeze. Remember, the key to a successful hardware update is to have fun and experiment with different styles until you find the one that works best for your project.
As you work on your furniture makeover, don’t forget to consider upcycling old furniture hardware as a unique and eco-friendly option. You can breathe new life into old pieces by refinishing or repurposing them, adding a touch of personality to your project. And the best part? You can achieve a stunning furniture makeover on a budget by getting creative with your hardware choices and restoration techniques.
Diy Drawer Pull Installation Like a Pro
Now that we’ve got our hardware, it’s time to bring our drawers to life. I love this part – it’s like the final flourish on a masterpiece. Installing new drawer pulls can totally transform the look and feel of your furniture. To do it like a pro, make sure you’ve got your measurements spot on and your drill bits ready. Start by marking the center point of where you want your pull to sit, then drill a pilot hole and screw that beauty in. Don’t be afraid to get creative with the placement – sometimes a slightly asymmetrical look can add some amazing character to your piece.
Remember, the key to a pro-looking install is to take your time and double-check those measurements. And don’t worry if it’s not perfect – a little imperfection can add some awesome personality to your DIY project. With your new pulls in place, stand back and admire that handiwork – you’ve just leveled up your furniture game!
Furniture Restoration Techniques Made Easy
Now that we’ve got our hardware swapped out, it’s time to think about the bigger picture – giving our furniture a whole new lease on life. I love how a simple replacement can snowball into a full-blown restoration project. For me, it’s all about embracing the process and having fun with it. Whether it’s sanding down a vintage dresser or repainting a worn-out chair, the possibilities are endless.
I’ve found that it’s often the little details that make a restoration project truly special – like adding a fresh coat of finish or replacing the old upholstery. These small touches can completely transform the look and feel of a piece, and it’s amazing how much character they can add.
5 Essential Tips to Nail That Furniture Hardware Replacement
- Choose the right tools for the job – don’t be afraid to get a little creative with your power tools, but make sure you’re using them safely and for the right purpose
- Measure twice, drill once – taking that extra minute to double-check your measurements can save you from a whole lot of headache down the line
- Select hardware that fits your style – whether you’re going for a vintage vibe or a sleek, modern look, your furniture hardware can make or break the overall aesthetic
- Don’t be too hard on yourself if things don’t go according to plan – remember, mistakes are an opportunity to learn and get creative with your problem-solving
- Add a personal touch – consider adding a custom or handmade element to your furniture hardware replacement, like a leather-wrapped handle or a handmade metal pull, to give it that extra special something
Key Takeaways for a Hardware Replacement Pro
Always prepare your workspace and gather all the necessary tools before starting the hardware replacement process to ensure a smooth and efficient workflow
Measure twice and drill once – accuracy is key when it comes to replacing furniture hardware, so take your time and double-check your measurements to avoid costly mistakes
Don’t be afraid to get creative and add your own personal touch to the hardware replacement process – whether it’s using vintage or custom-made hardware, the end result is a one-of-a-kind piece that reflects your personality and style
The Joy of Restoration
Replacing furniture hardware isn’t just about swapping out old parts, it’s about breathing new life into a piece that’s been waiting for a second chance – and that’s where the real magic happens!
Franklyn "Frank" Bishop
Wrapping Up Your Hardware Replacement Project
We’ve covered a lot of ground in this guide, from the initial steps of preparing your workspace to the final touches of installing your new hardware. Remember, the key to a successful furniture hardware replacement is to take your time and measure twice, drill once. Don’t be afraid to get creative with your hardware choices, and consider adding your own personal touches to make the piece truly unique. Whether you’re a seasoned DIY enthusiast or just starting out, replacing furniture hardware is a great way to breathe new life into old pieces and give them a fresh, updated look.
As you put the finishing touches on your project, take a step back and admire your handiwork. You’ve not only learned a new skill, but you’ve also created something with your own two hands. That’s what it’s all about – empowering yourself to create and bringing your ideas to life. So don’t be afraid to get out there and start building, and remember, it’s okay to make mistakes – they’re all part of the creative process. Happy building, and I’ll see you in the next project!
Frequently Asked Questions
What are the most common types of furniture hardware that can be replaced at home?
Let’s talk hardware! The most common types you can swap out at home are cabinet knobs, drawer pulls, and handles. You can also update hinges, lid stays, and even those old-school latches. With a few basic tools, you can give your furniture a fresh new look and make it feel like new again!
How do I measure and choose the right size and style of new hardware to match my existing furniture?
Measuring and choosing the right hardware is a breeze. Take out that old hardware and measure the screw holes, then match those specs to your new picks. Consider the style too – modern, vintage, or rustic – to ensure it matches your furniture’s vibe. I like to lay out all my options and see what looks rad, you know, to get that perfect fit and feel.
Can I replace furniture hardware on my own if I have no prior experience with DIY projects?
Absolutely, you can replace furniture hardware on your own, even with no prior DIY experience. I’m living proof that with the right guidance and a willingness to get your hands dirty, you can achieve amazing results. Don’t worry if you make mistakes – they’re all part of the learning process, and I’m here to walk you through it.