I still remember the day I stumbled upon an old, forgotten armchair at a flea market. It was love at first sight, not because of its beauty, but because of its potential. I knew that with a little creativity, I could turn it into a stunning piece of furniture that would tell a story. That’s exactly what I did, and it’s a transformation that I still cherish to this day. The process of giving a boring piece of furniture a new look is not just about renovating an object, it’s about breathing life into it. As someone who’s passionate about DIY home projects, I’ve learned that it’s all about seeing the possibilities and having the courage to try something new. Whether you’re a seasoned DIY enthusiast or just starting out, learning how to give a boring piece of furniture a new look can be a game-changer for your home decor.
In this article, I’ll share my personal tips and tricks for transforming dull furniture into unique pieces that reflect your personality. I’ll take you through the process of assessing the piece, choosing the right materials, and bringing your vision to life. You’ll learn how to unleash your creativity and turn a boring piece of furniture into a one-of-a-kind masterpiece. From painting and refinishing to reupholstering and repurposing, I’ll cover it all. My goal is to inspire you to see the potential in everyday objects and to give you the confidence to try your hand at DIY furniture renovation. So, let’s get started on this creative journey and discover the joy of giving old furniture a new lease on life.
Table of Contents
Guide Overview: What You'll Need
Total Time: 2 hours 30 minutes
Estimated Cost: $50 – $100
Difficulty Level: Intermediate
Tools Required
- Sandpaper (various grits)
- Paintbrush (1 inch and 2 inch wide)
- Roller Extension Pole (for large surfaces)
- Drop Cloths (for protecting floors and surfaces)
- Utility Knife (with extra blades)
Supplies & Materials
- Primer (optional, depending on furniture material)
- Paint (choose your desired color)
- Stain (optional, for wood furniture)
- Polyurethane (for protecting the finish)
- Decorative Hardware (e.g., new knobs or handles)
- Fabric (for reupholstering cushions or seats)
- Wood Filler (for filling scratches or holes)
- 6 inches of lumber (for adding shelves or supports)
Step-by-Step Instructions
- 1. First, let’s start by assessing the piece of furniture we want to give a new look. Take a closer look at the armchair, dresser, or whatever it is you’re working with, and think about what makes it boring. Is it the color, the shape, or maybe the outdated hardware? Make a mental note of what you’d like to change, and we’ll go from there.
- 2. Next, gather your materials, because we’re about to get creative! Depending on the project, you might need paint, fabric, new hardware, or even some power tools. I like to name my power tools, by the way – it makes the process more fun. My trusty drill, “Bertha,” has helped me with countless projects. Make sure you have everything you need before you start, to avoid any last-minute trips to the store.
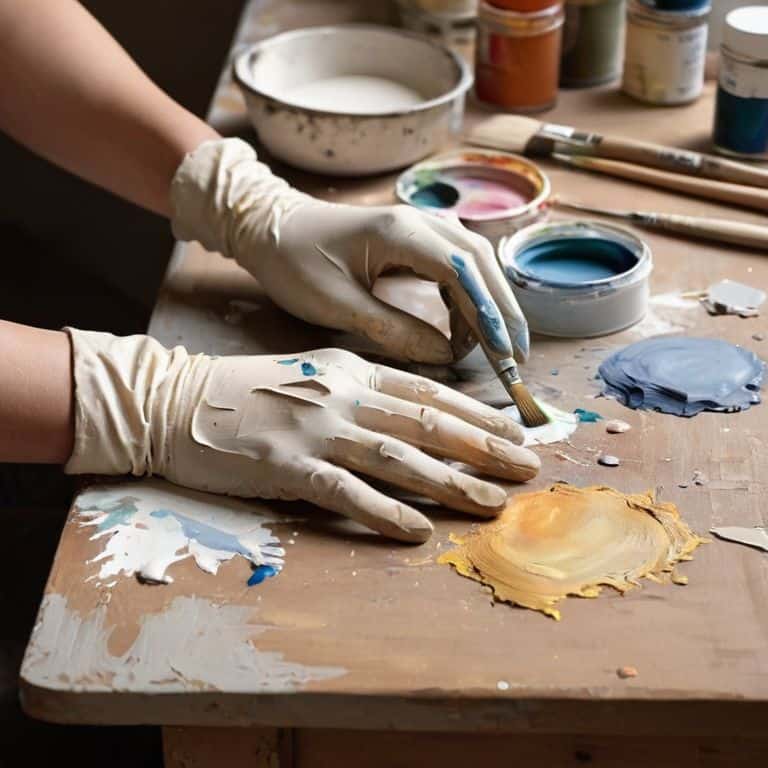
- 3. Now it’s time to prepare the surface of your furniture. This might involve sanding, cleaning, or stripping old paint or varnish. I like to think of this step as a chance to give my furniture a fresh start, a blank canvas to work with. Be thorough, because a smooth surface will make all the difference in the end result.
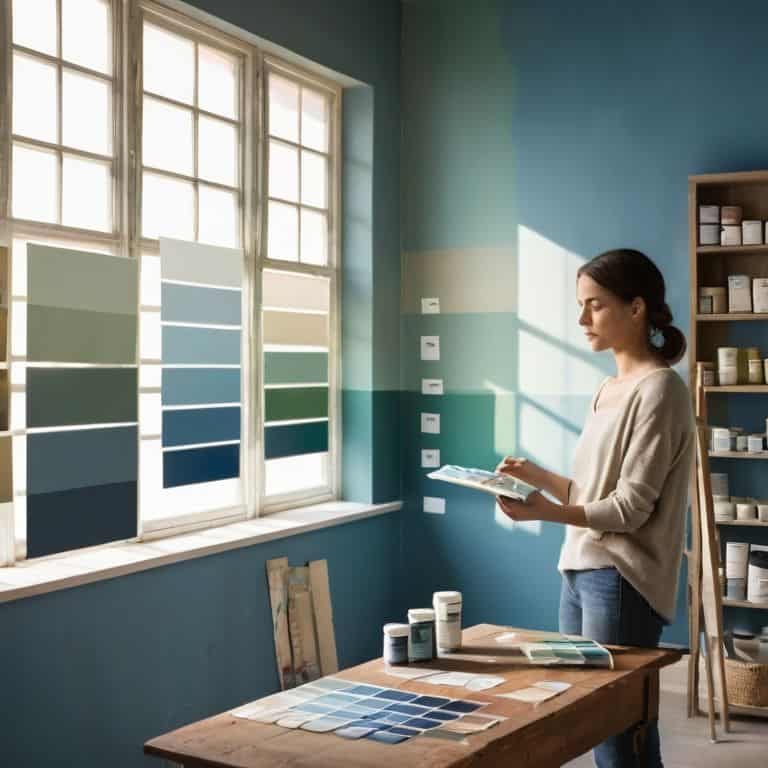
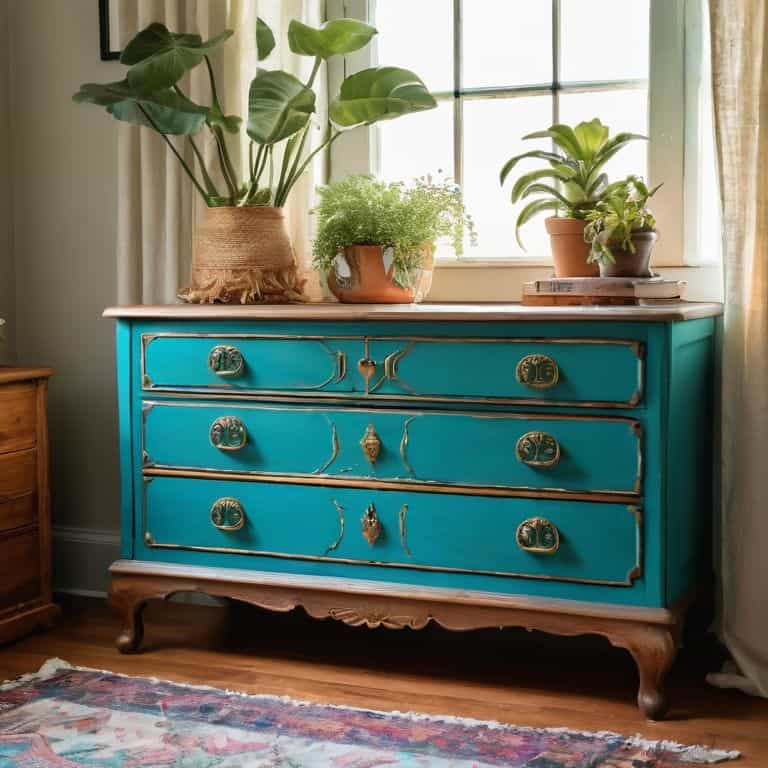
- 4. With your surface prepared, you can start adding a new layer of paint, stain, or varnish. This is where the magic happens, and your boring piece of furniture starts to transform. Don’t be afraid to experiment with different colors or techniques – remember, it’s all about telling a story with your space. I once used a distressing technique to give an old dresser a vintage look, and it turned out amazing.
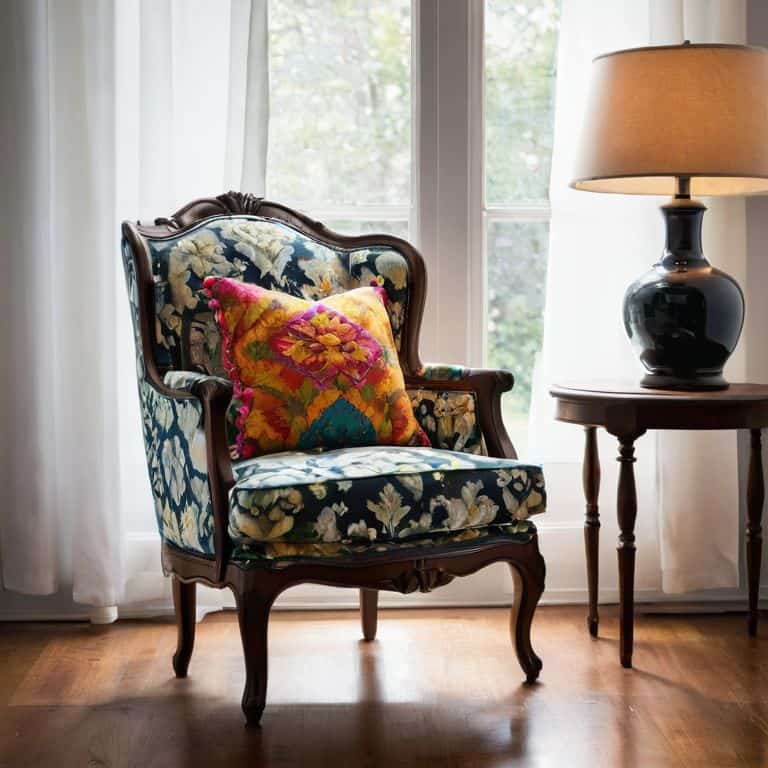
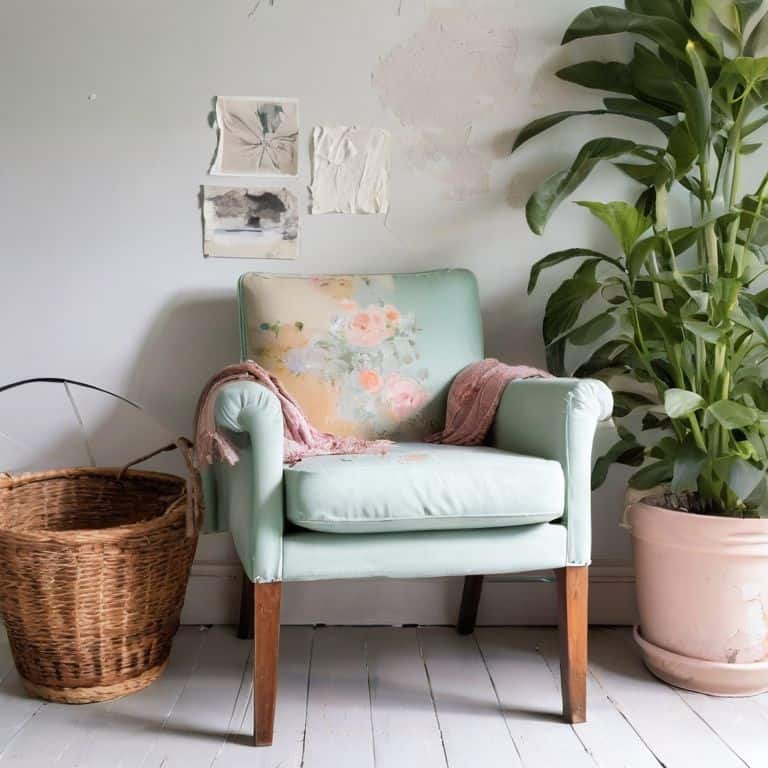
- 5. If you’re working with a piece of furniture that has upholstery, like an armchair or ottoman, it’s time to reupholster or add new fabric. This can be a bit more challenging, but the end result is well worth it. Choose a fabric that reflects your personality, and don’t be afraid to mix and match patterns or textures. I like to think of upholstery as a chance to add a pop of personality to a room.
- 6. Once you’ve added your new paint, stain, or fabric, it’s time to add the finishing touches. This might involve adding new hardware, like knobs or handles, or even some decorative trim. Think of this step as the icing on the cake – it’s what takes your project from good to great. I like to use this opportunity to add some unique details, like a handmade wooden knob or a piece of antique hardware.
- 7. Finally, step back and admire your handiwork! Take a before-and-after photo to see just how far your piece of furniture has come. I love looking back at my projects and seeing the transformation – it’s a great reminder that with a little creativity, anything is possible. Now, go ahead and make it yours, by adding it to your space and enjoying the fruits of your labor.
Revamp Your Space
As I always say, breathing new life into old furniture is all about seeing the potential in a piece and running with it. When you’re working on a furniture upcycling project, don’t be afraid to think outside the box and try out creative furniture painting techniques. A fresh coat of paint can completely transform a room, and it’s a great way to add some personality to your space. I like to experiment with different colors and finishes to find the perfect fit for each piece.
One of my favorite things about furniture restoration is the thrill of the hunt. Scouring flea markets and thrift stores for unique pieces to restore is a fun adventure in itself. And when you finally find that perfect piece, it’s exhilarating to think about all the possibilities. Furniture makeover on a budget is all about getting creative with the resources you have, and I love the challenge of finding ways to make it work without breaking the bank.
As you’re working on your own furniture upcycling project, remember to have fun and be patient. Furniture restoration tips and tricks are all about trial and error, and it’s okay if things don’t turn out exactly as planned. The most important thing is to enjoy the process and love the end result. With a little practice and patience, you’ll be a pro at giving old furniture a new lease on life in no time.
Breathing New Life Into Old Pieces
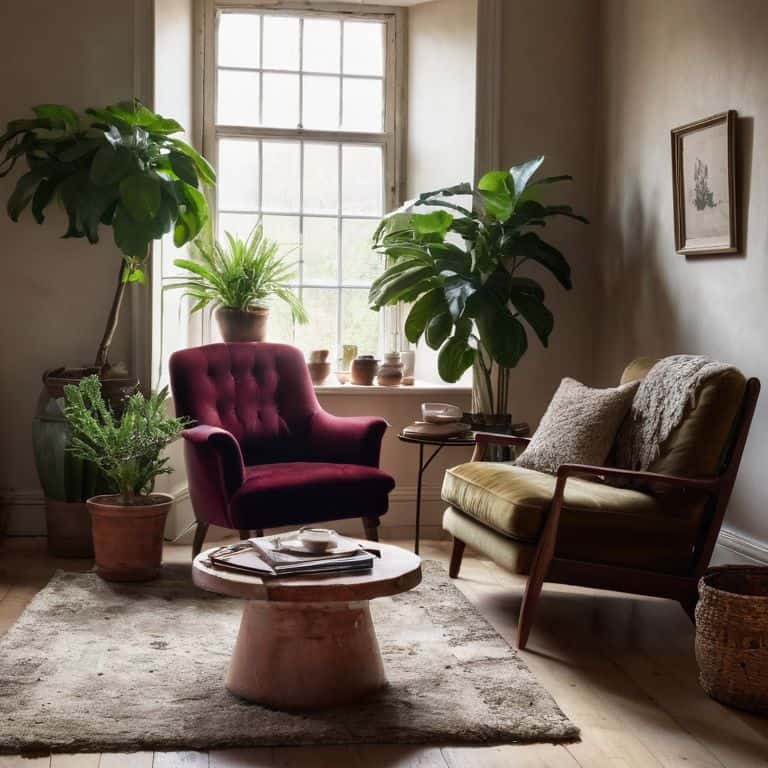
As I always say, the best stories are the ones our homes tell about us. And what better way to add a new chapter than by breathing new life into old pieces? For me, it’s about uncovering the hidden potential in a worn-out dresser or a vintage armchair. With a little creativity, these forgotten gems can become the focal point of any room. I still remember the thrill of transforming my own grandmother’s antique side table into a one-of-a-kind planter for my patio garden.
By giving old furniture a fresh coat of paint, new hardware, or a creative repurpose, we’re not only reducing waste but also infusing our spaces with character and personality. It’s amazing how a simple DIY project can turn a dull, outdated piece into a stunning conversation starter. So, let’s get creative and uncover the unique stories our old furniture has to tell!
Furniture Upcycling Ideas to Try
Now that we’ve revamped our space, let’s talk about some fun furniture upcycling ideas to try. I’m obsessed with giving old pieces a new lease on life. Take that vintage side table, for instance – with some chalk paint and new hardware, it can become a one-of-a-kind bedside table. Or, transform a outdated dresser into a stylish kitchen island with some creative repurposing.
I’ve also experimented with turning old ladders into bookshelves and breathed new life into a worn-out armchair with fresh upholstery. The possibilities are endless, and I love the thrill of the hunt for unique pieces to restore. Whether you’re a seasoned DIY enthusiast or just starting out, upcycling furniture is a great way to add character to your home and make it truly yours.
From Drab to Fab: 5 Tips to Give New Life to Old Furniture
- Let the hardware shine: Update the knobs, handles, or hinges to give your furniture a fresh new look that reflects your personal style
- Get creative with color: A bold new paint job or stain can completely transform a piece, so don’t be afraid to experiment and find the perfect hue
- Upholstery revival: Reupholstering can be a game-changer – choose a funky fabric that adds personality to your room and makes the piece truly one-of-a-kind
- Add some architectural interest: Moulding, trim, or decorative edges can add depth and visual appeal to an otherwise plain piece of furniture
- Light it up: Incorporate string lights, lanterns, or LED strips to create a unique ambiance and make your refurbished furniture the focal point of the room
Key Takeaways to Refresh Your Space
Your old furniture can become a unique statement piece with a little creativity and some TLC, proving that you don’t need to break the bank to have a beautiful home
By embracing the story behind each piece, you can curate a space that truly reflects your personality and style, making every room feel like a chapter in your personal story
Whether it’s through a fresh coat of paint, new hardware, or a completely new purpose, giving old furniture a new life is not just about renovation – it’s about crafting a home that tells your story
Transforming the Ordinary
The beauty of revamping old furniture lies not in erasing its history, but in embracing its story and adding a new chapter – one that’s uniquely yours.
Maya Rivera
Bringing Your Vision to Life
As we’ve explored the world of furniture renovation, I hope you’ve seen how a little imagination and some elbow grease can turn a dull piece into a stunning centerpiece. From sanding down rough edges to applying a fresh coat of paint, each step is an opportunity to breathe new life into your space. Remember, the key to a successful renovation is to have fun and not be afraid to try new things. Don’t be discouraged if your first attempts don’t yield the desired results – it’s all part of the process, and the journey is just as important as the destination.
So, the next time you’re tempted to toss that old armchair or hand-me-down dresser, I encourage you to see the hidden potential and think about the story you can tell through its renovation. Your home is a reflection of you, and every piece of furniture is a chance to add a new chapter to your unique story. Happy renovating, and I look forward to seeing the amazing transformations you’ll create!
Frequently Asked Questions
What are some common mistakes to avoid when upcycling old furniture?
Don’t be too hard on yourself if things don’t turn out as planned – I’ve learned that sanding too much can expose ugly layers, and using the wrong finish can ruin the whole vibe. My biggest mistake? Not taking ‘before’ photos to appreciate the journey!
How can I determine the best paint or stain to use for a specific piece of furniture?
For me, choosing the perfect paint or stain is all about considering the piece’s personality and the story I want it to tell. Think about the room’s vibe, the furniture’s material, and the style you’re aiming for. I like to test out samples on a small, hidden area first – it’s like getting to know a new friend, you’ve got to see how they’ll fit in!
Are there any specific tools or materials that I'll need to get started with furniture restoration?
My trusty sidekicks for furniture restoration are my power drill, Bertha, and my sander, Sandy. You’ll also need some basics like paint, stain, and varnish, as well as fabric or upholstery materials if you’re reupholstering. Don’t forget safety gear like gloves and goggles – we’re getting creative, not reckless!